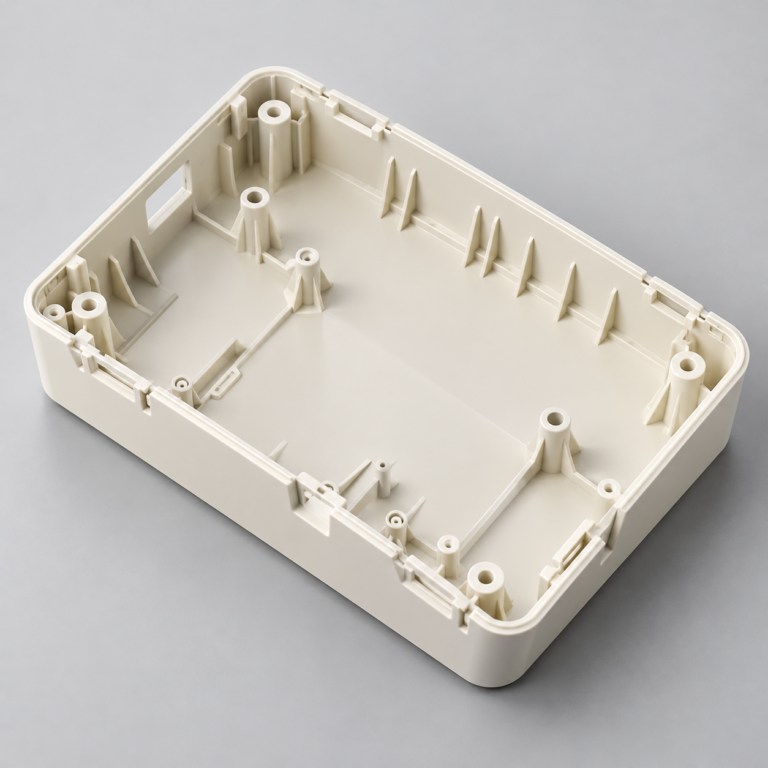
Injection Molding
Tooling and molding for your repeat plastic parts.
From prototype to production, coordinated manufacturing solutions for your custom parts.
View All Services →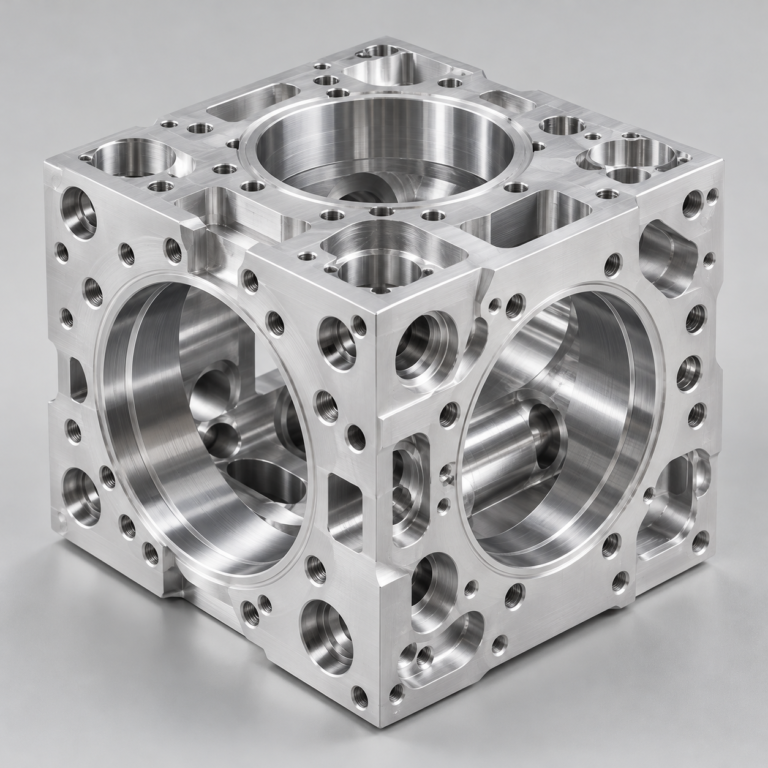
Precision parts for your tight tolerances and complex geometry.
Tooling and molding for your repeat plastic parts.
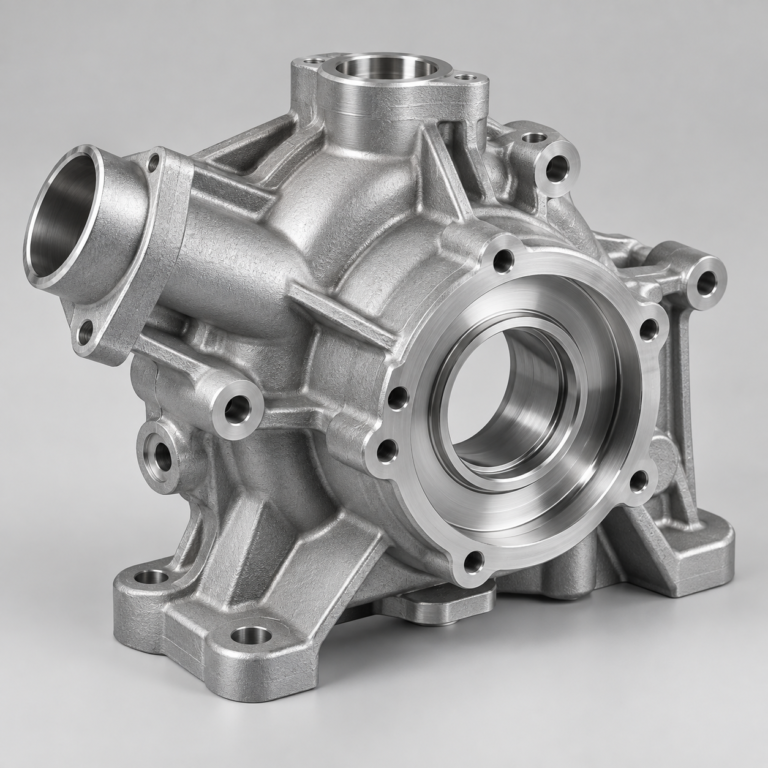
Metal casting options for your part and production volume.
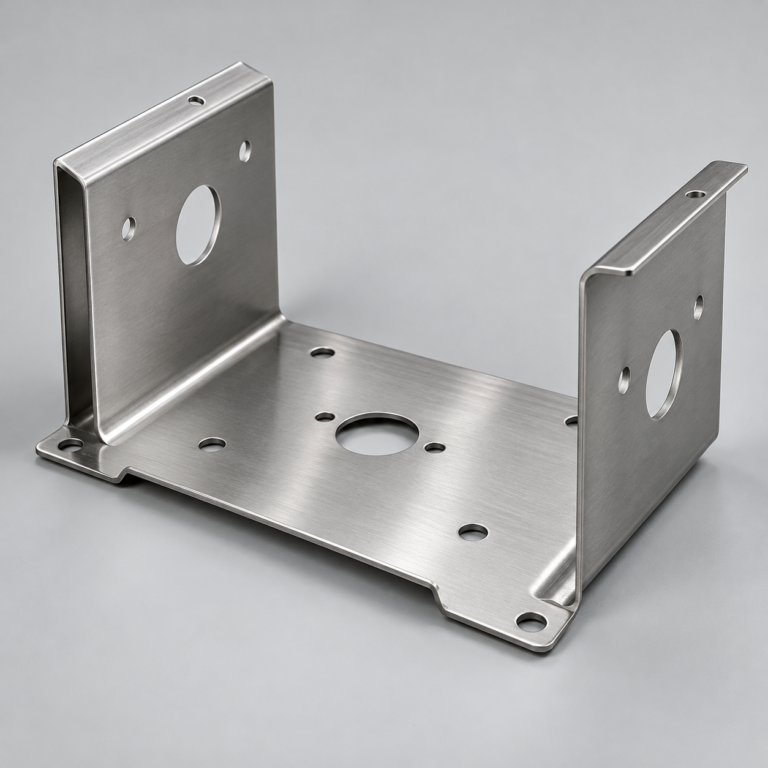
Cutting, forming and welding for your fabricated parts.
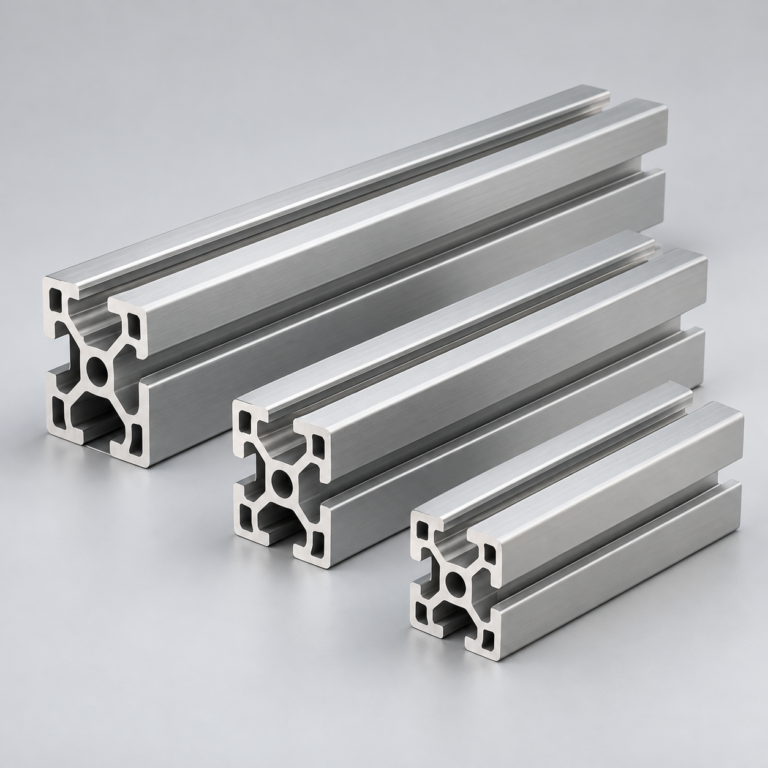
Custom profiles for your section, length and finish requirements.
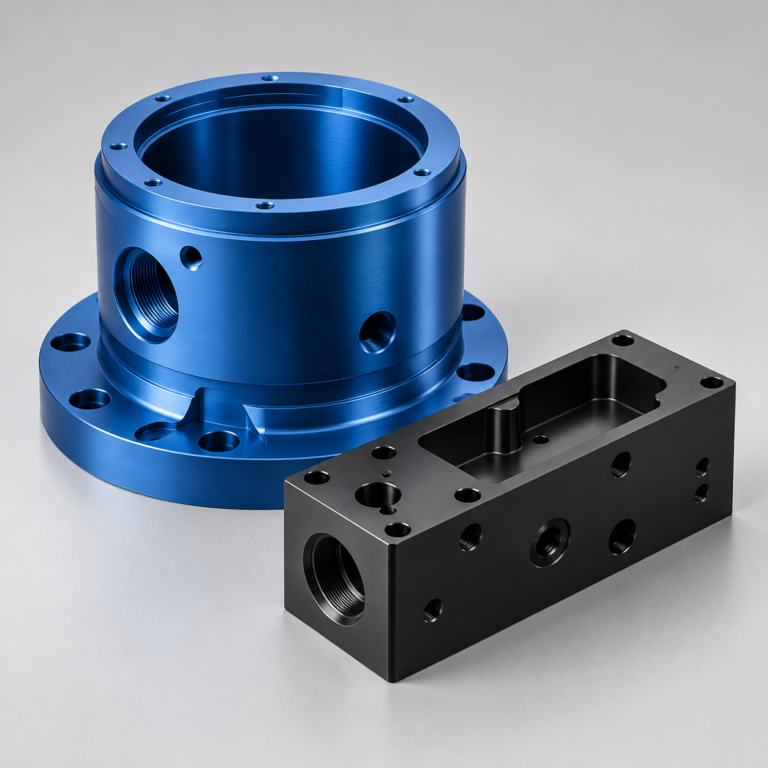
Finishes for your appearance, corrosion and wear requirements.
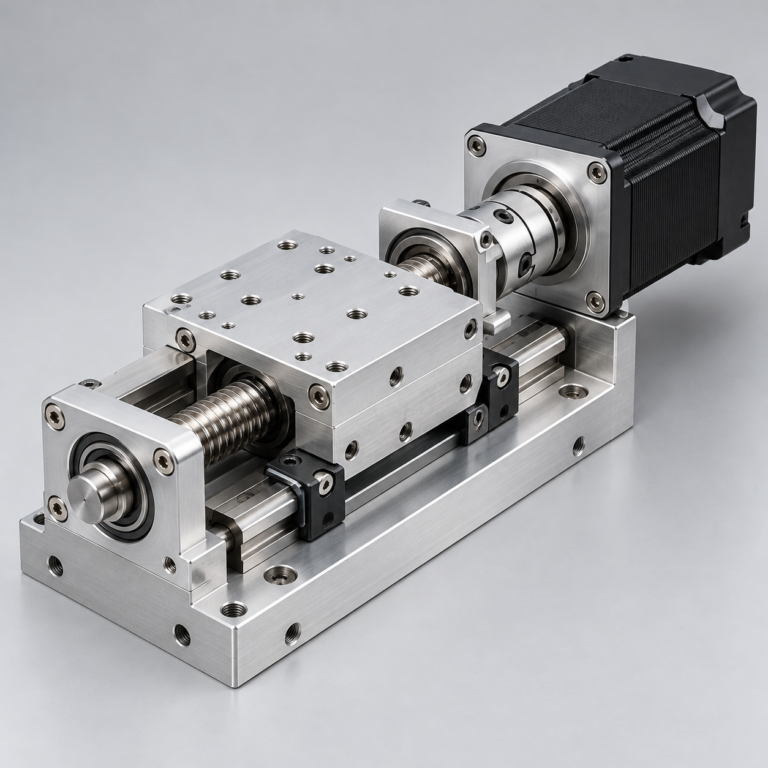
Sub-assemblies and final builds for your production program.
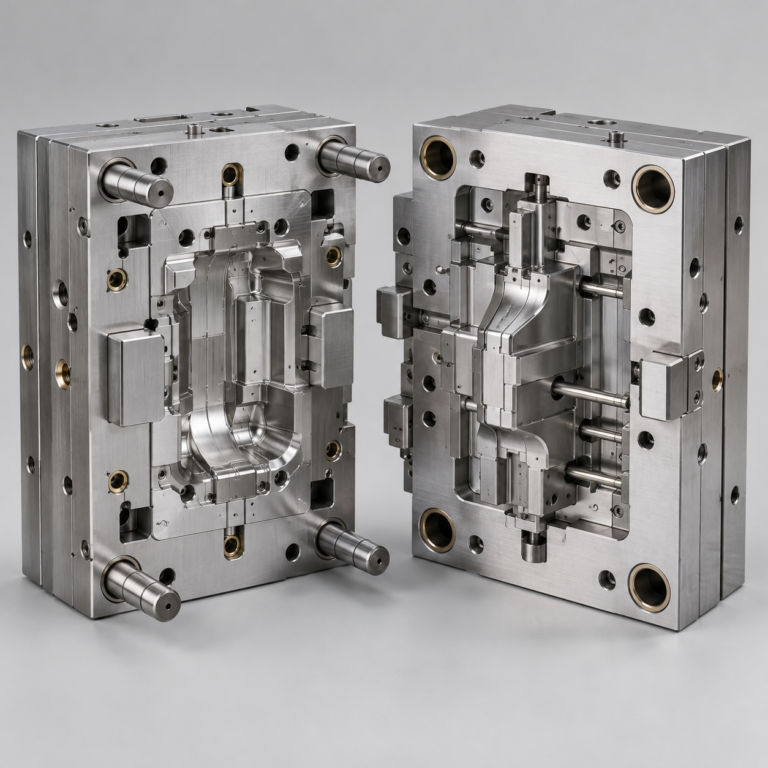
Production tooling built around your process and volume.
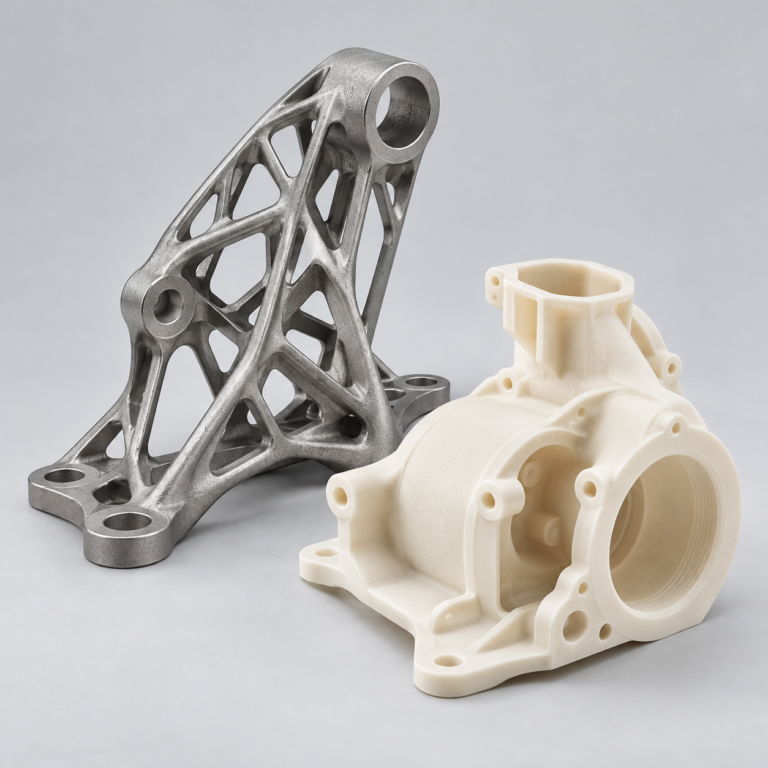
Prototype parts to check fit, function and design.
DFM, process planning and production support for your project.
Inspection, documentation, inventory and delivery planning for your program.
Choose air- or liquid-cooling components around your thermal and mechanical requirements.
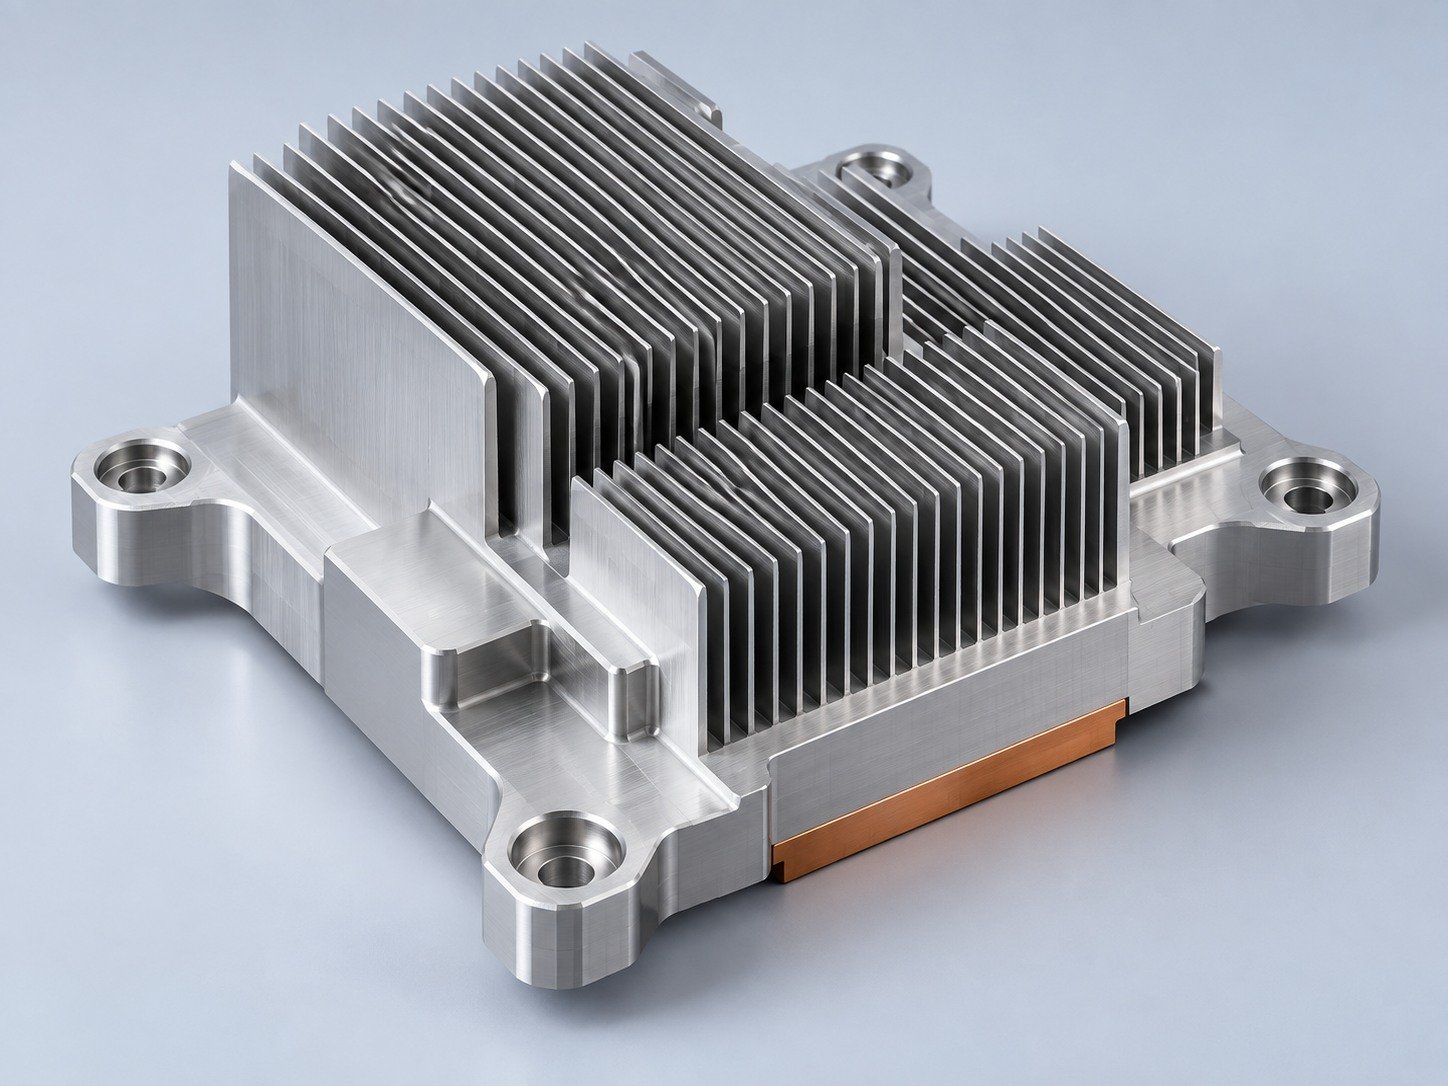
Manufacturing support for your cold plates, manifolds and cooling assemblies.
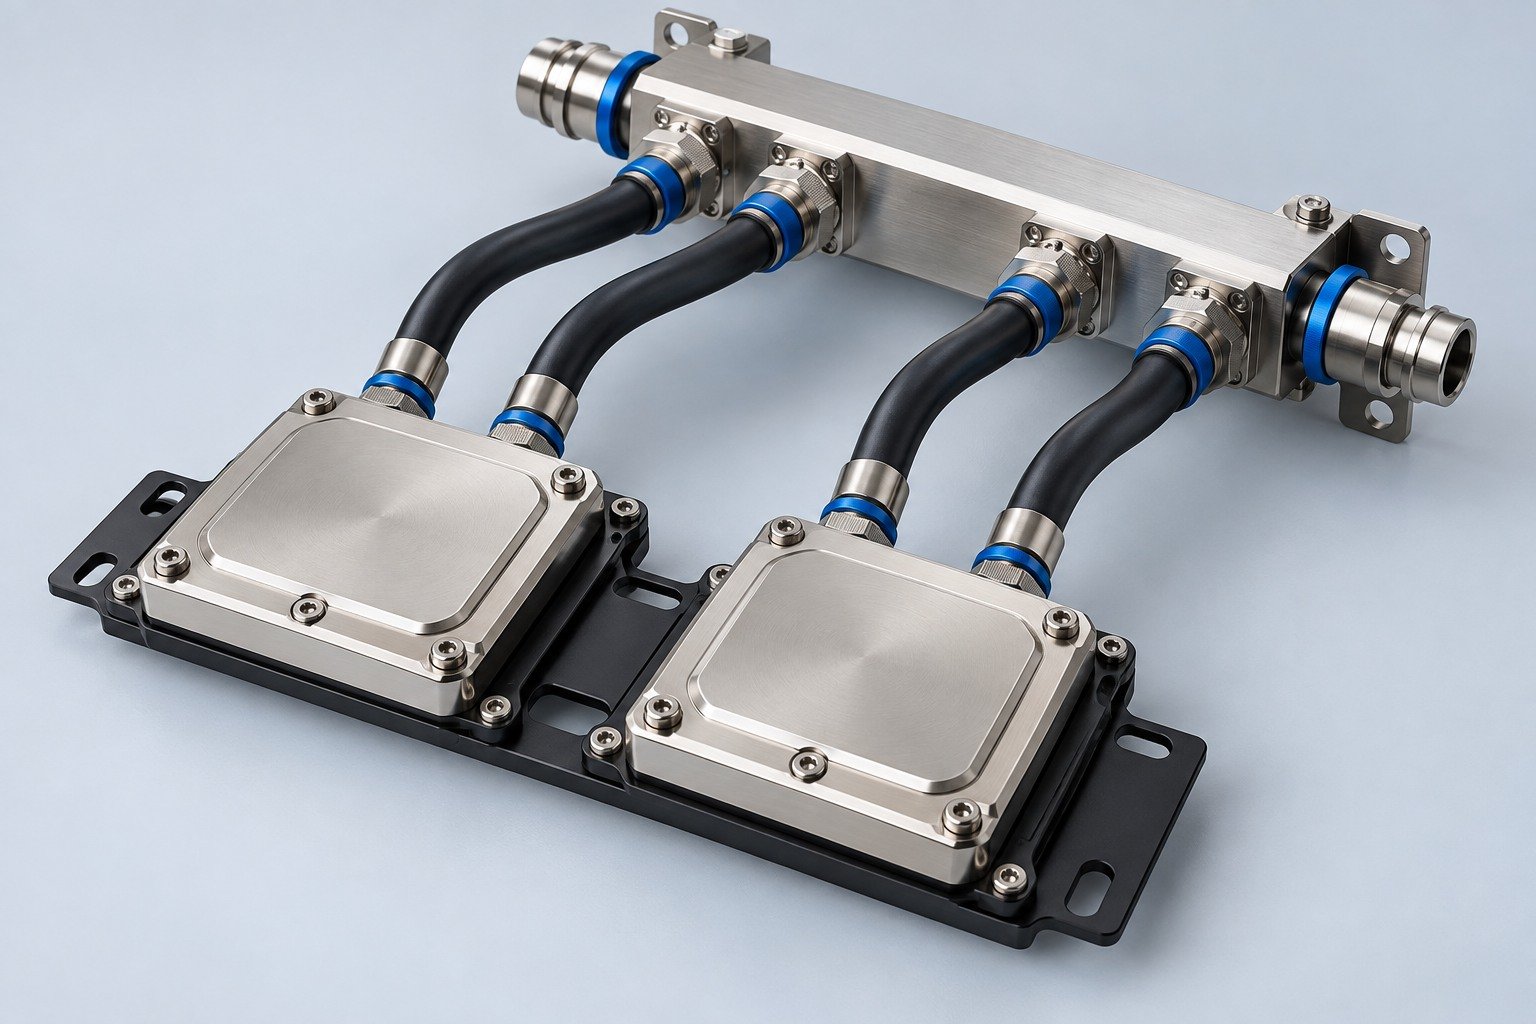
Find components for your power electronics, energy, laser and telecom application.
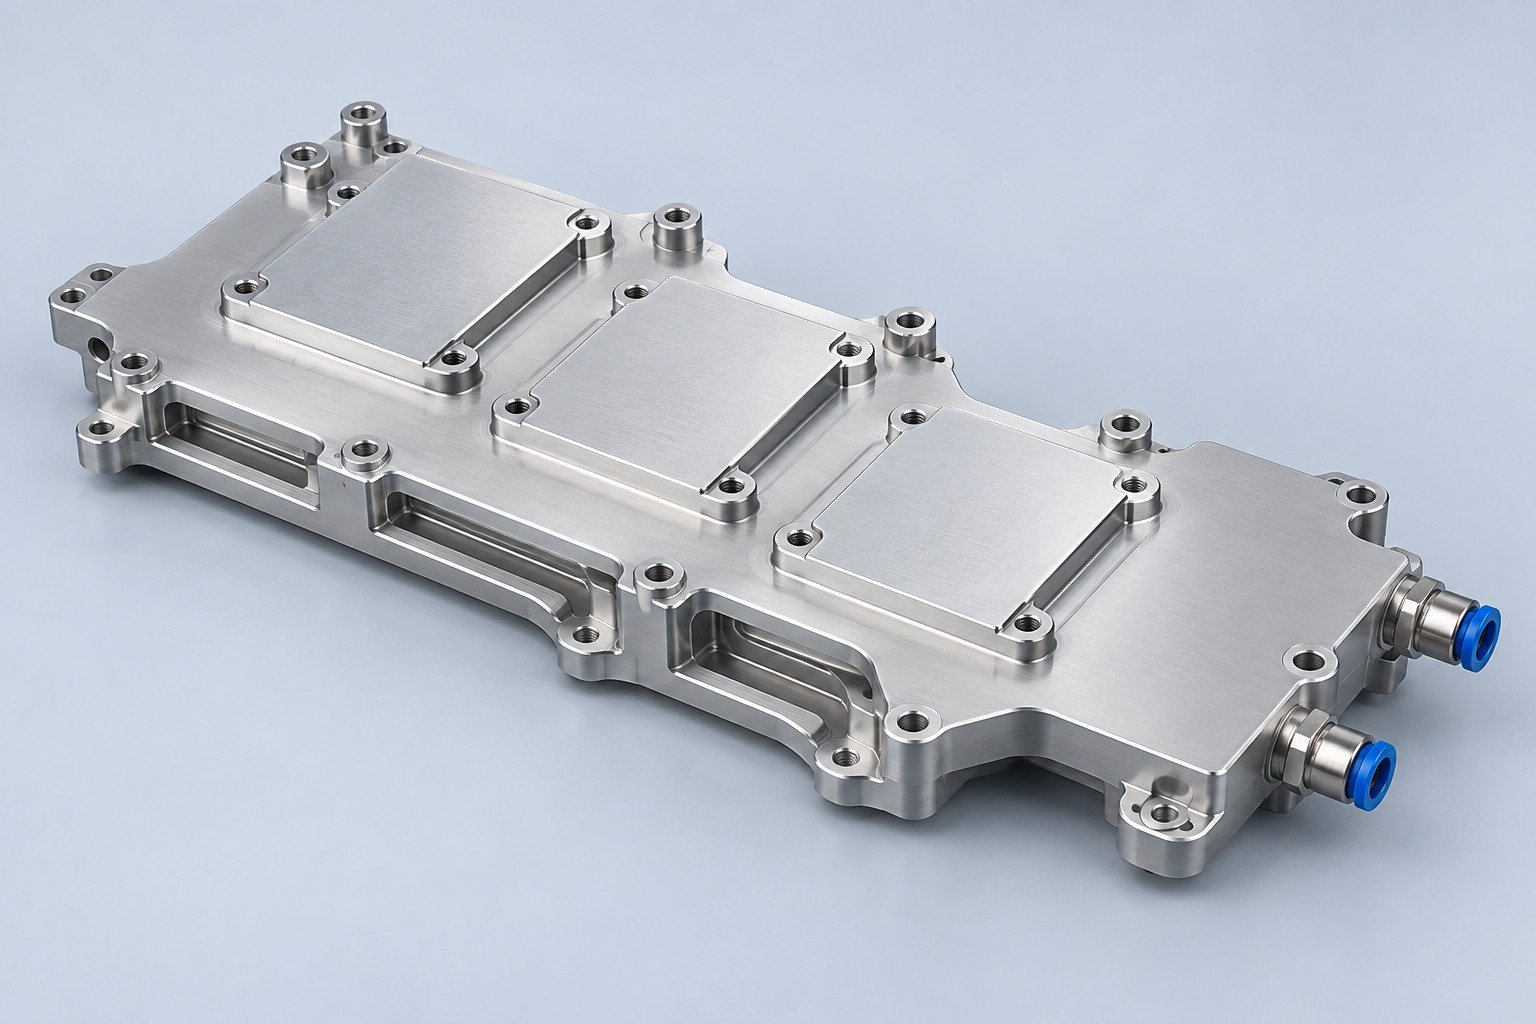
Components for your electronic systems.
Start with your functional and quality requirements.
Build around your operating environment.
From prototype to production, review material performance, manufacturability and cost for your part.
Review grade, temper and finish for your metal parts.
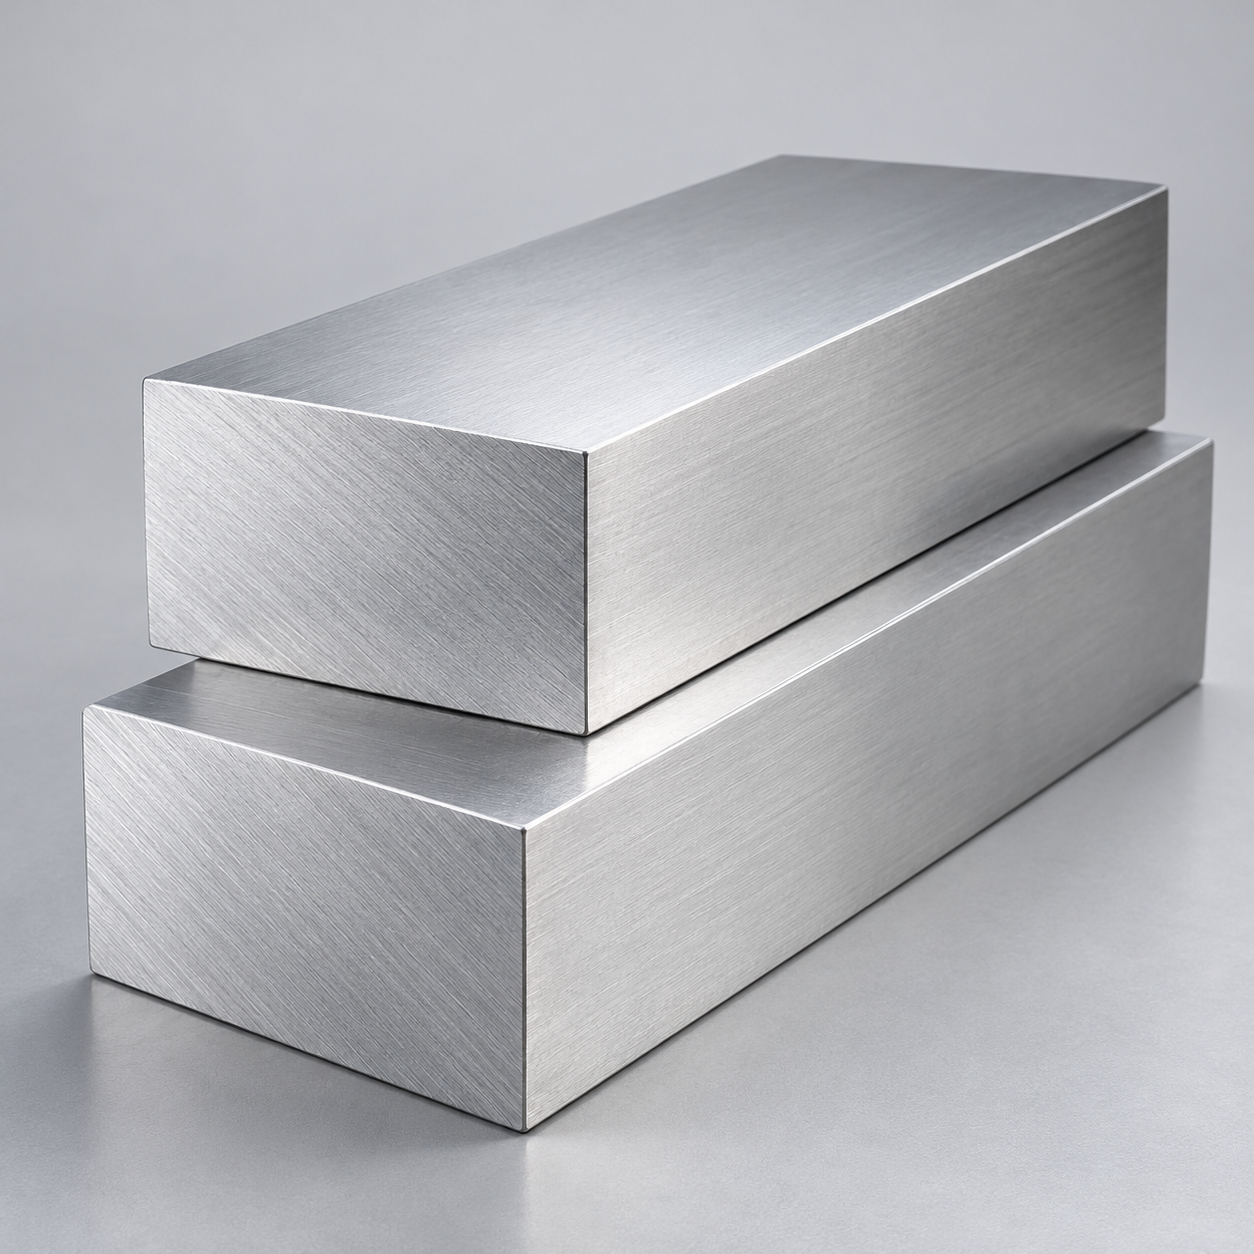 AluminumStrength, weight and machining›
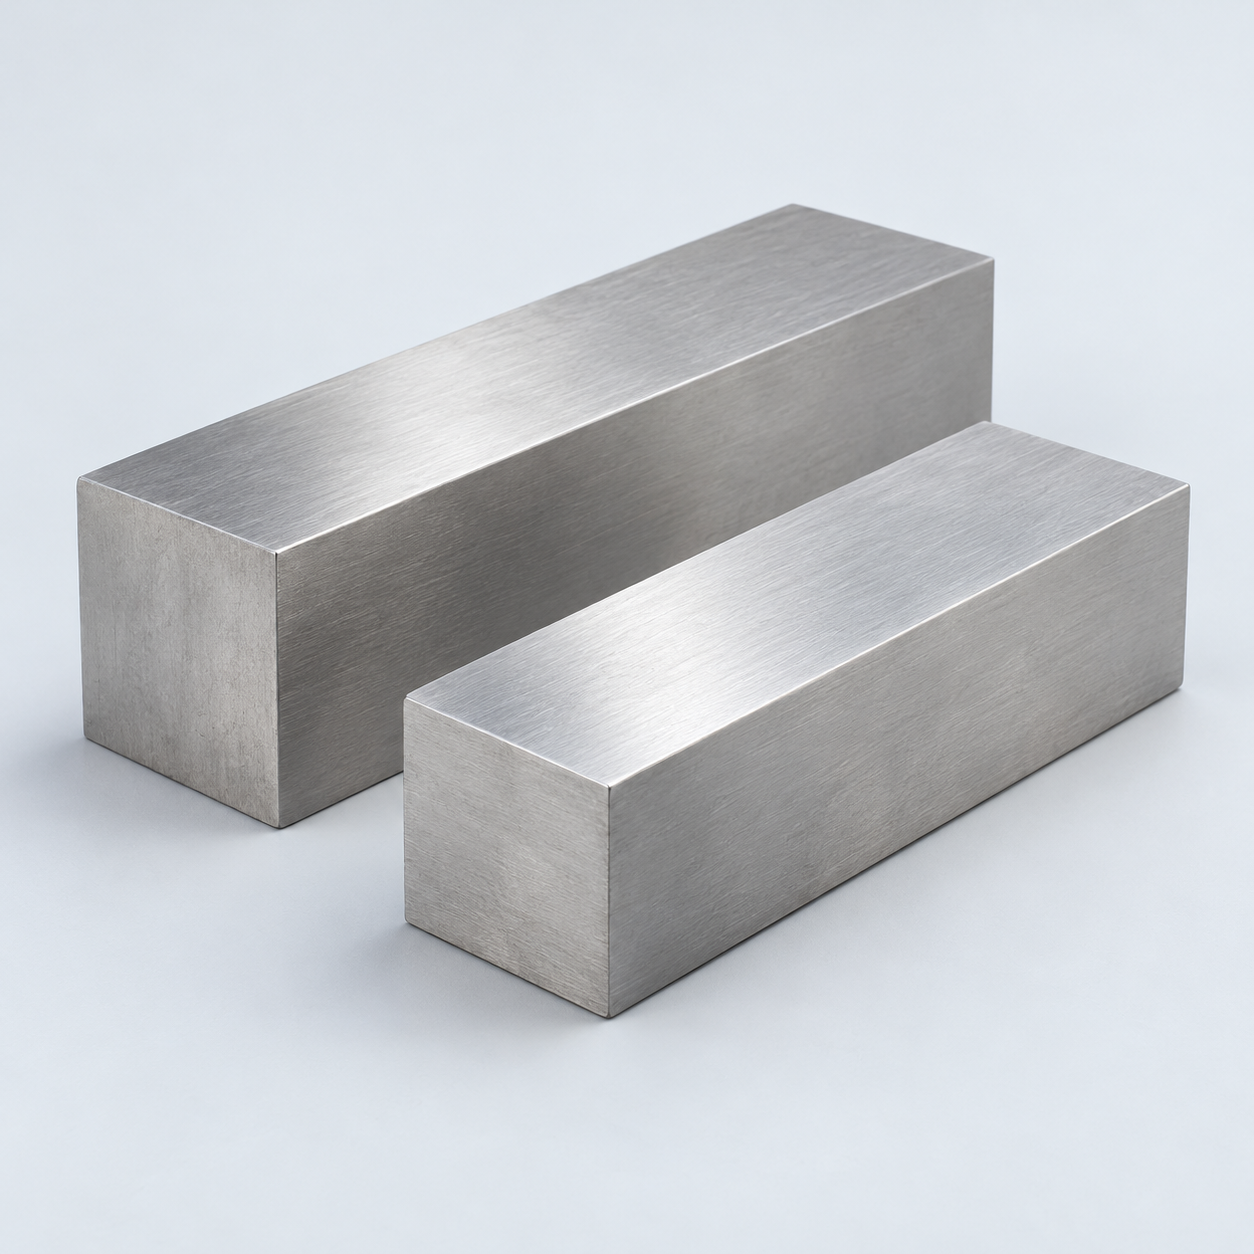 Stainless SteelCorrosion and finish requirements›
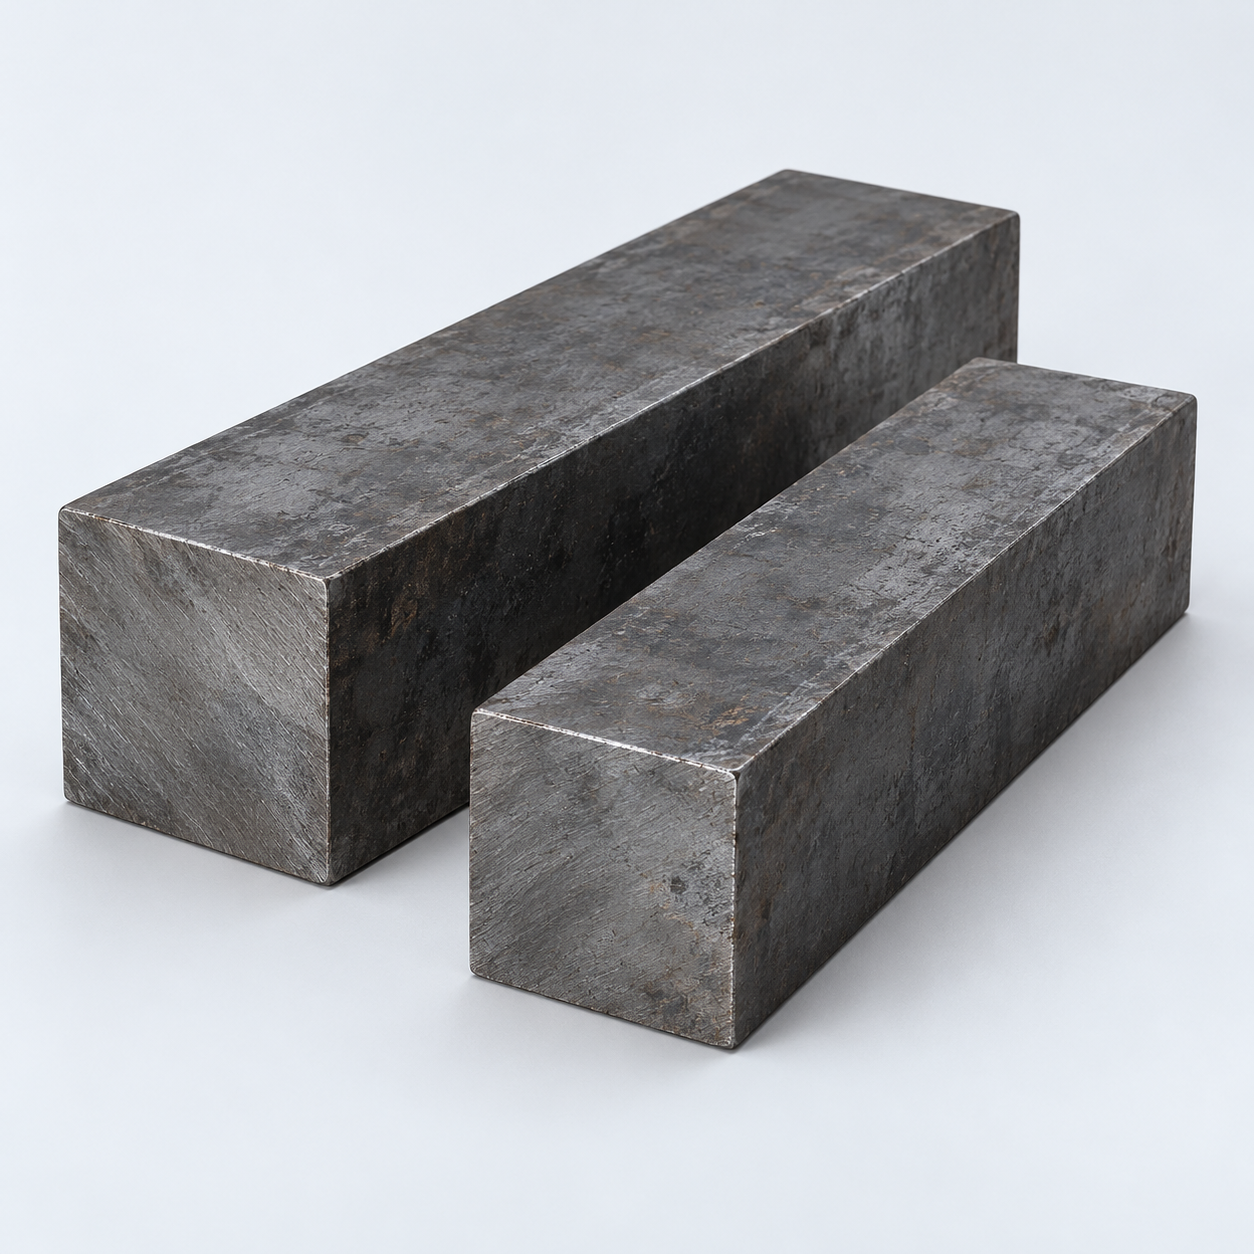 Carbon & Alloy SteelDiscuss grade and heat treatment›
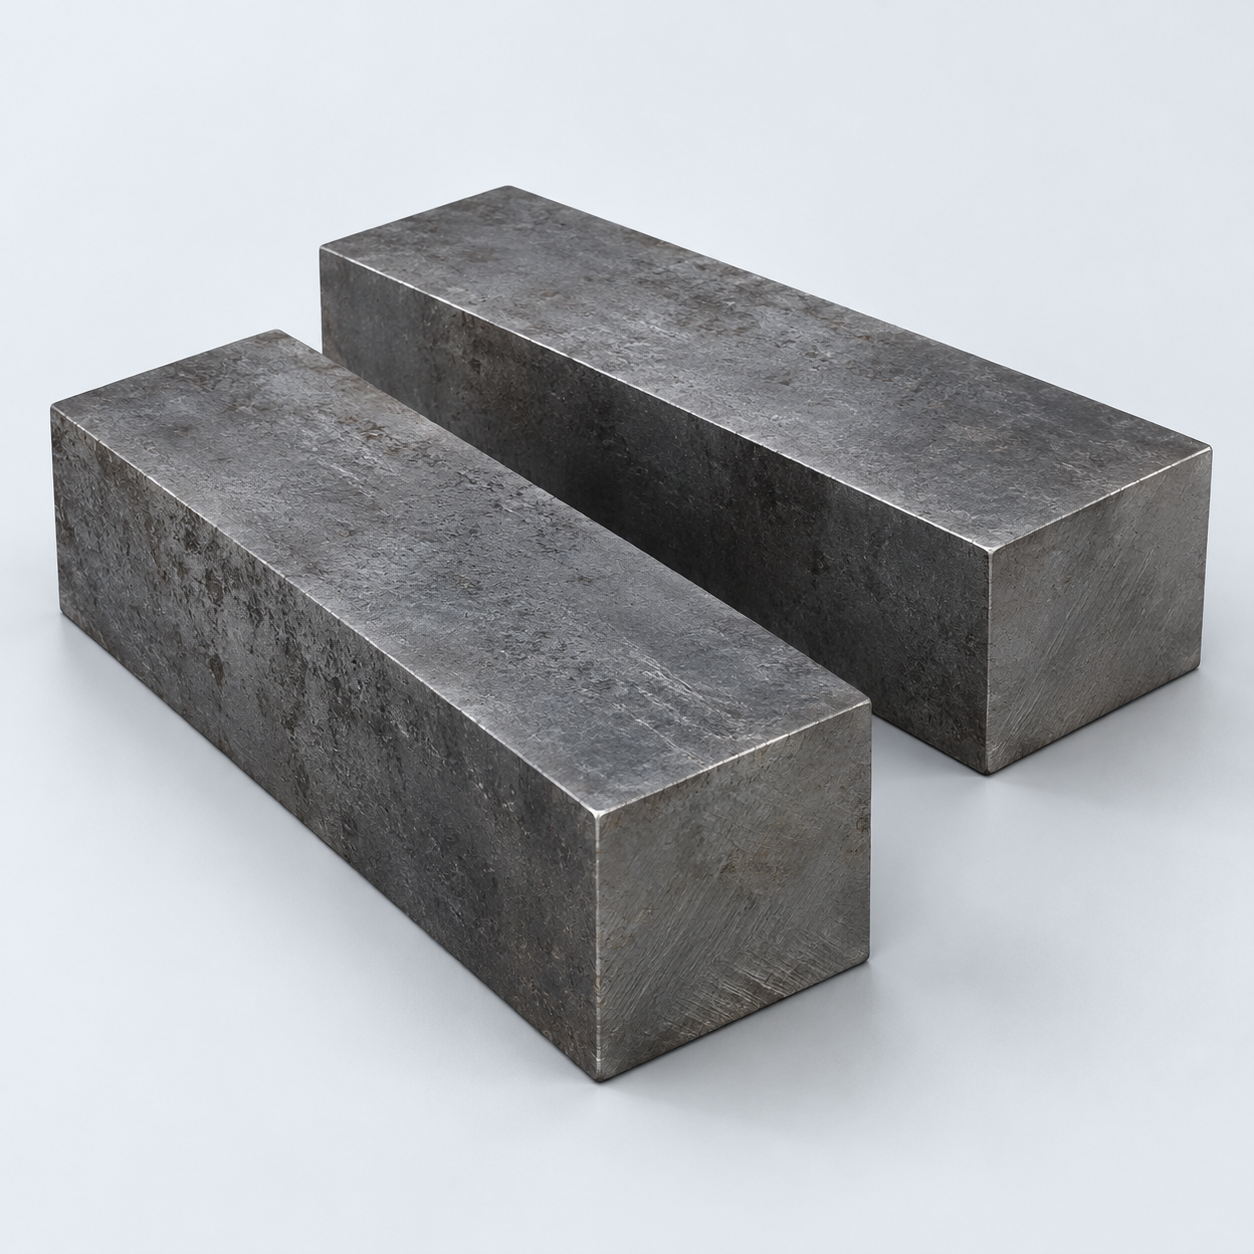 Tool SteelDiscuss tooling and wear needs›
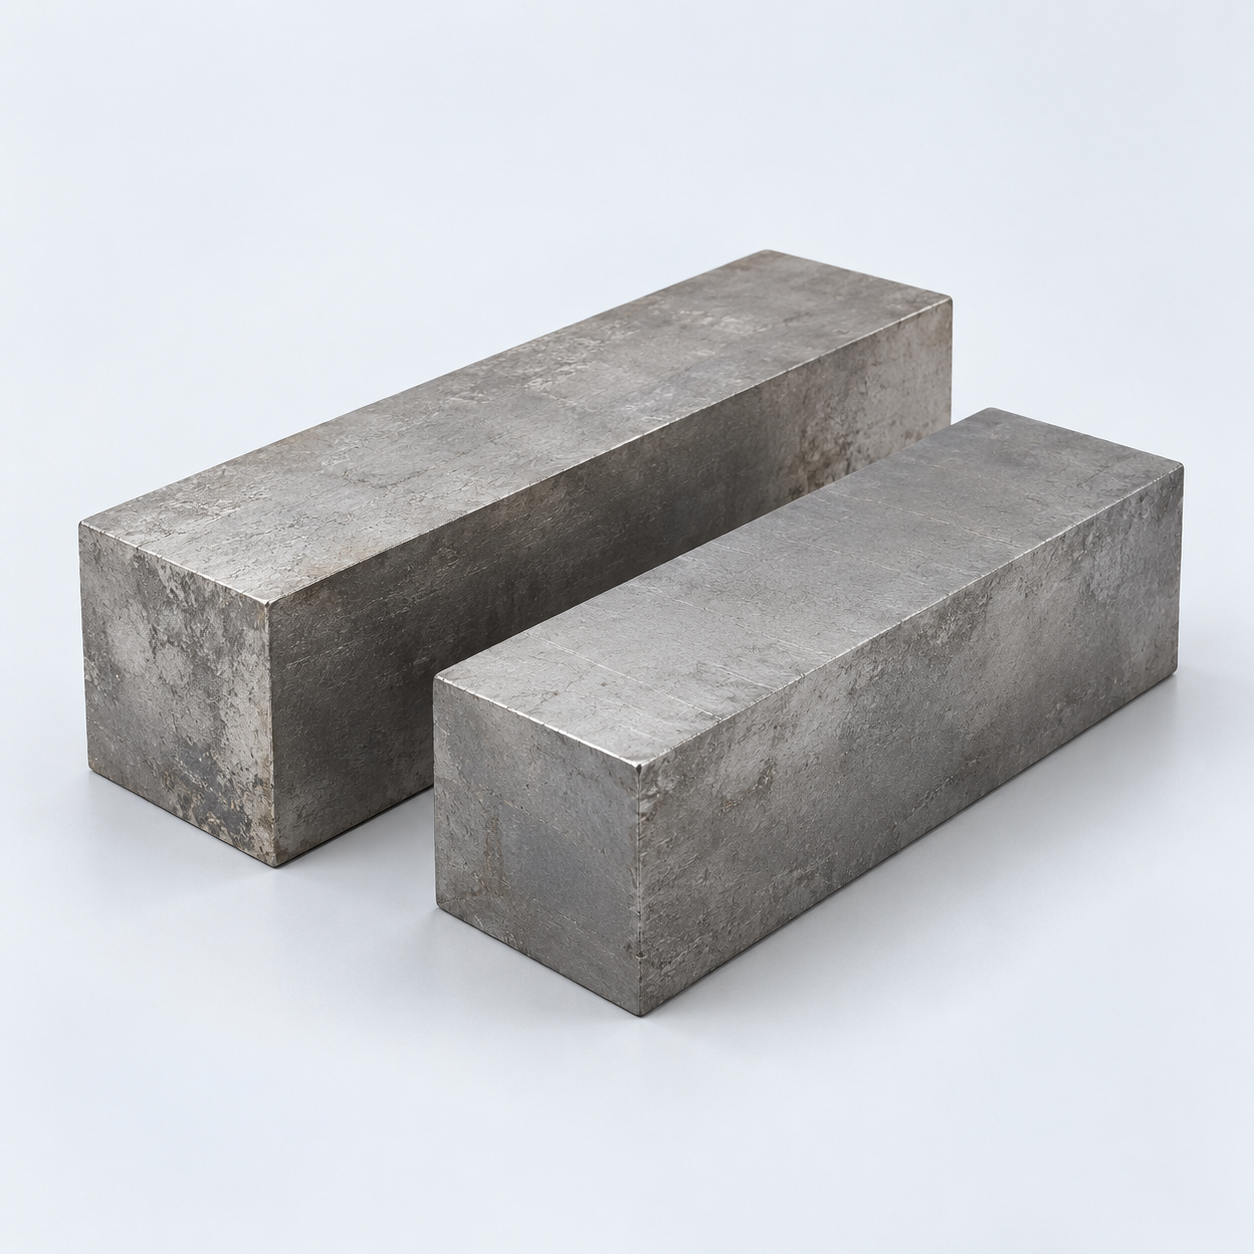 TitaniumReview grade and part geometry›
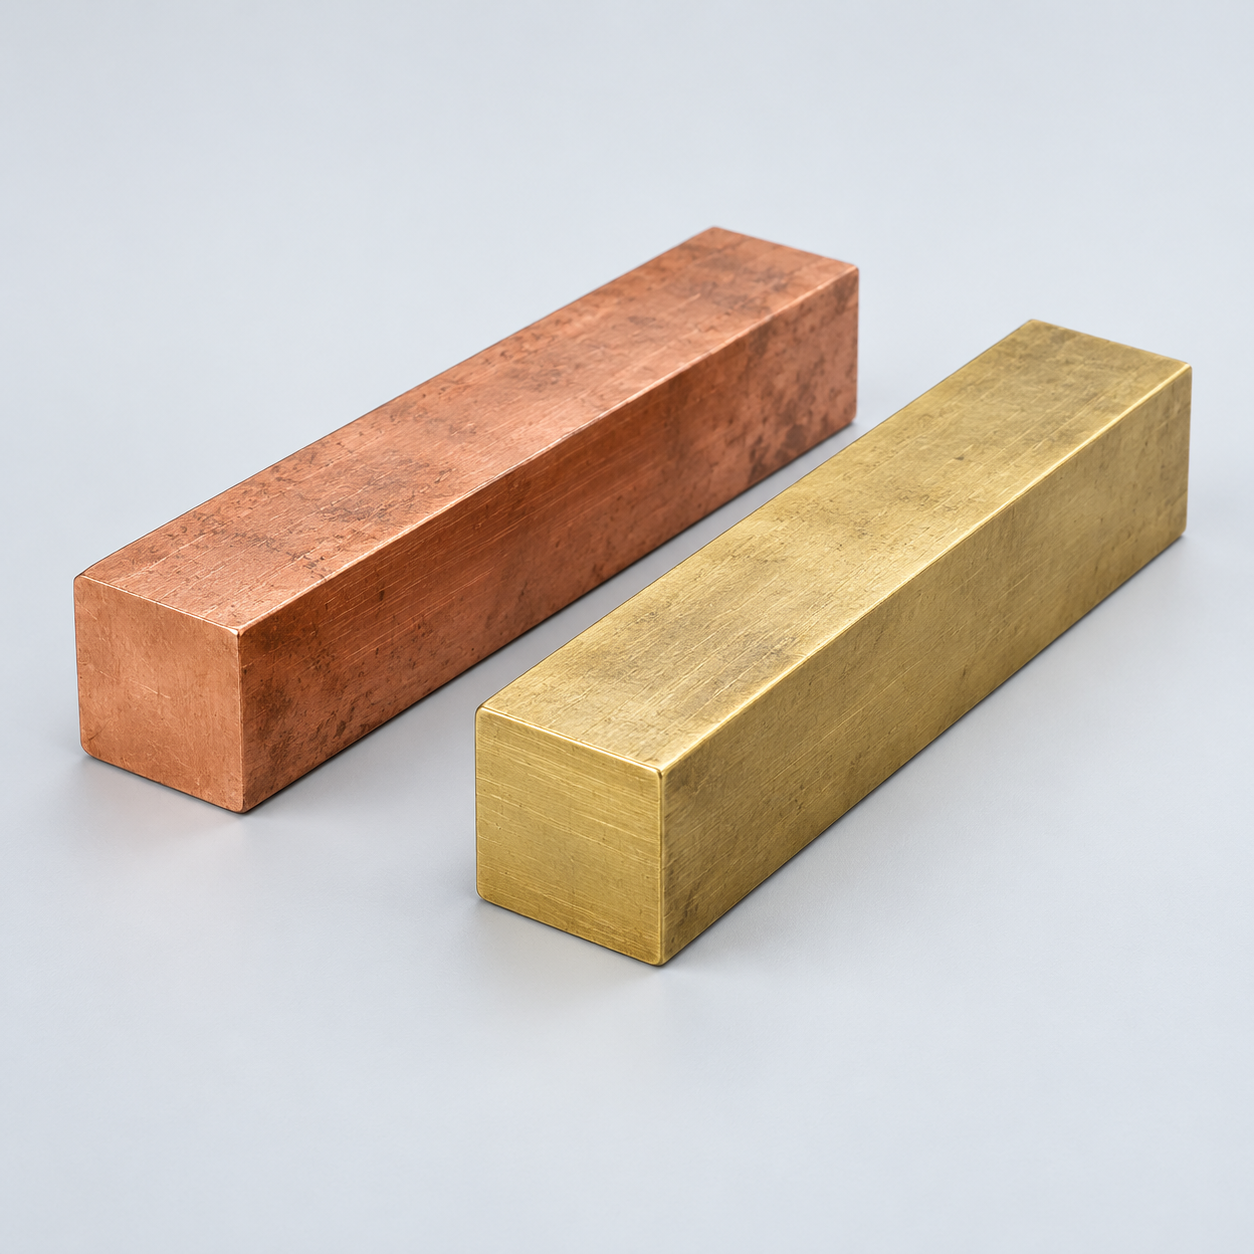 Copper & Brass & BronzeDiscuss conductivity and machining›
Match your polymer to function, process and environment.
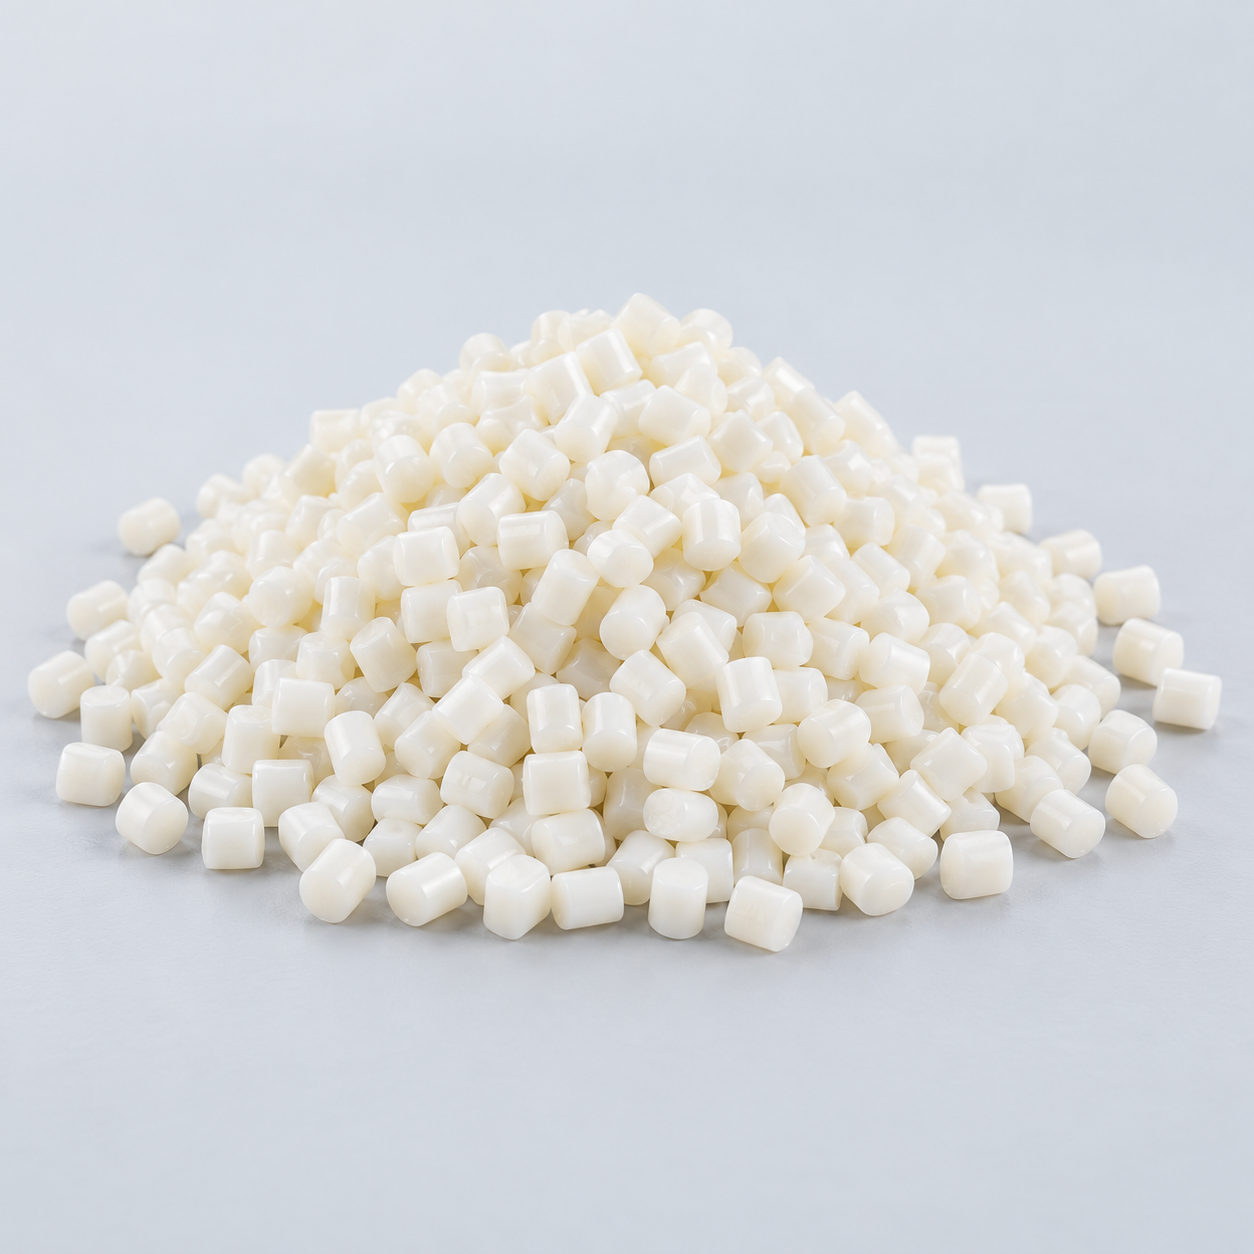 ABSReview enclosure and molding needs›
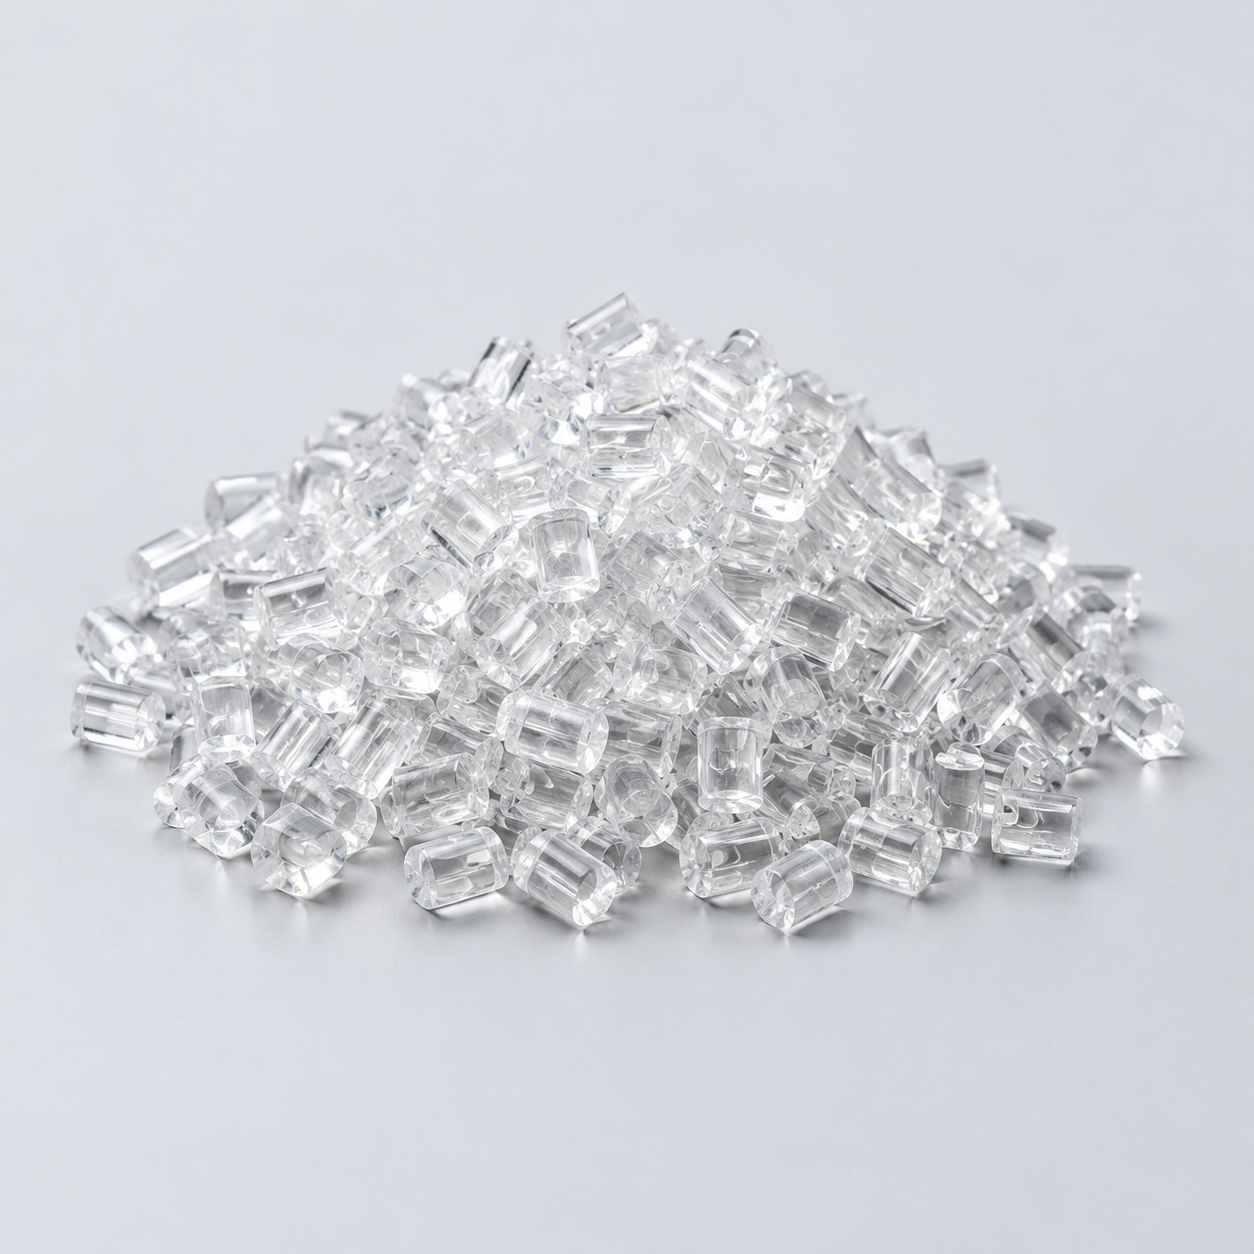 Polycarbonate (PC)Discuss clarity and impact needs›
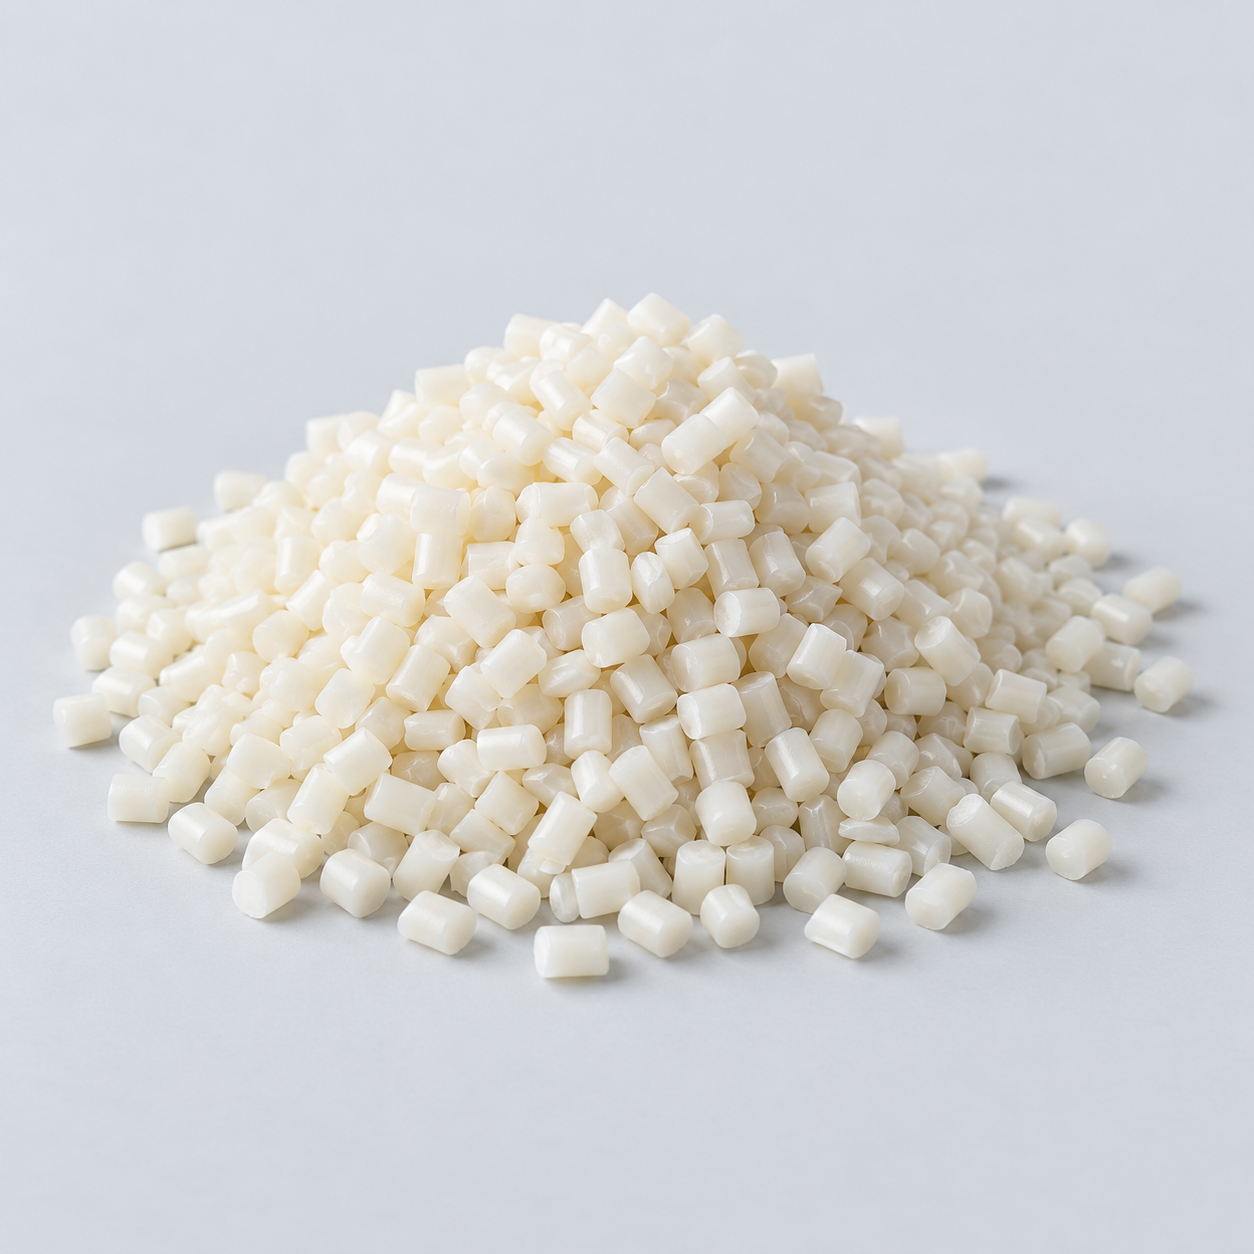 Nylon (PA)Review moisture and wear conditions›
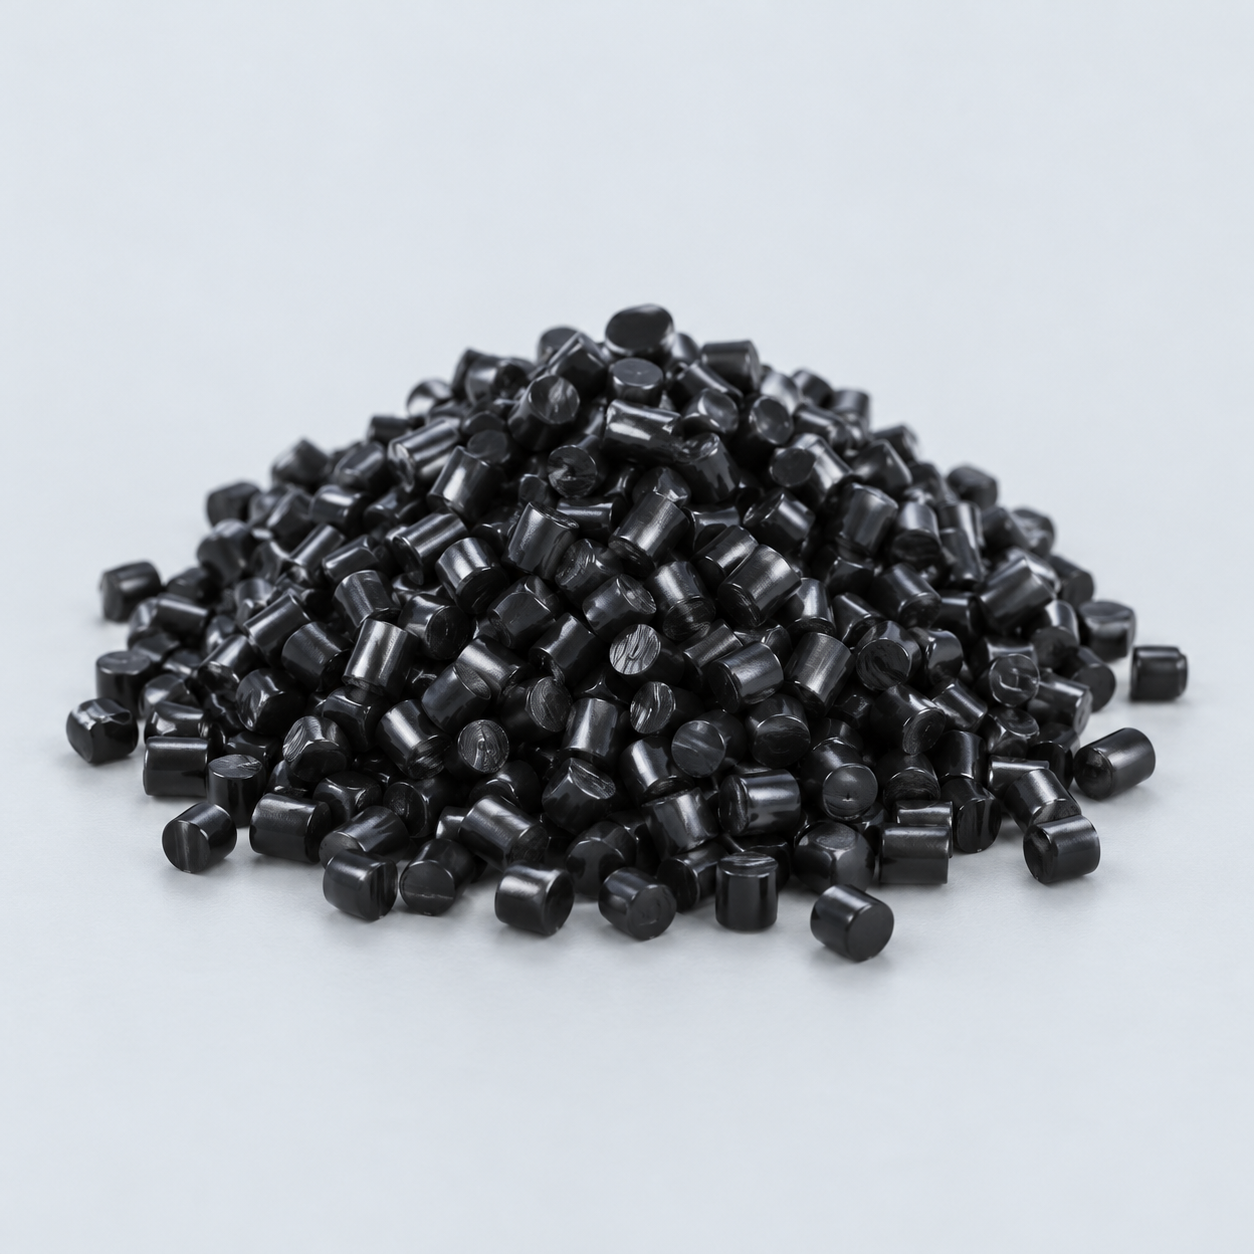 POM / AcetalReview fit and sliding features›
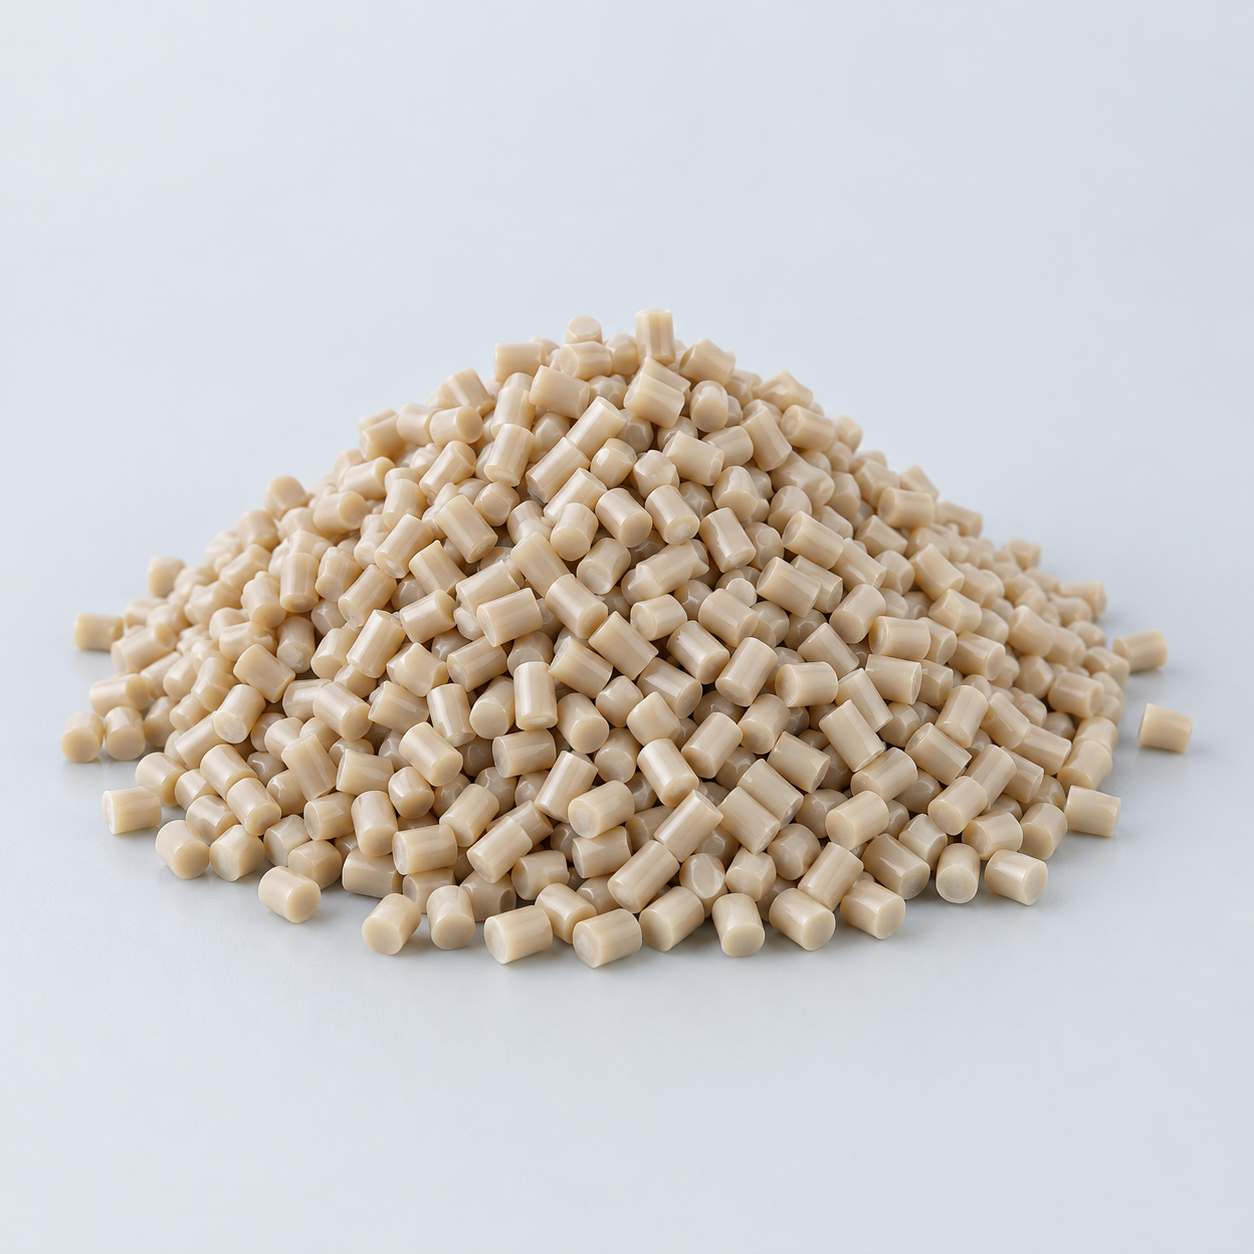 PEEKDiscuss operating conditions›
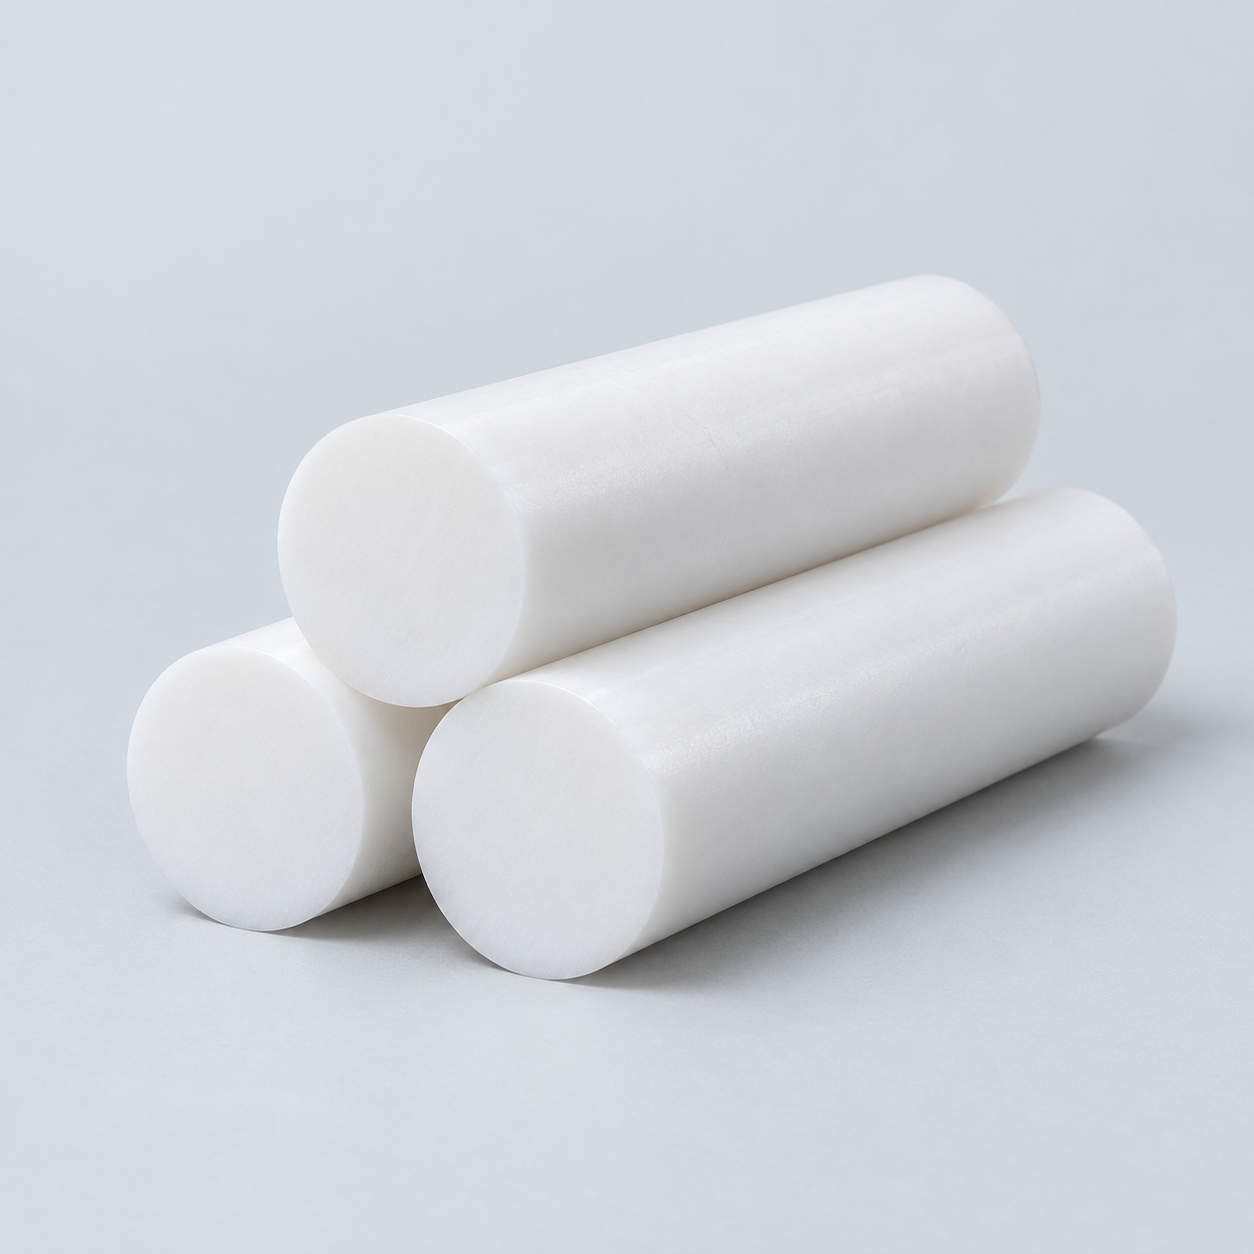 PTFEReview friction and chemical exposure›
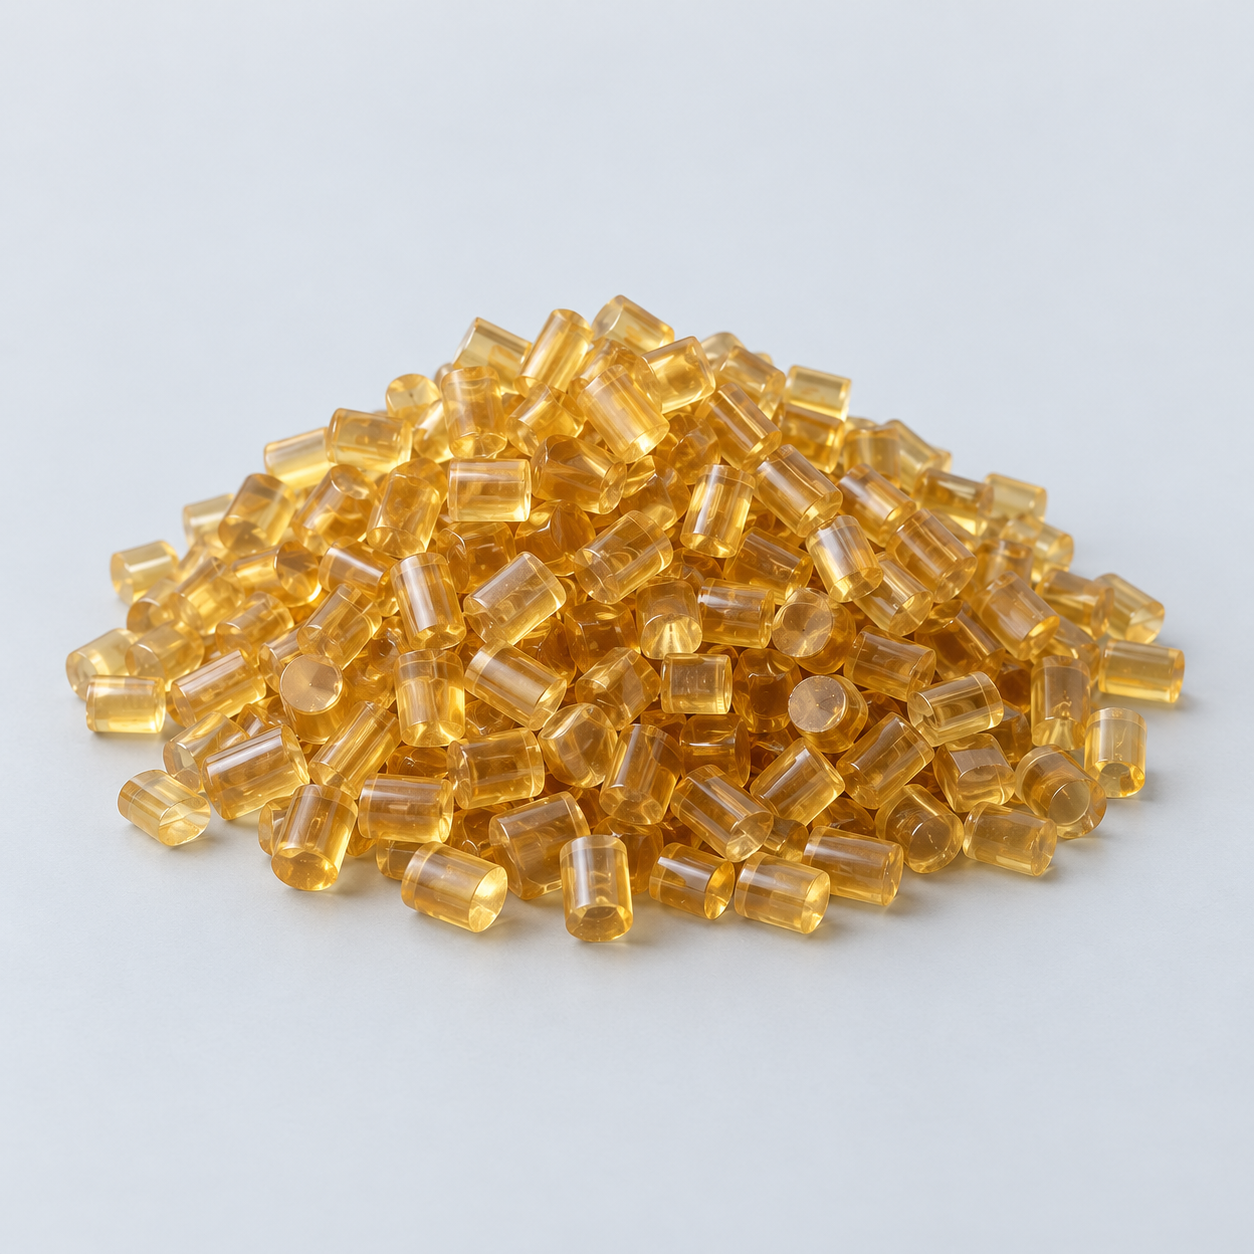 ULTEM / PEIDiscuss thermal and electrical needs›
Confirm grade availability and application requirements.
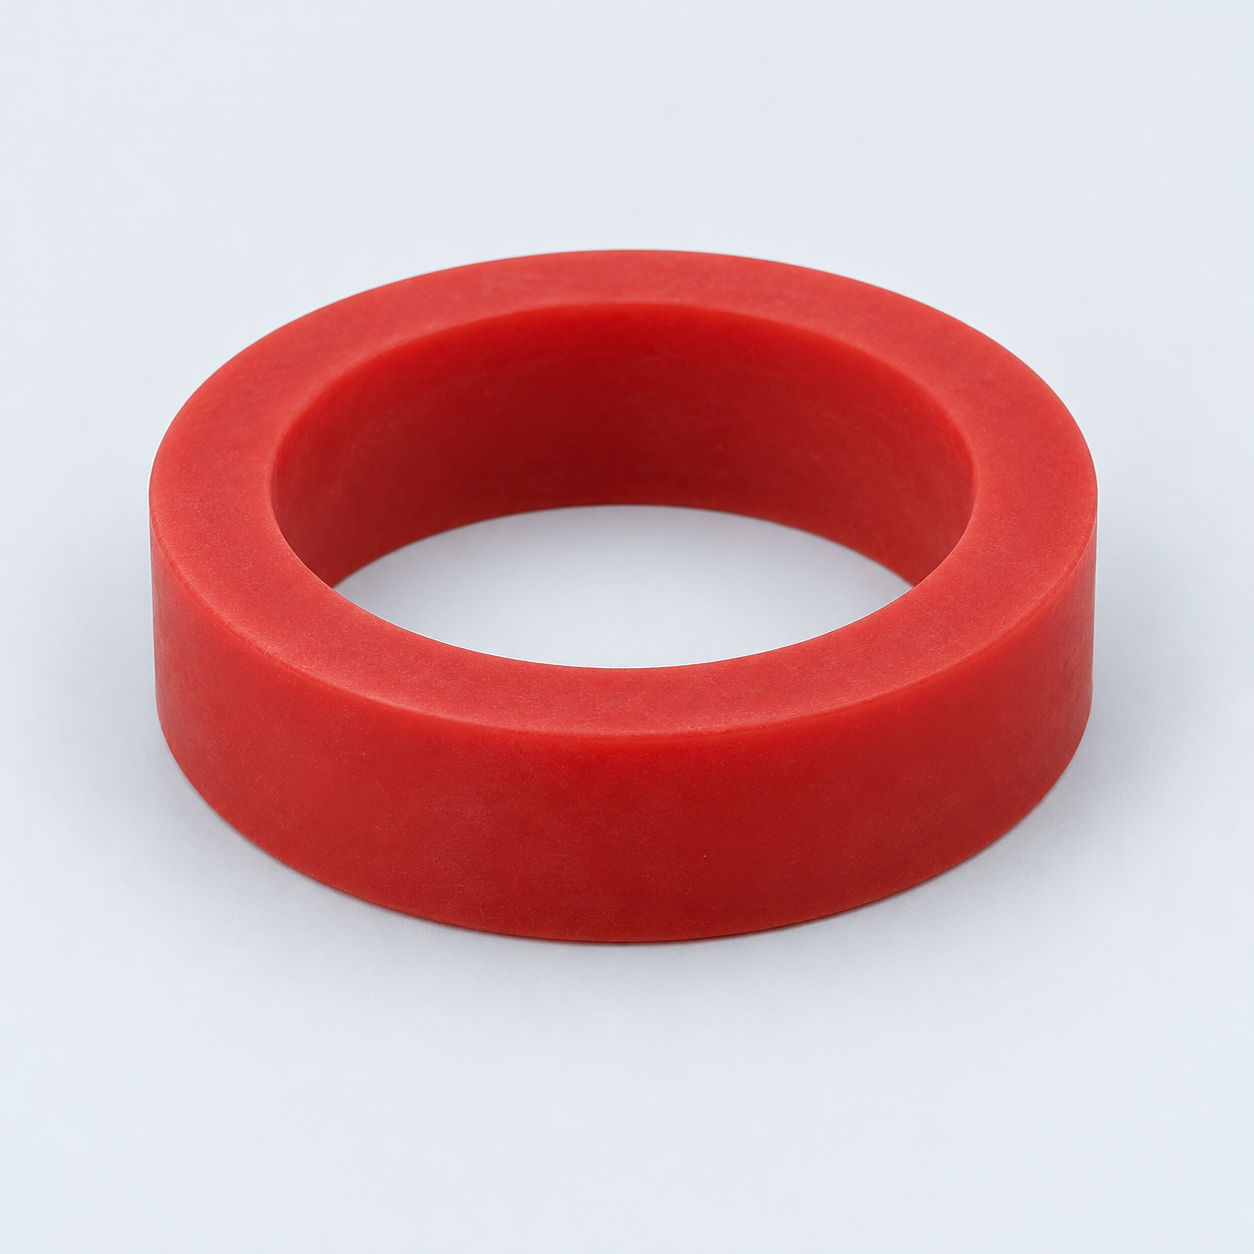 Silicone / LSRDiscuss flexible component needs›
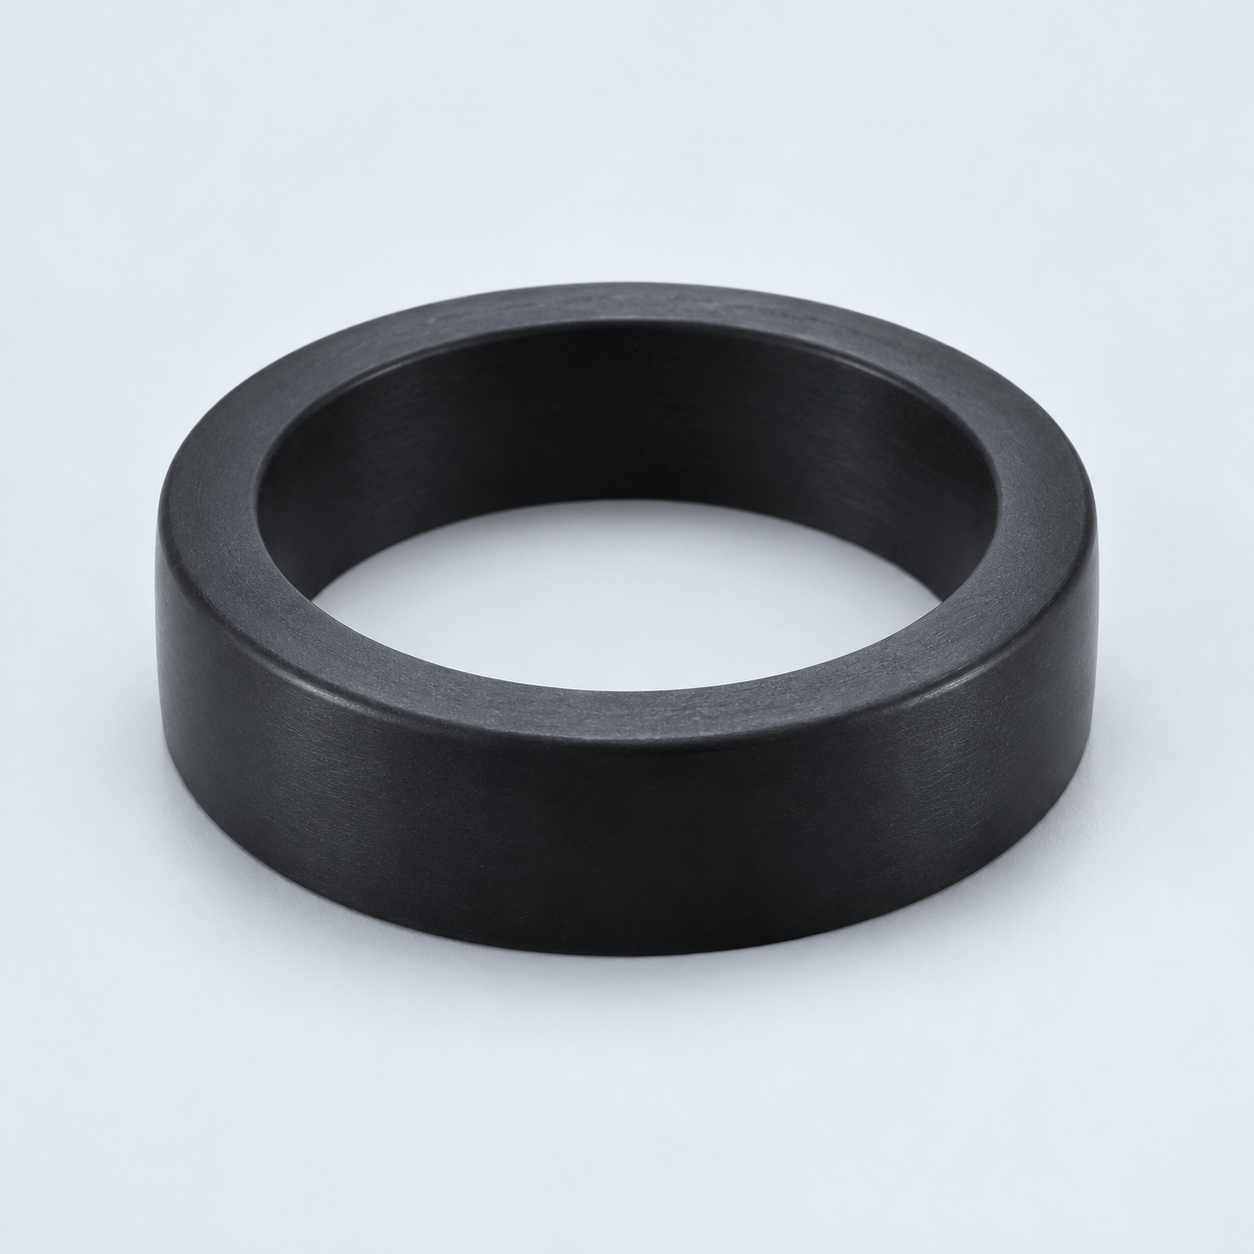 TPU / TPEReview flexibility and processing›
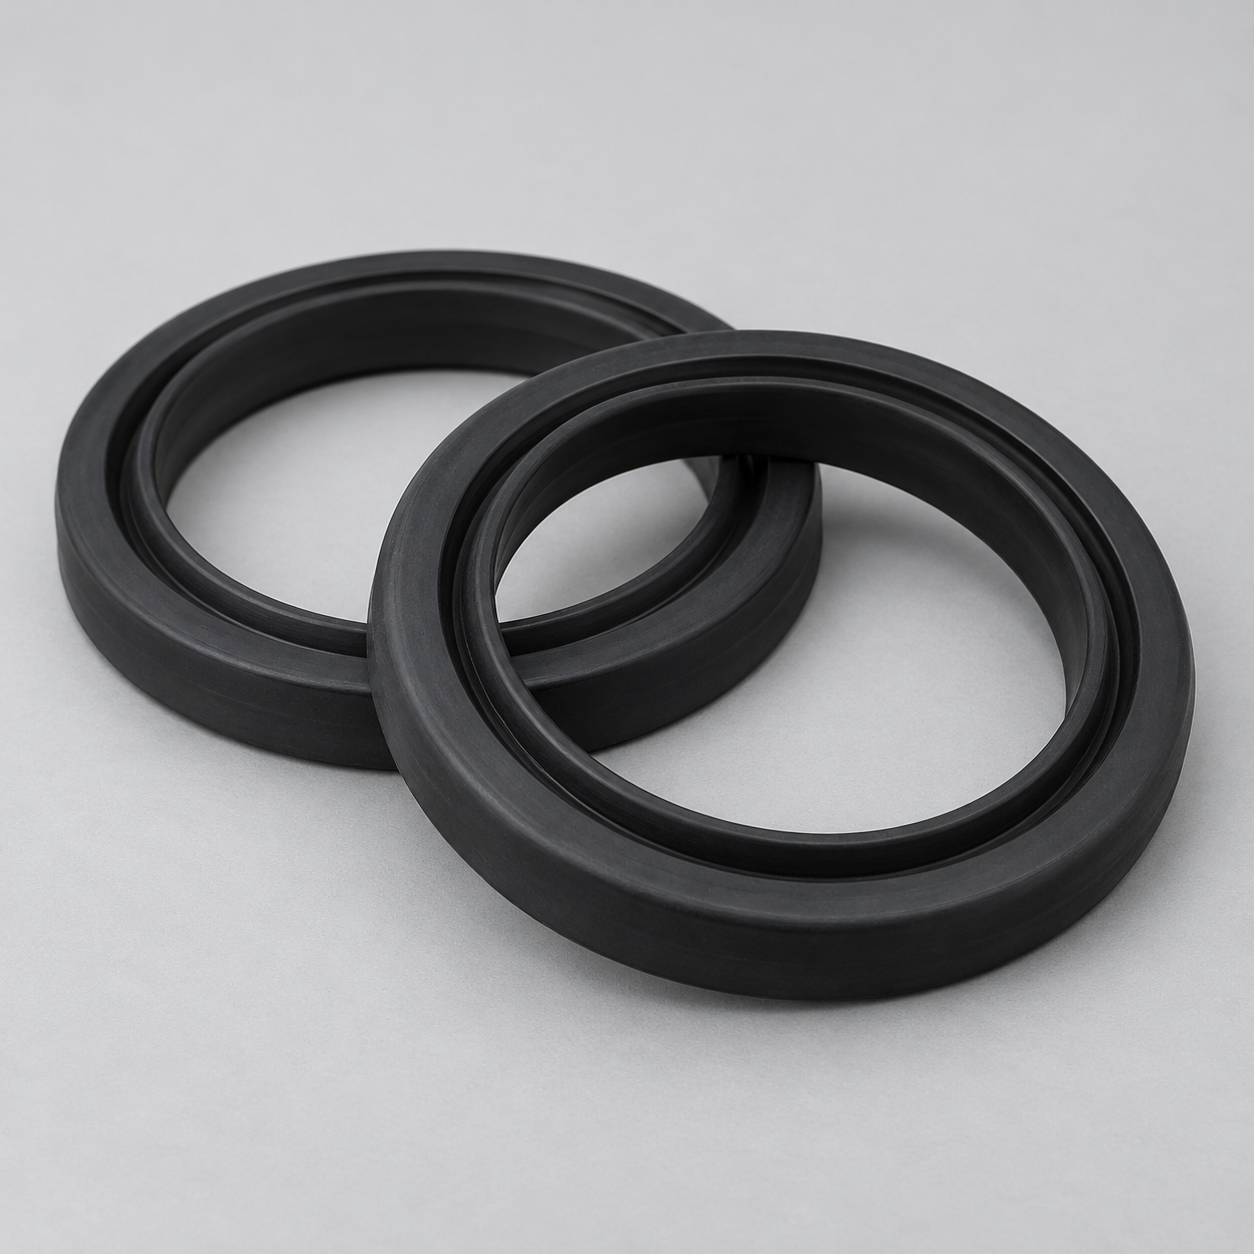 EPDMReview weathering and chemical exposure.›
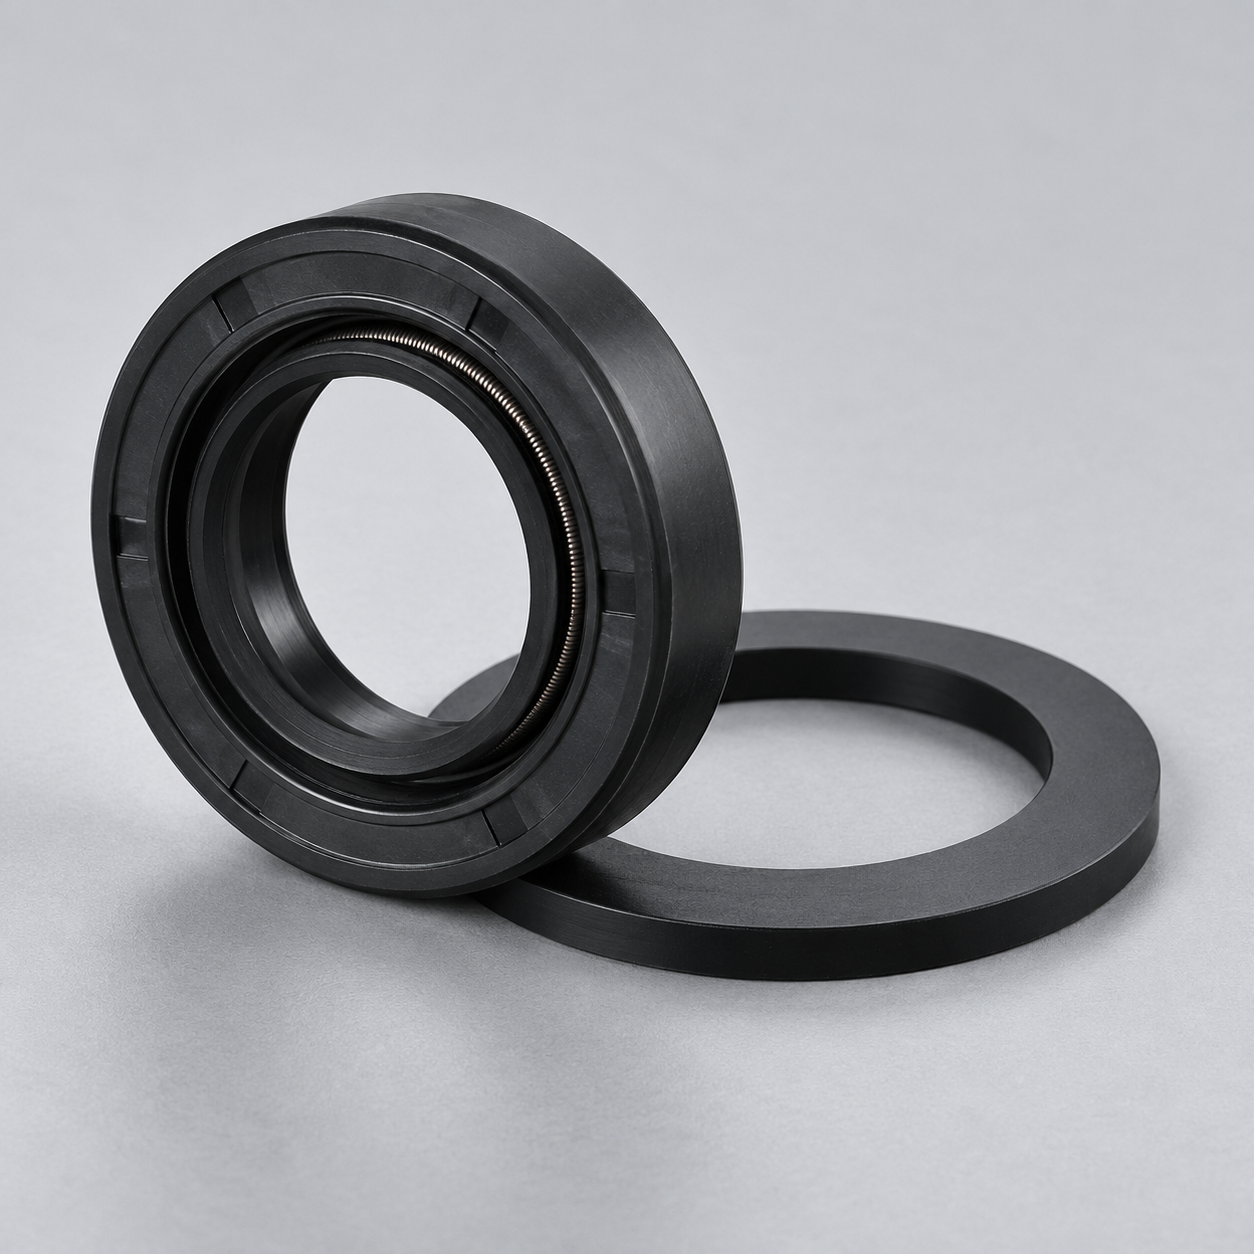 NBRReview oil and fuel exposure.›
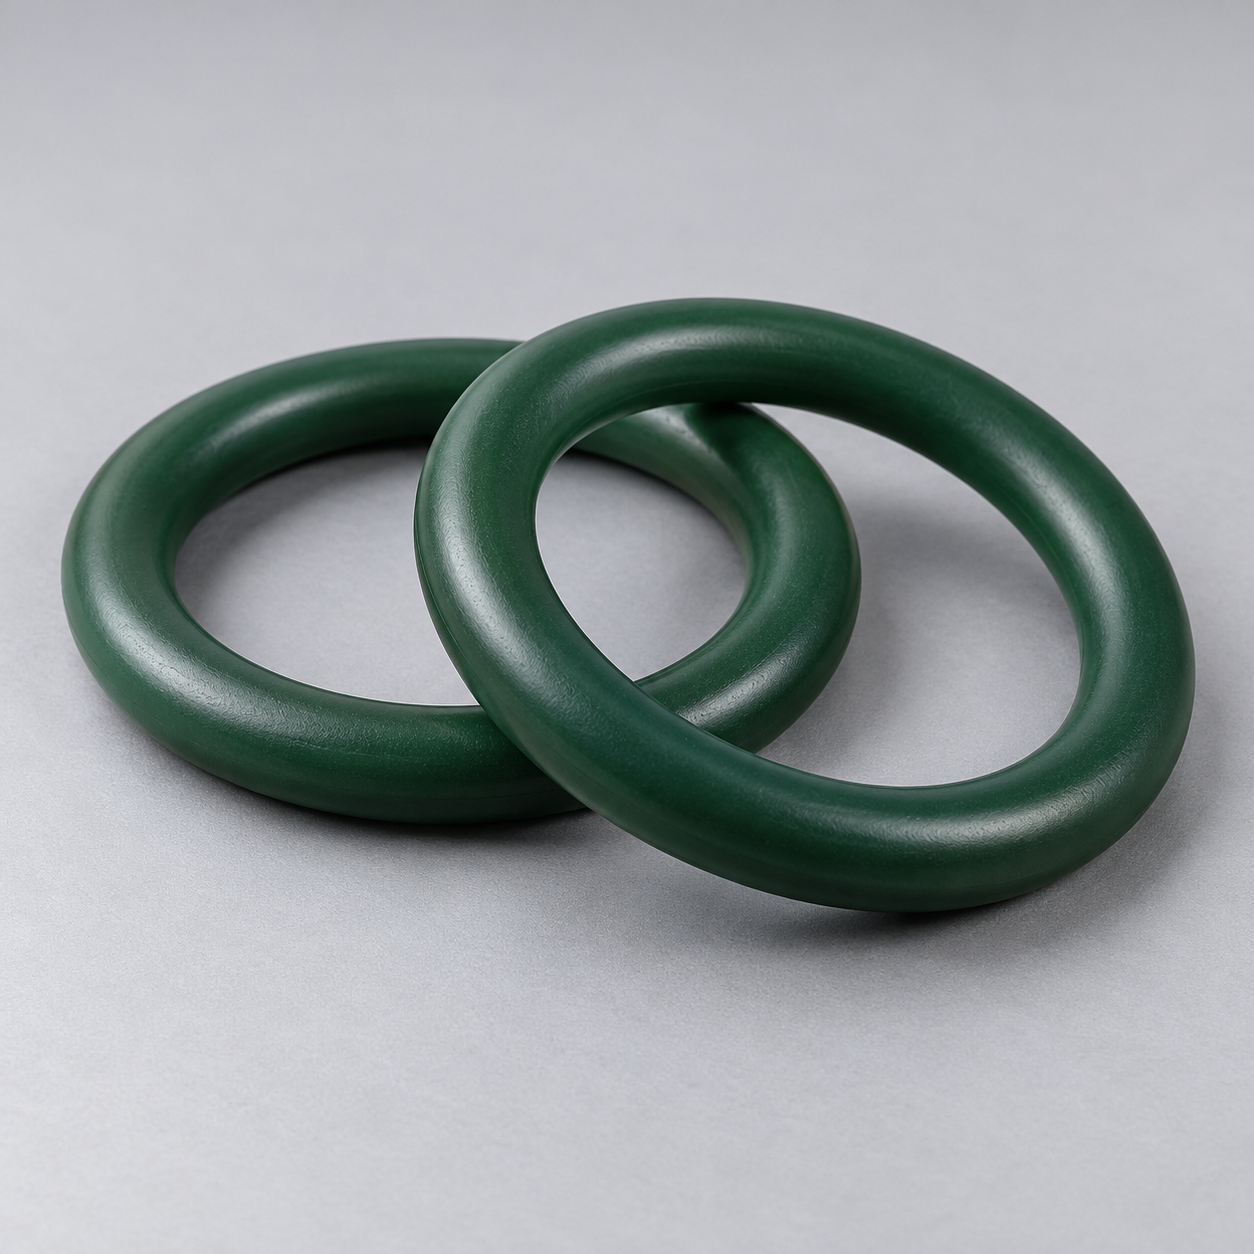 FKMReview temperature and chemical exposure.›
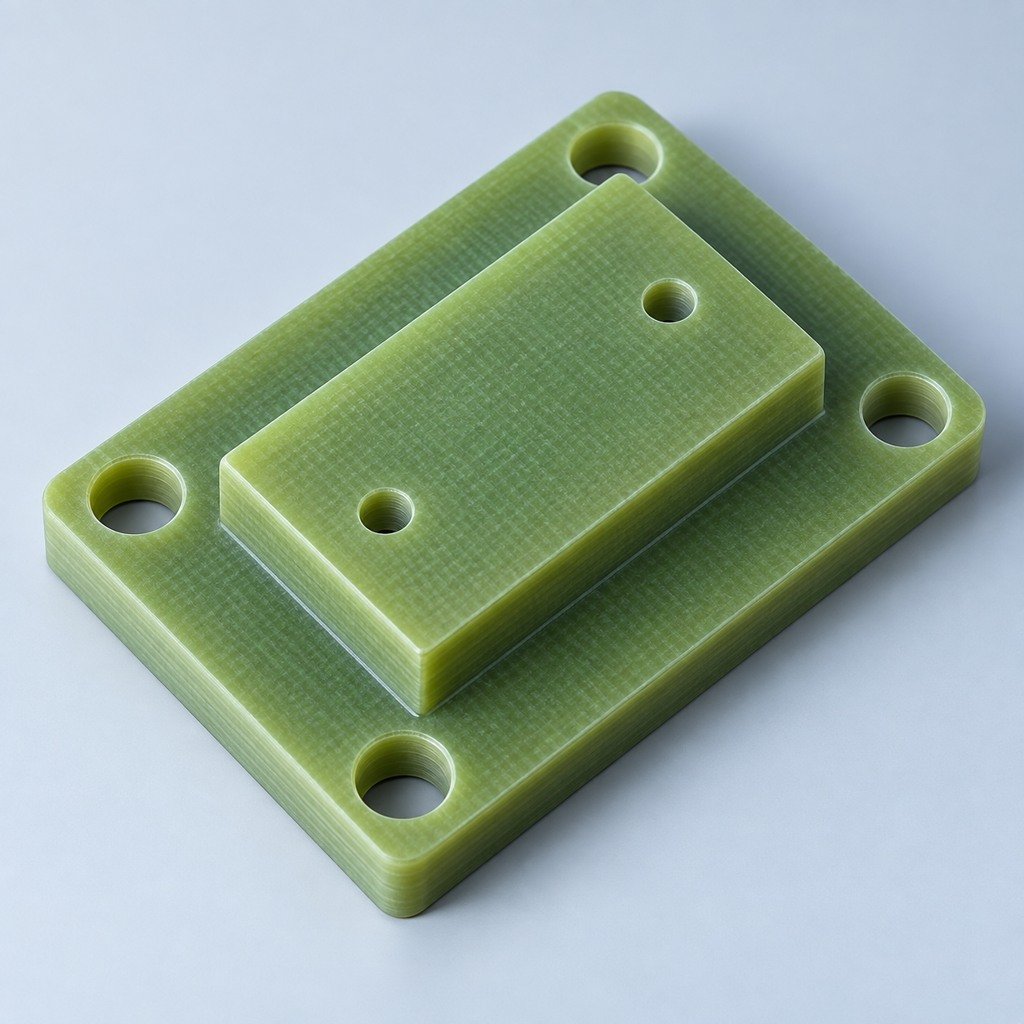 G10 / FR4Review insulation and laminate needs›
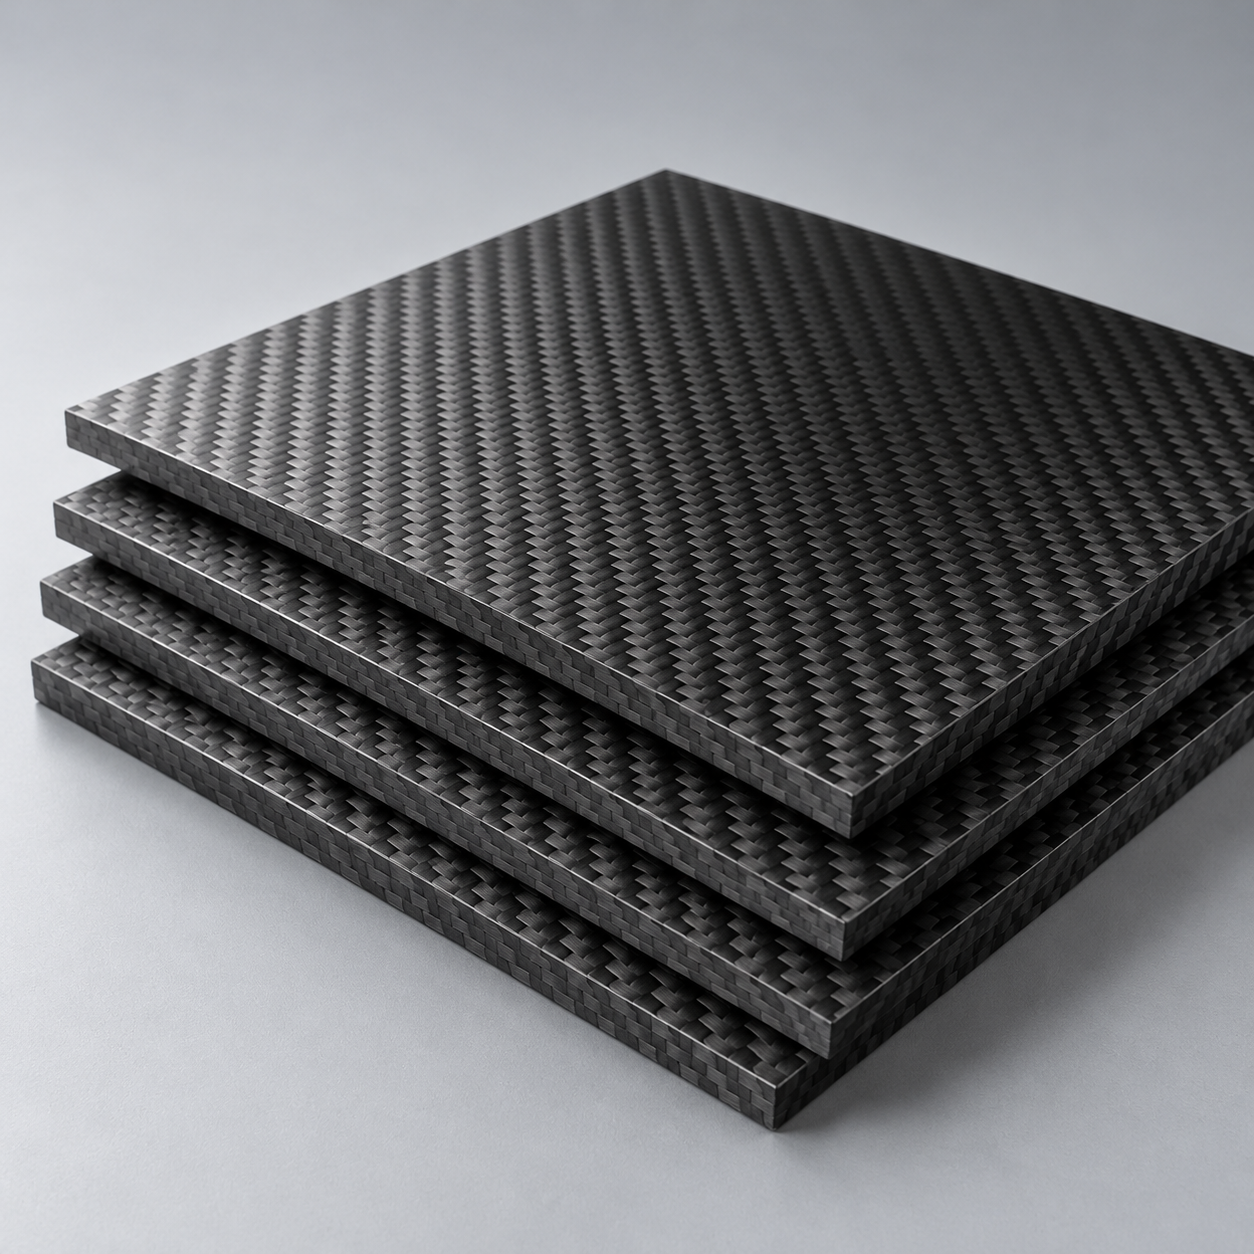 CompositesReview stiffness, weight and laminate.›Customer-Specified MaterialsConfirm your grade and requirements.›Other Specialty MaterialsDiscuss your application and grade.›
Practical guidance for your part geometry and material decisions.
Prepare your process, budget and sourcing questions.
Build your knowledge before production.
Learn who we are and how we operate.
Find our U.S. support team or start a conversation.
YOUR INTERFACES · YOUR CONDITIONS · YOUR ACCEPTANCE
Define your inverter cooling component around the actual heat losses, module layout and available airflow or coolant. Review the shared baseplate, mounting datums, contact stack and delivered manufacturing scope before approving the sample.
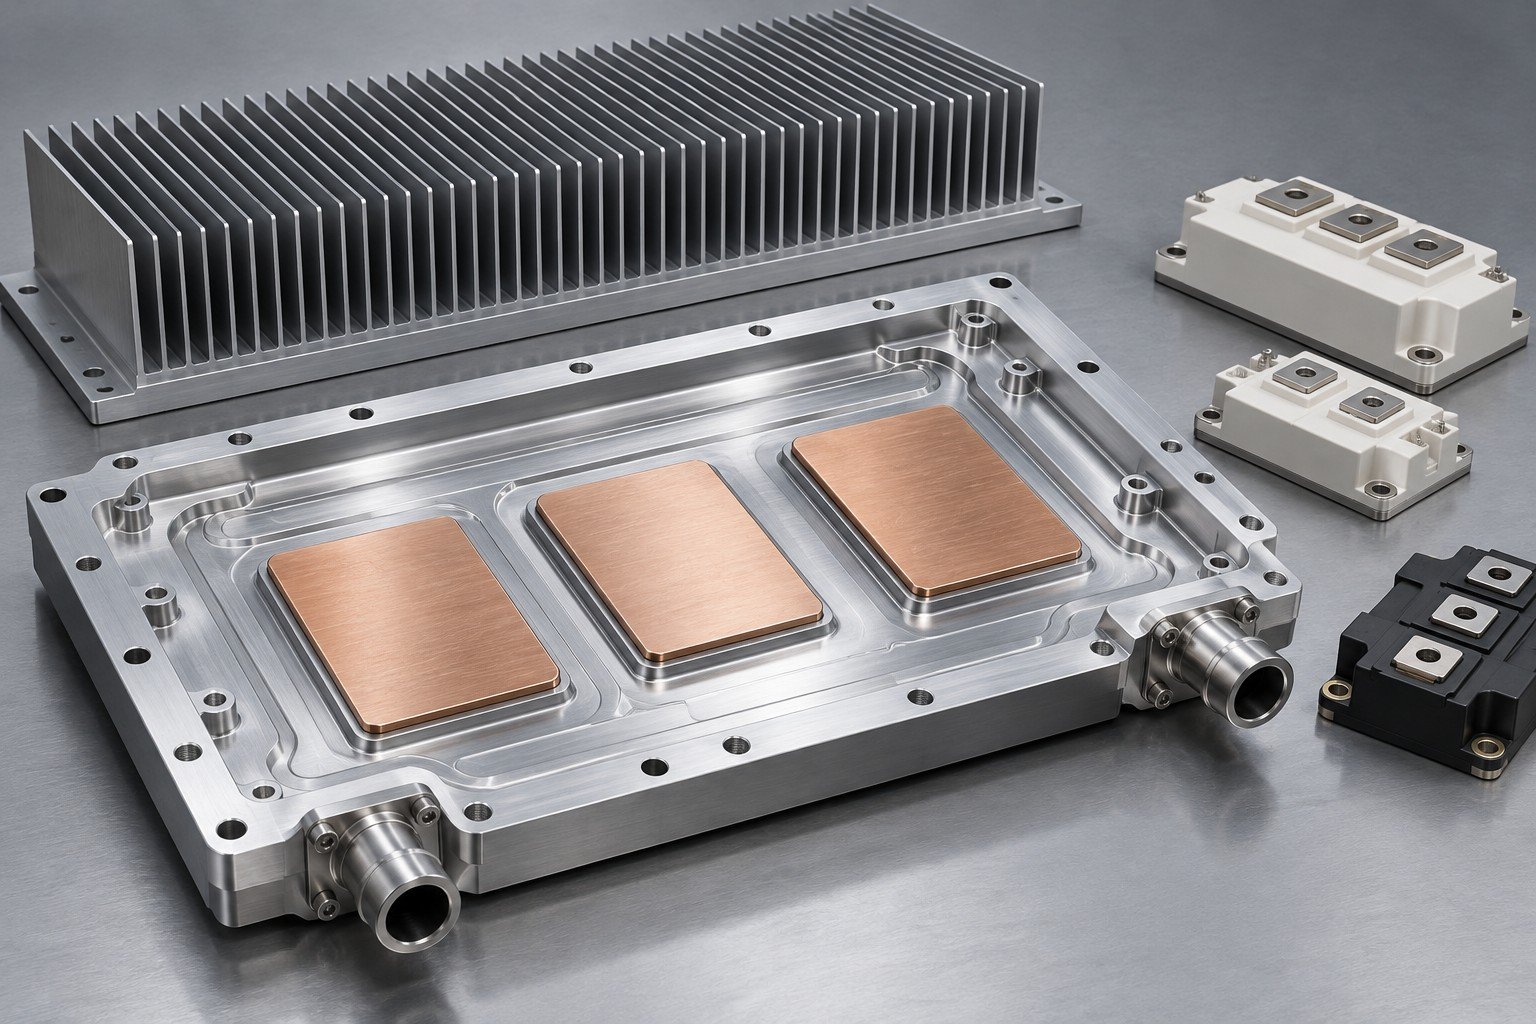
Illustrative component concept
Critical geometry & interfaces
Grades, condition & compatibility
Defined route & final state
Agreed methods & records
Define the heat-source layout, contact plane, installation and sample evidence together.
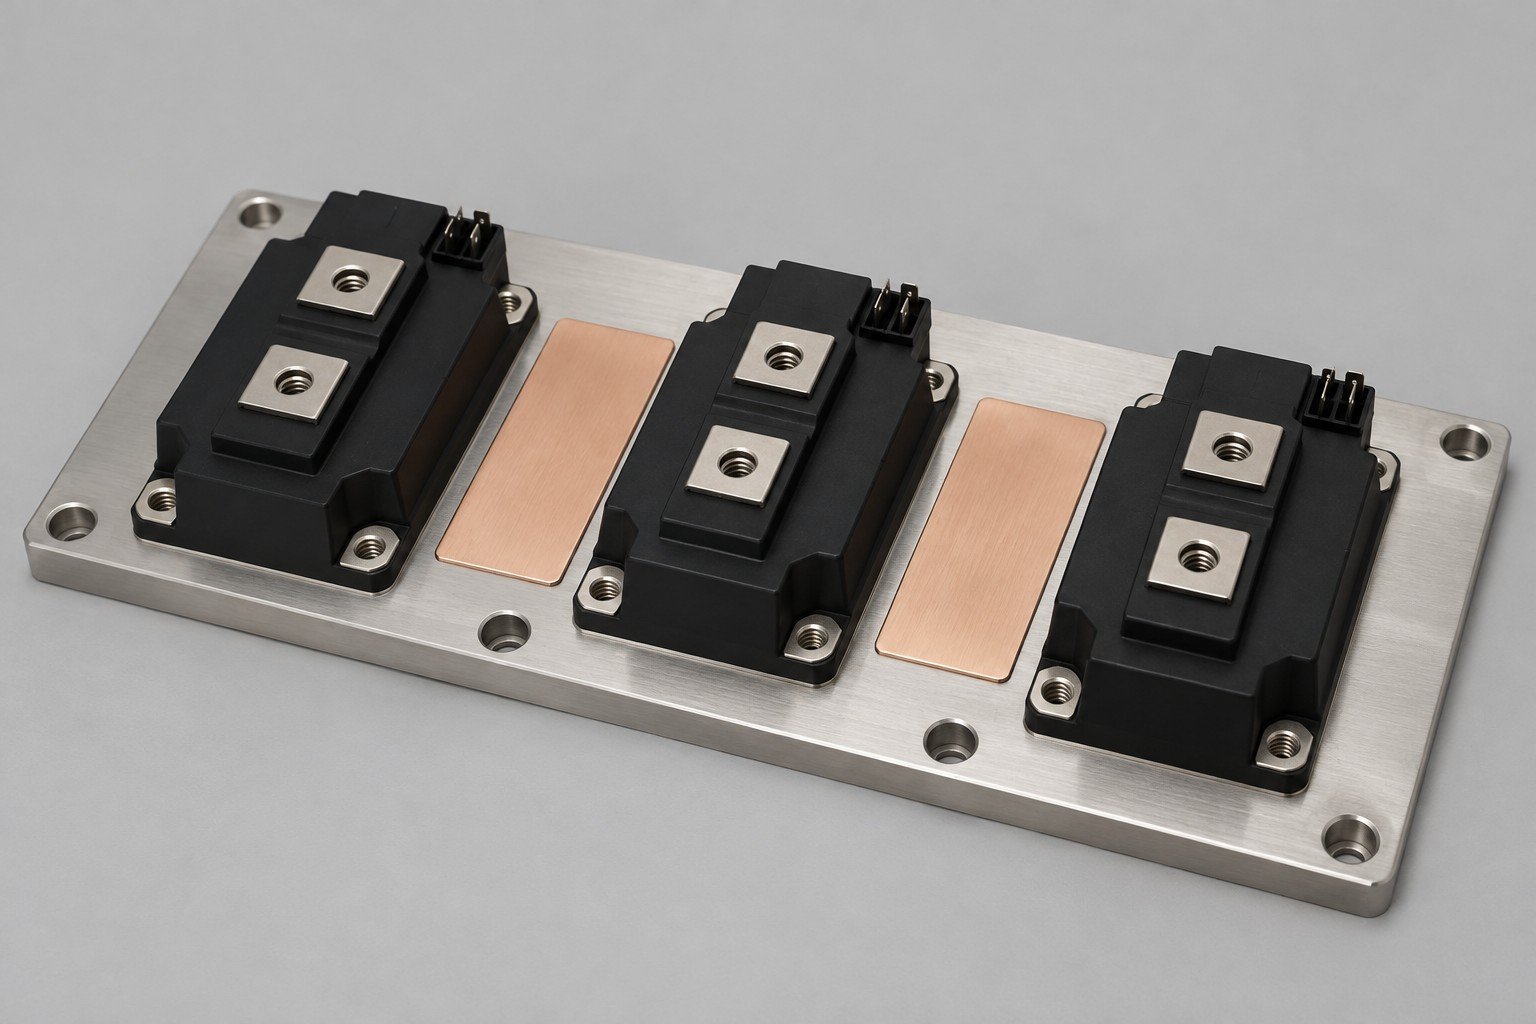
Share the loss distribution across your power devices and other heat sources, switching conditions, duty cycle and temperature limits. Define the validation owner and the installed operating cases, including sustained load and relevant transients.
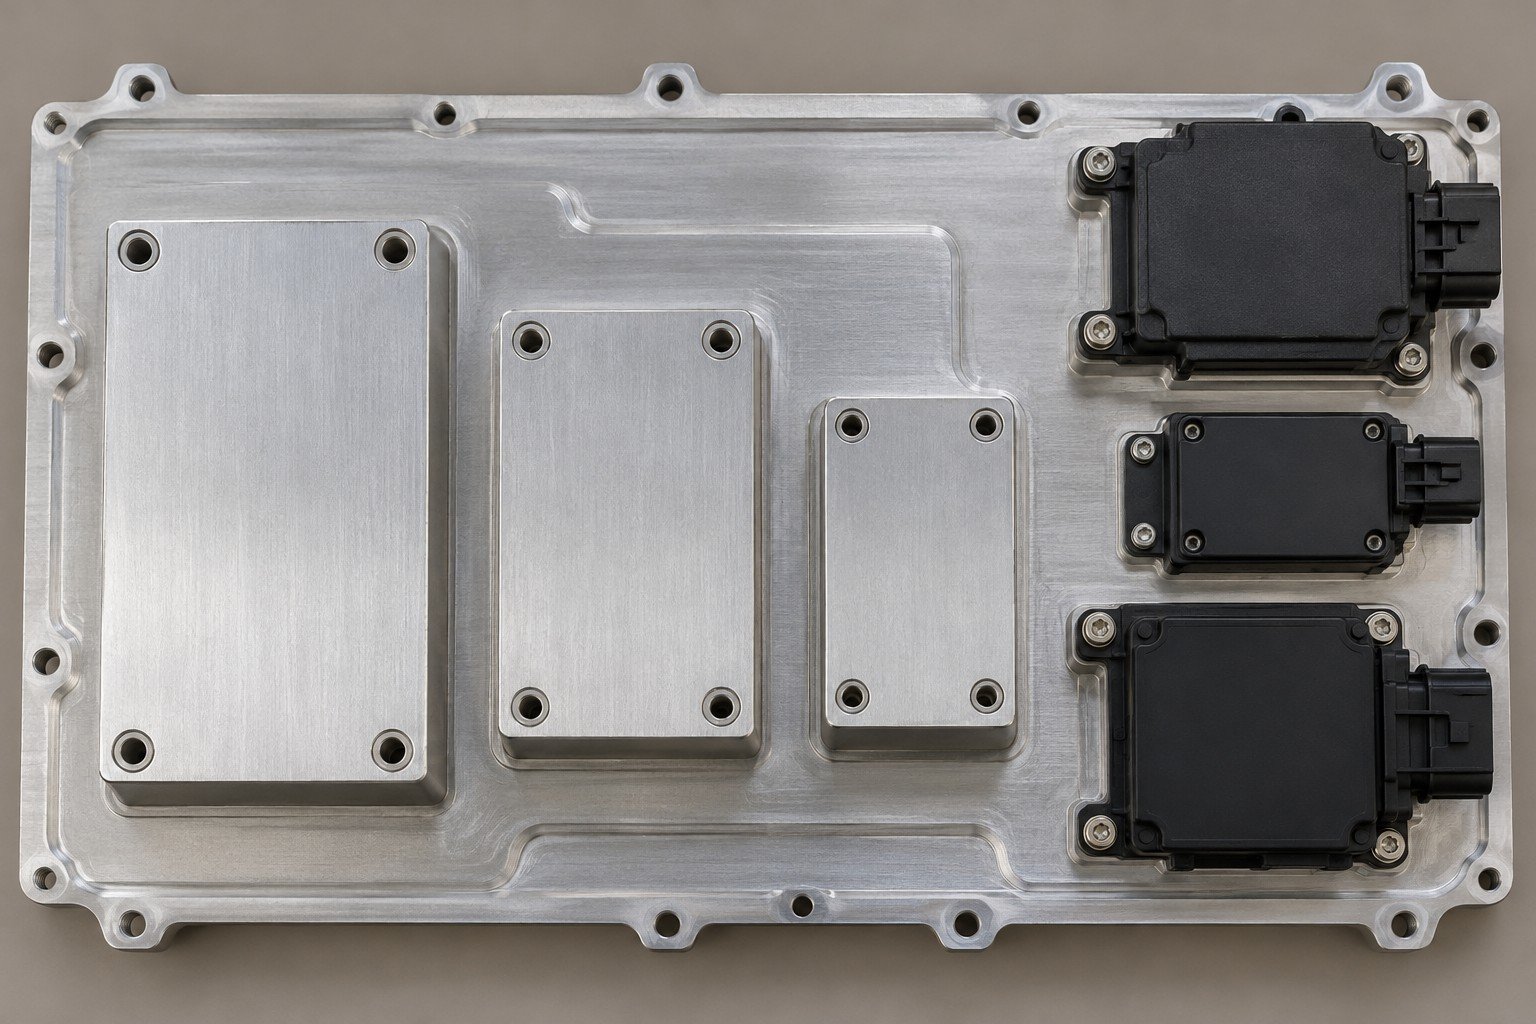
Your inverter cooling mounting interface should identify exact module part numbers, contact footprints, TIM, electrical isolation responsibility and fasteners. Define inverter cold plate mounting holes, datums, adjacent keep-outs and service access on the controlled drawing.
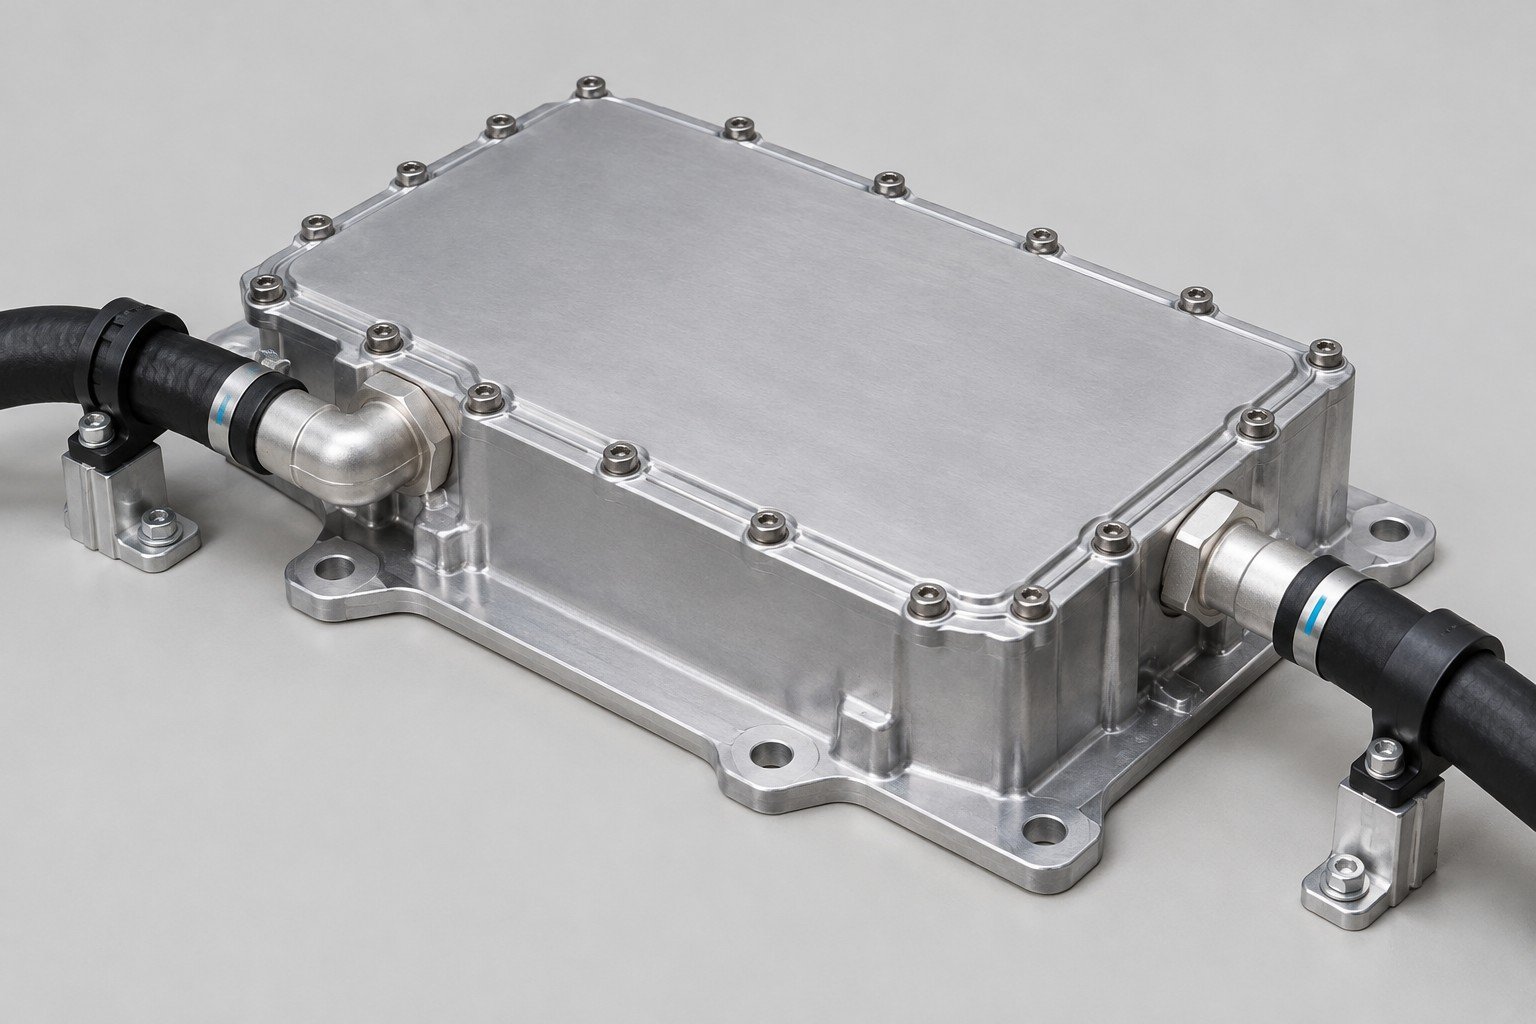
For an air-cooled part, specify available airflow and the enclosure. For a liquid-cooled part, state fluid, inlet temperature, flow and allowed inverter cooling plate pressure drop at named measurement points. Mark which fittings, seals and brackets are supplied.
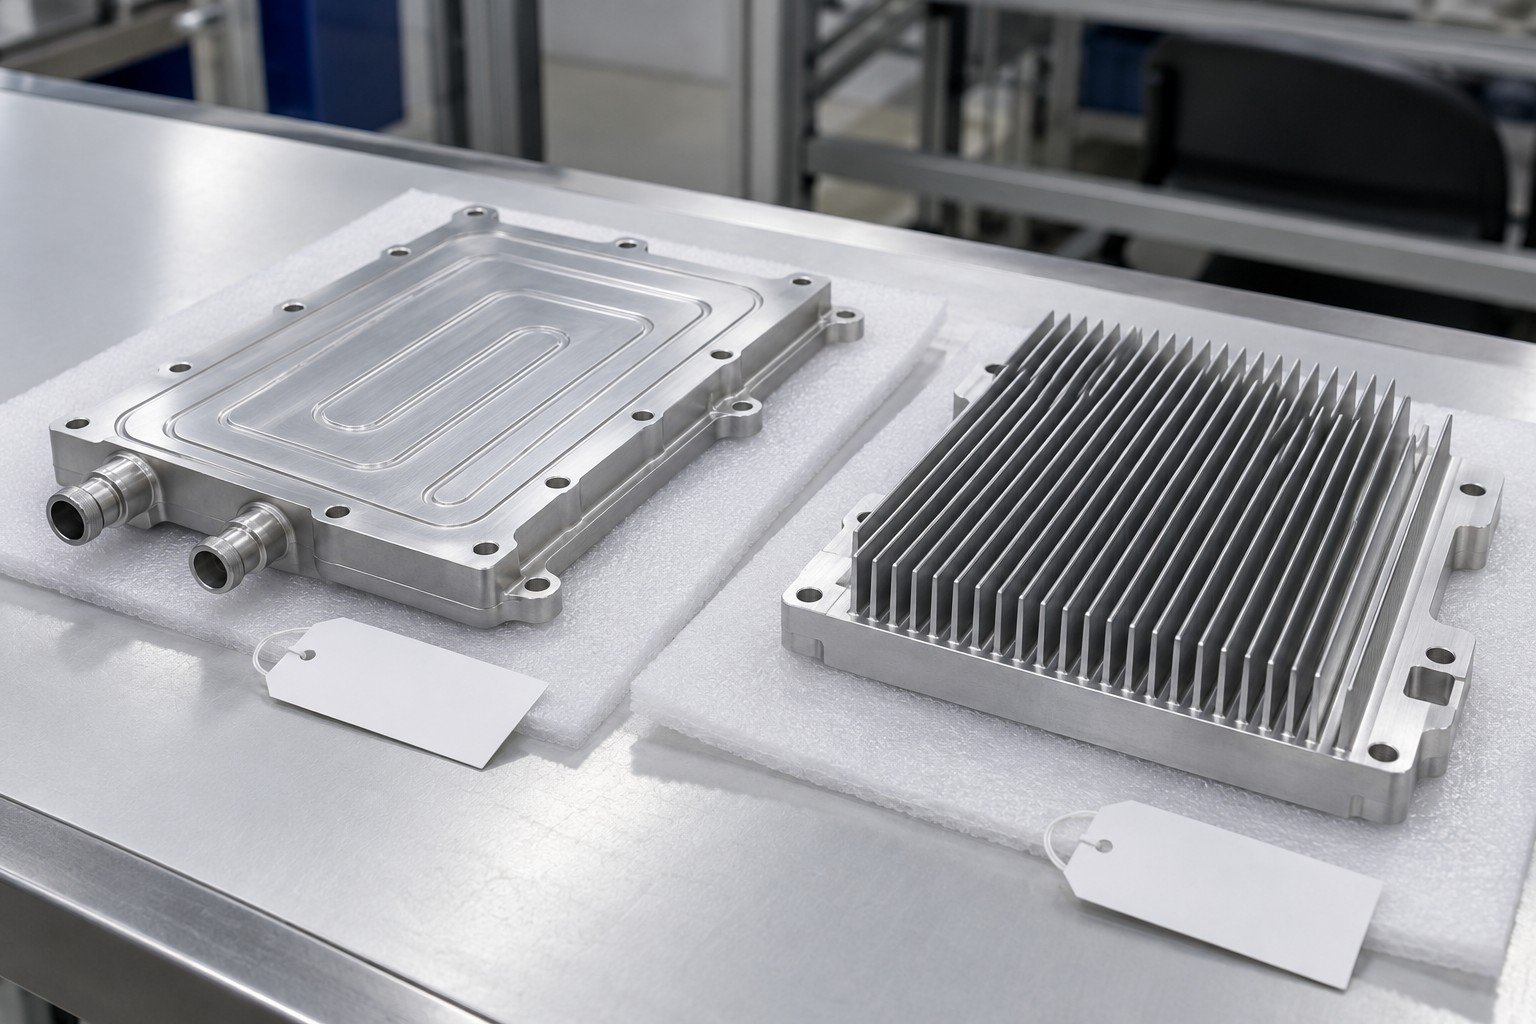
When selecting an inverter cold plate manufacturer, compare the supplied part boundary and evidence against your drawing. Your custom inverter cold plate quote should identify material, manufacturing route, final surface state, quantities and dimensional, leak and separate performance checks.
Illustrative engineering concepts
Choose a route against the actual module and installed conditions. These concepts do not establish package compatibility, an operating power range or complete converter qualification.
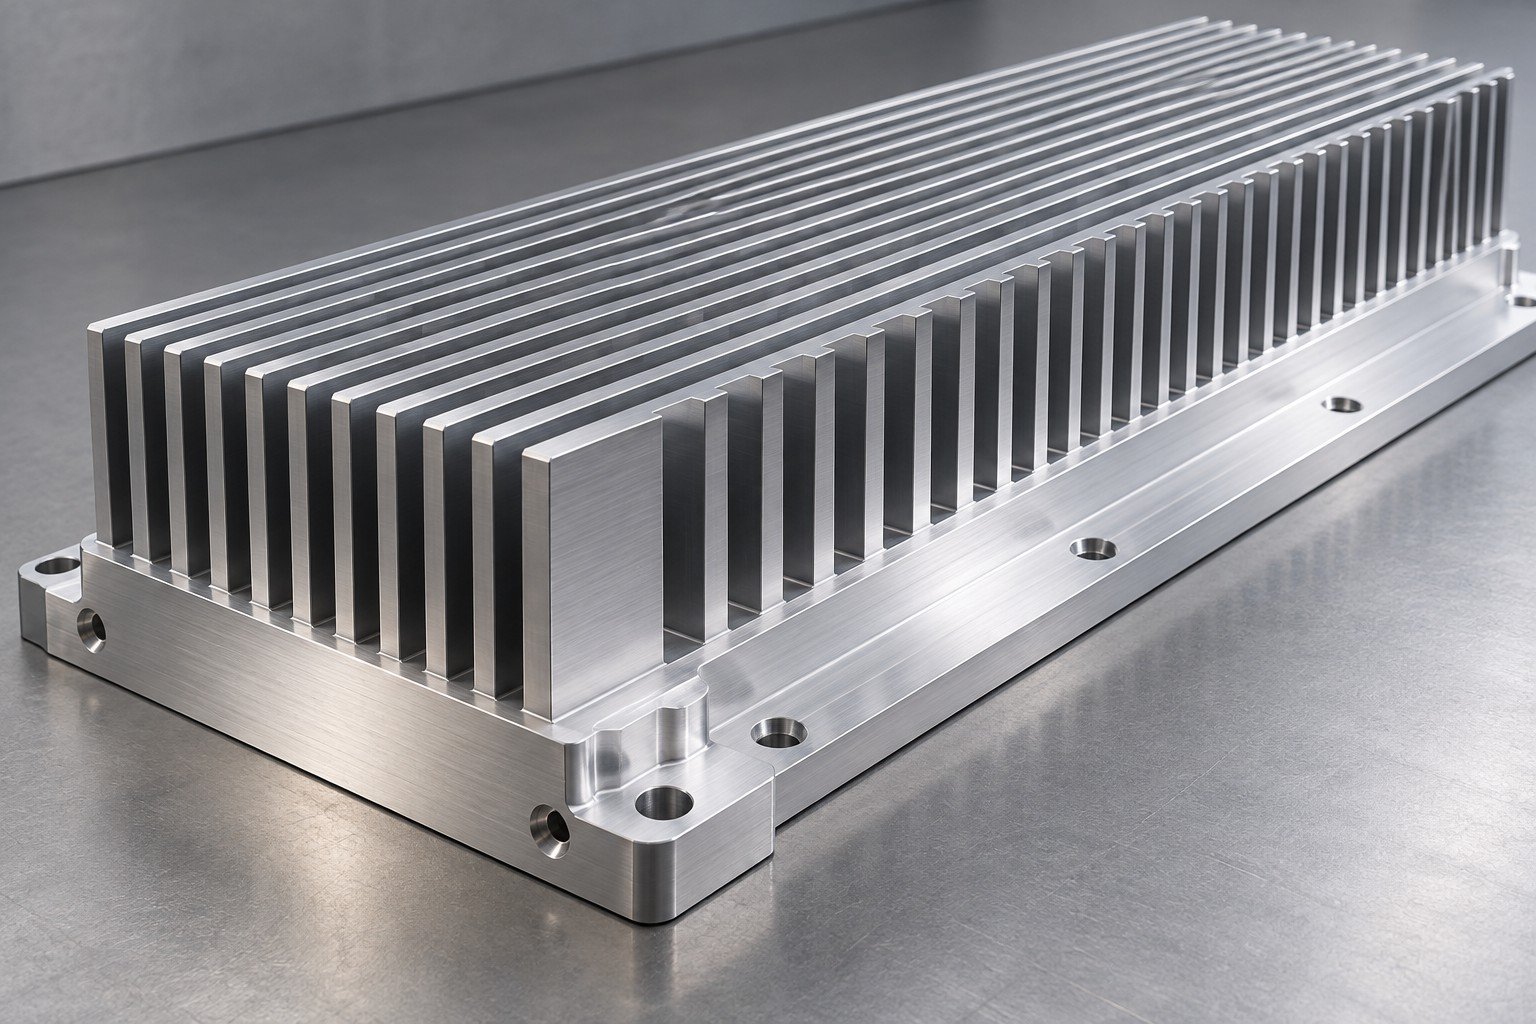
Review available airflow, fin direction, base contact and enclosure clearance.
Review this cooling scope →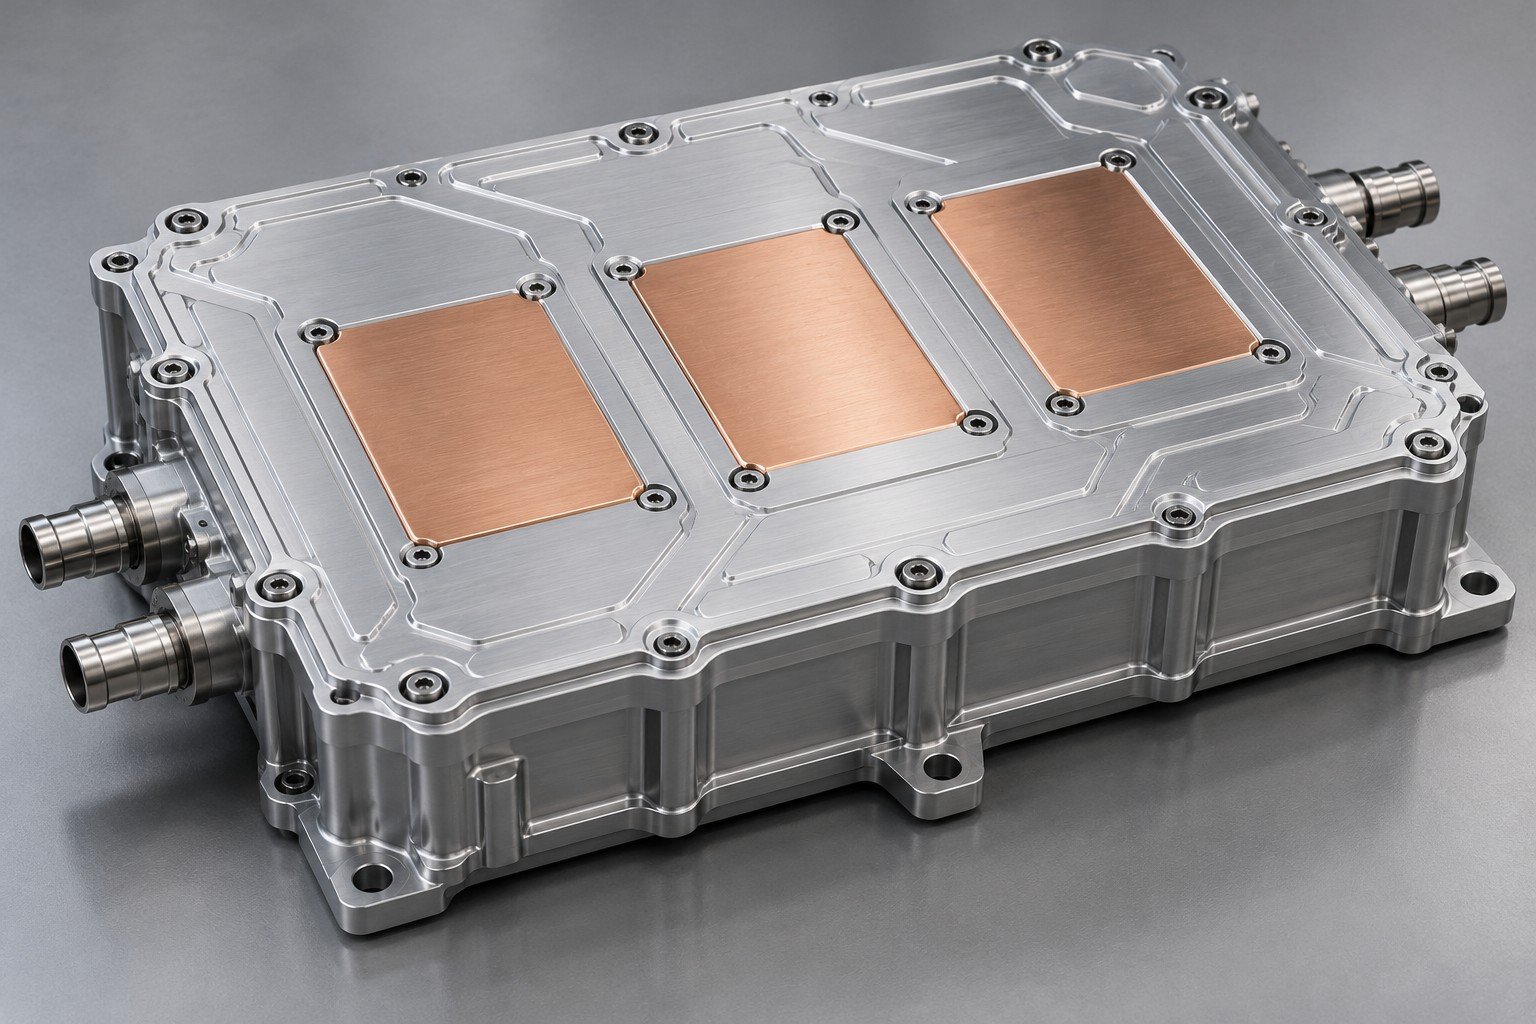
Define heat-source map, coolant, ports, contact lands and sample checks.
Review this cooling scope →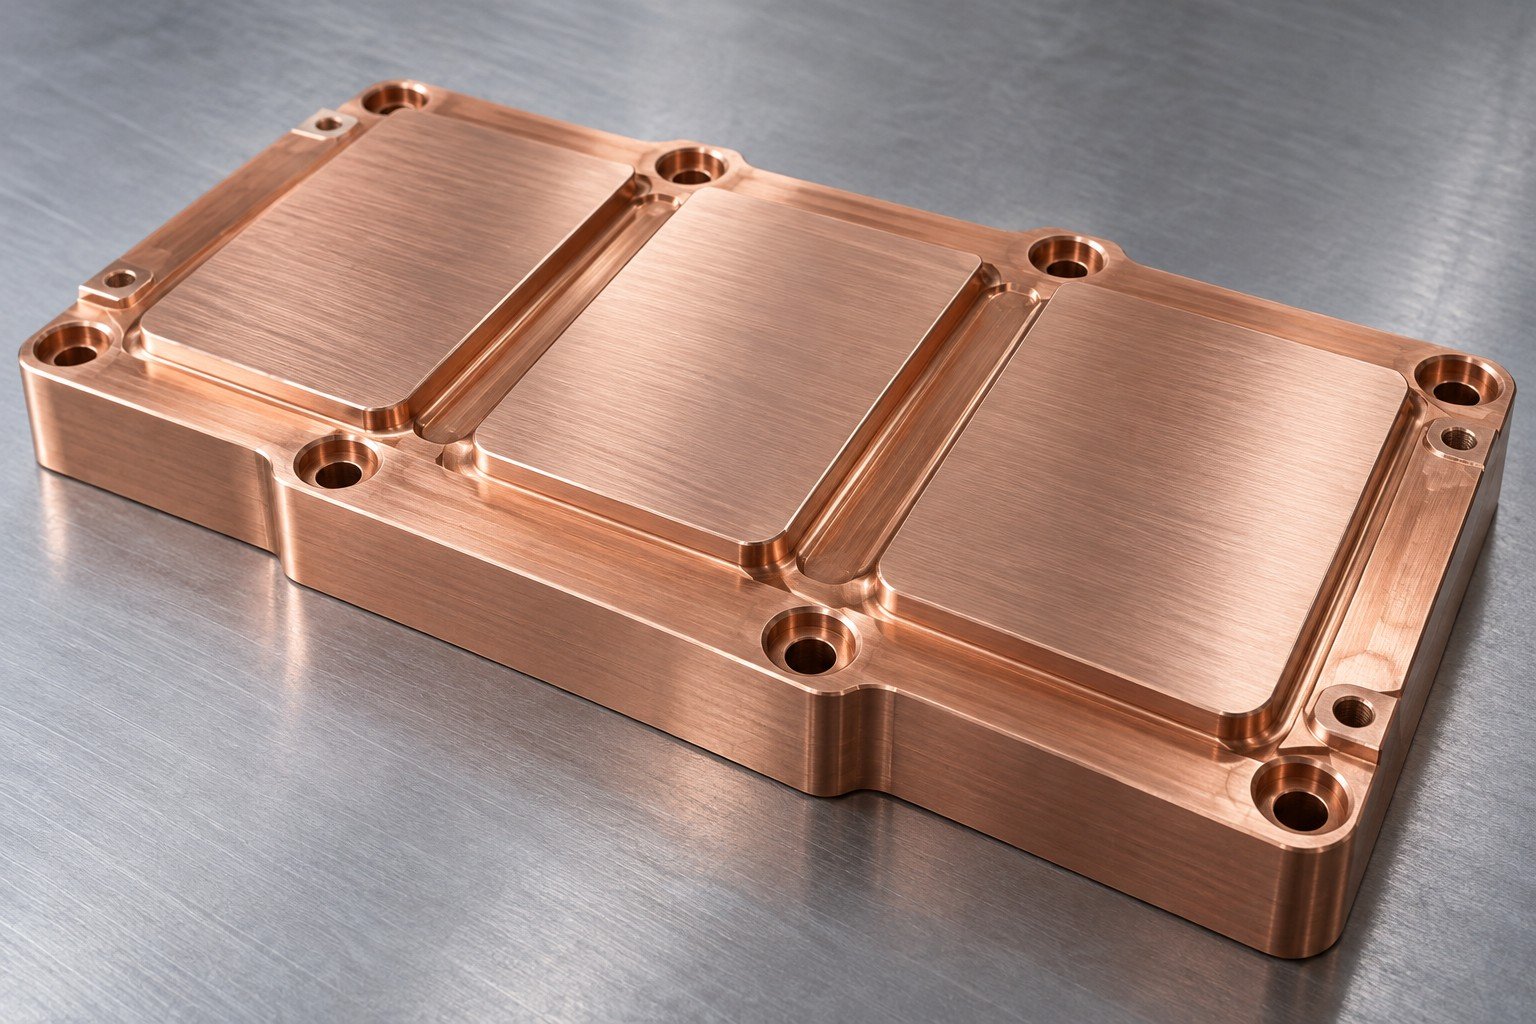
Review copper or aluminum geometry, mounting datums and final surface state.
Review this cooling scope →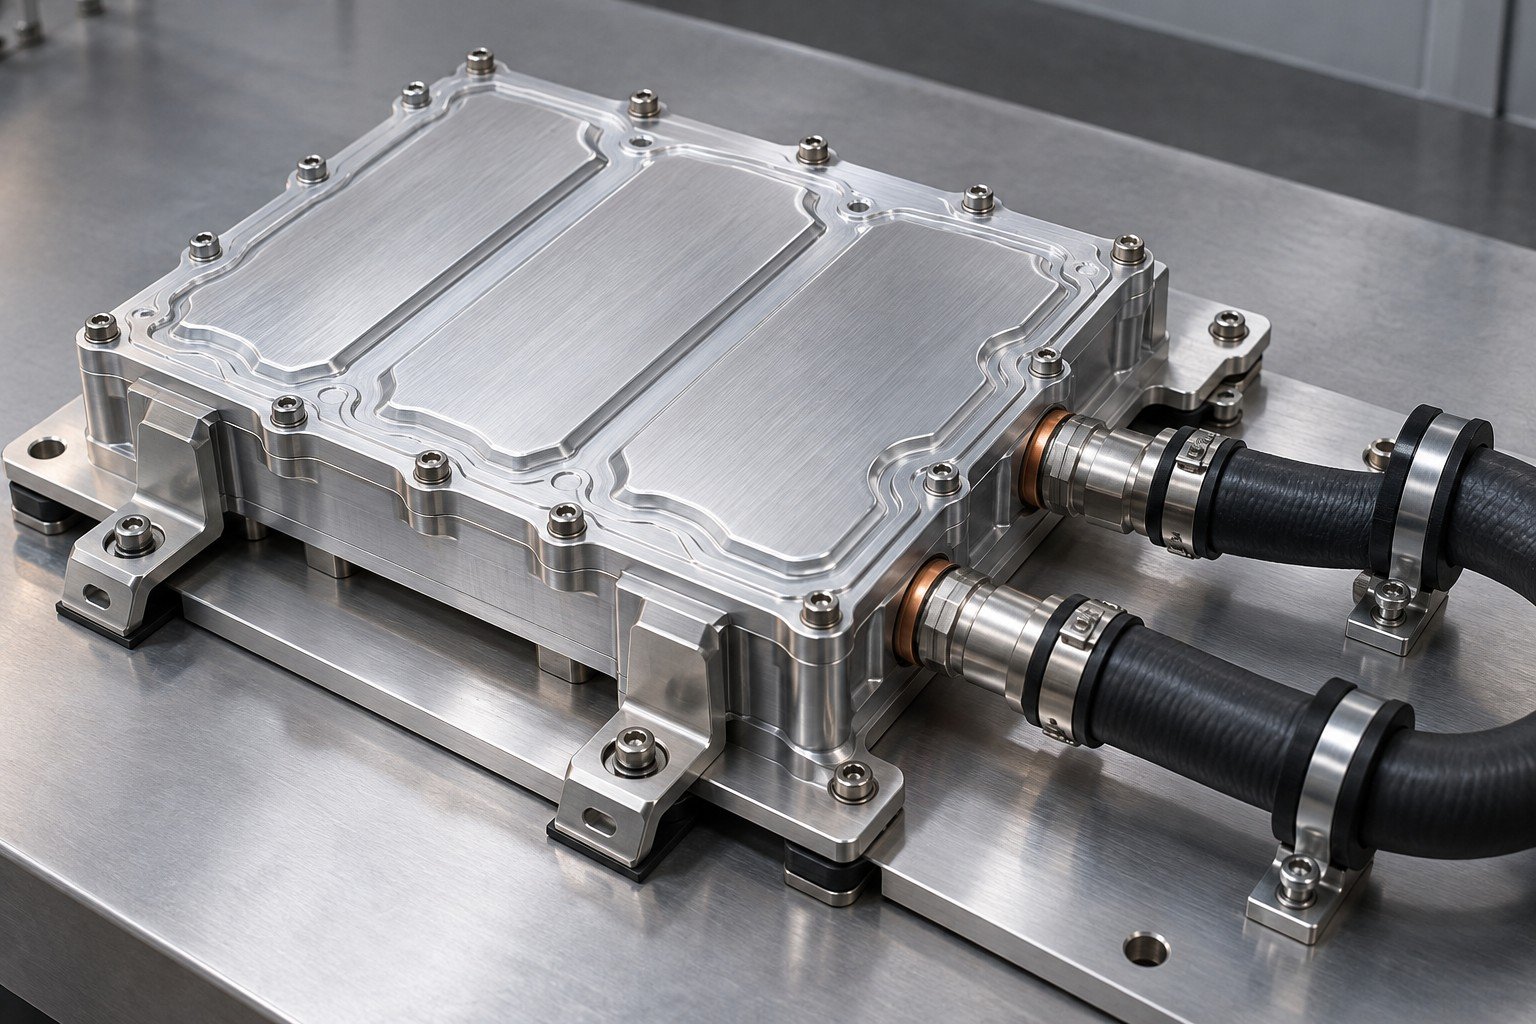
List mounting hardware, selected fittings, brackets and delivered records.
Review this cooling scope →Illustrative engineering concepts
For inverter liquid cooling, share the heat-source locations, dissipated losses, fluid, inlet temperature and flow allowance. An inverter heat sink prototype needs the installed airflow, enclosure clearances and fin direction. Keep inverter cooling thermal resistance tied to named temperature nodes and the specified configuration; output power alone does not define the cooling requirement.
Reference context: SEW-EURODRIVE cold-plate installation — size 0 scope → · MathWorks inverter liquid-cooling model overview →. Follow the current documentation for your exact equipment and modules; no package-specific limits or simulation results are adopted here.
Compare bulk conduction and mass alongside your module contact stack, coolant, coatings and manufacturing route. These references are not finished inverter cooling tests or material substitution approvals.
Hydro 6061-T6 at 25°C. KME Cu-ETP annealed at 20°C.
Calculate finished mass from the actual geometry. A material conductivity difference does not establish a device-temperature reduction.
| Grade | European reference | Si | Fe | Cu | Mn | Mg | Zn | Al |
|---|---|---|---|---|---|---|---|---|
| 6061 | EN AW-6061 · AlMg1SiCu | 0.40–0.80 | ≤0.70 | 0.15–0.40 | ≤0.15 | 0.80–1.20 | ≤0.25 | Balance |
| C11000 | Cu-ETP · CW004A | — | — | ≥99.90 | — | — | — | — |
Selected elements only. Dash means not specified in this summary, not zero. 6061: Cr 0.04–0.35%, Ti ≤0.15%; C11000: O ≤0.040%; do not relabel Cu-ETP as oxygen-free copper. Aluminum other elements ≤0.05% each / ≤0.15% total. The purchasing standard and certificate govern. Confirm product form, temper, joining compatibility and required final condition.
Sources: Hydro 6061 → · KME Cu-ETP →
Compare the loss allocation, installed boundary and approval evidence. The chart is a chosen arithmetic example, not a product rating or measured inverter test.
Chosen example: 120 + 180 + 300 = 600 W across three module locations. Their shares are 20%, 30% and 50%. These chosen losses are not an inverter output rating, typical efficiency or LK MFG capability. Replace them with your controlled loss map and relevant operating cases.
Review obstruction, recirculation or flow routing in the actual installation. A bench setup does not automatically reproduce the converter enclosure or hydraulic circuit.
Agree the configuration, loss map, sensors, mounting, interface materials and operating cases. A dimensional report or leak record does not establish installed module temperatures.
Separate your thermal contact faces, sealing interfaces and wetted passages. Confirm the specified final condition with the mating assembly.
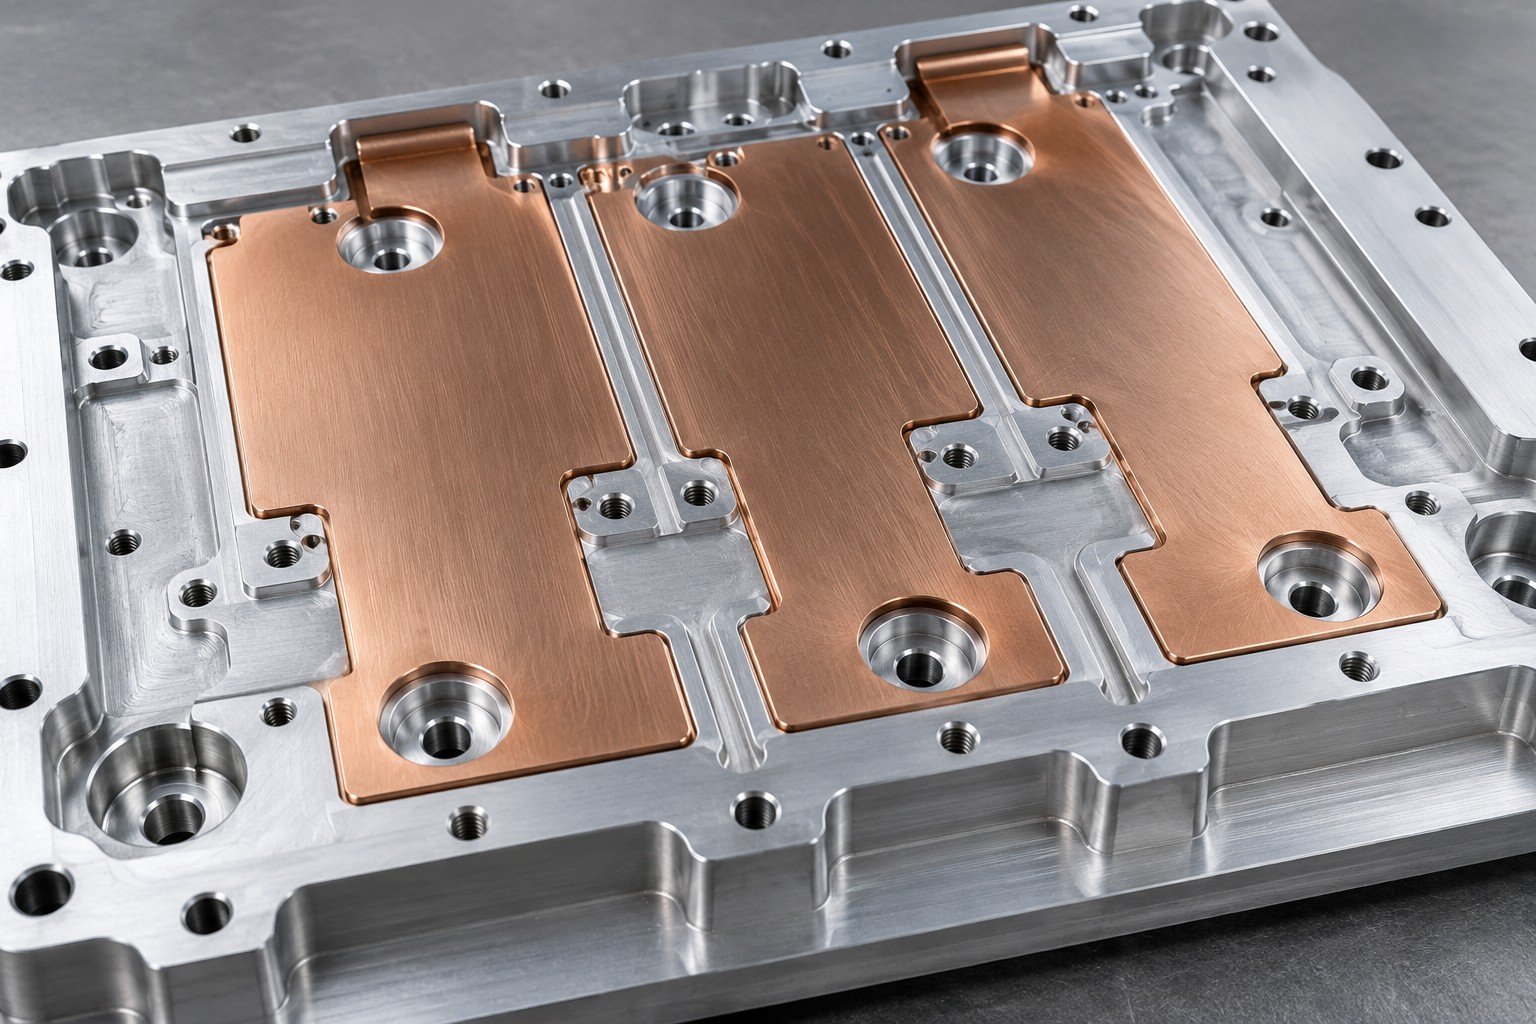
Define the module contact area and final surface inspection state from the released drawing.
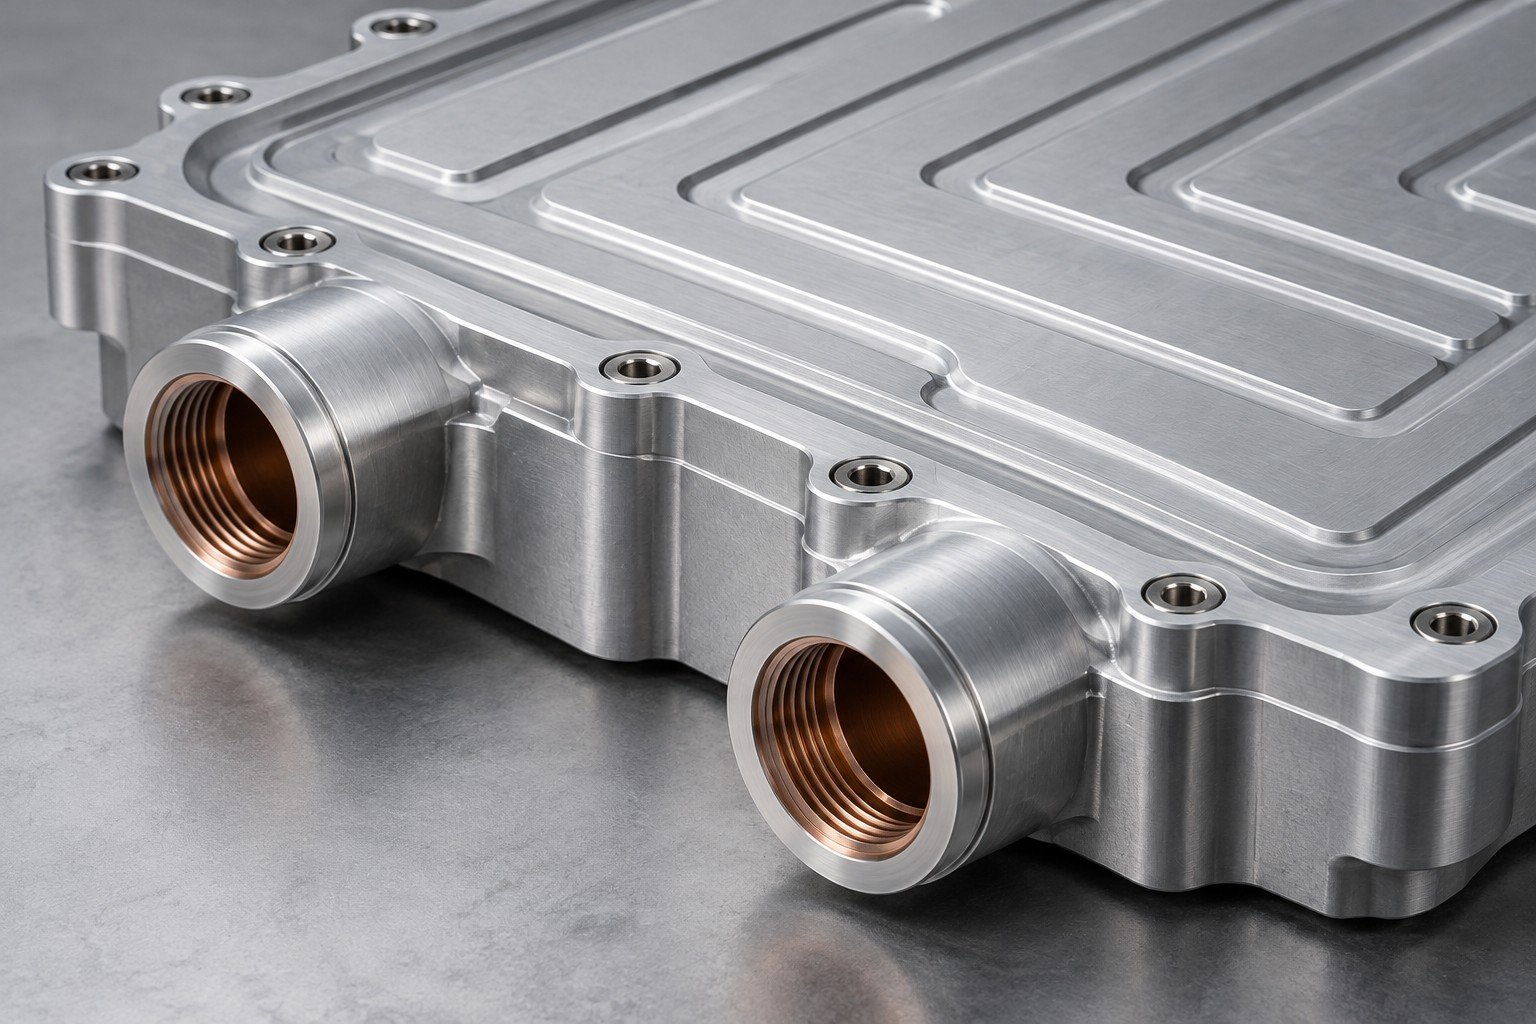
Specify the finished thread, fitting engagement and agreed sealing surfaces.
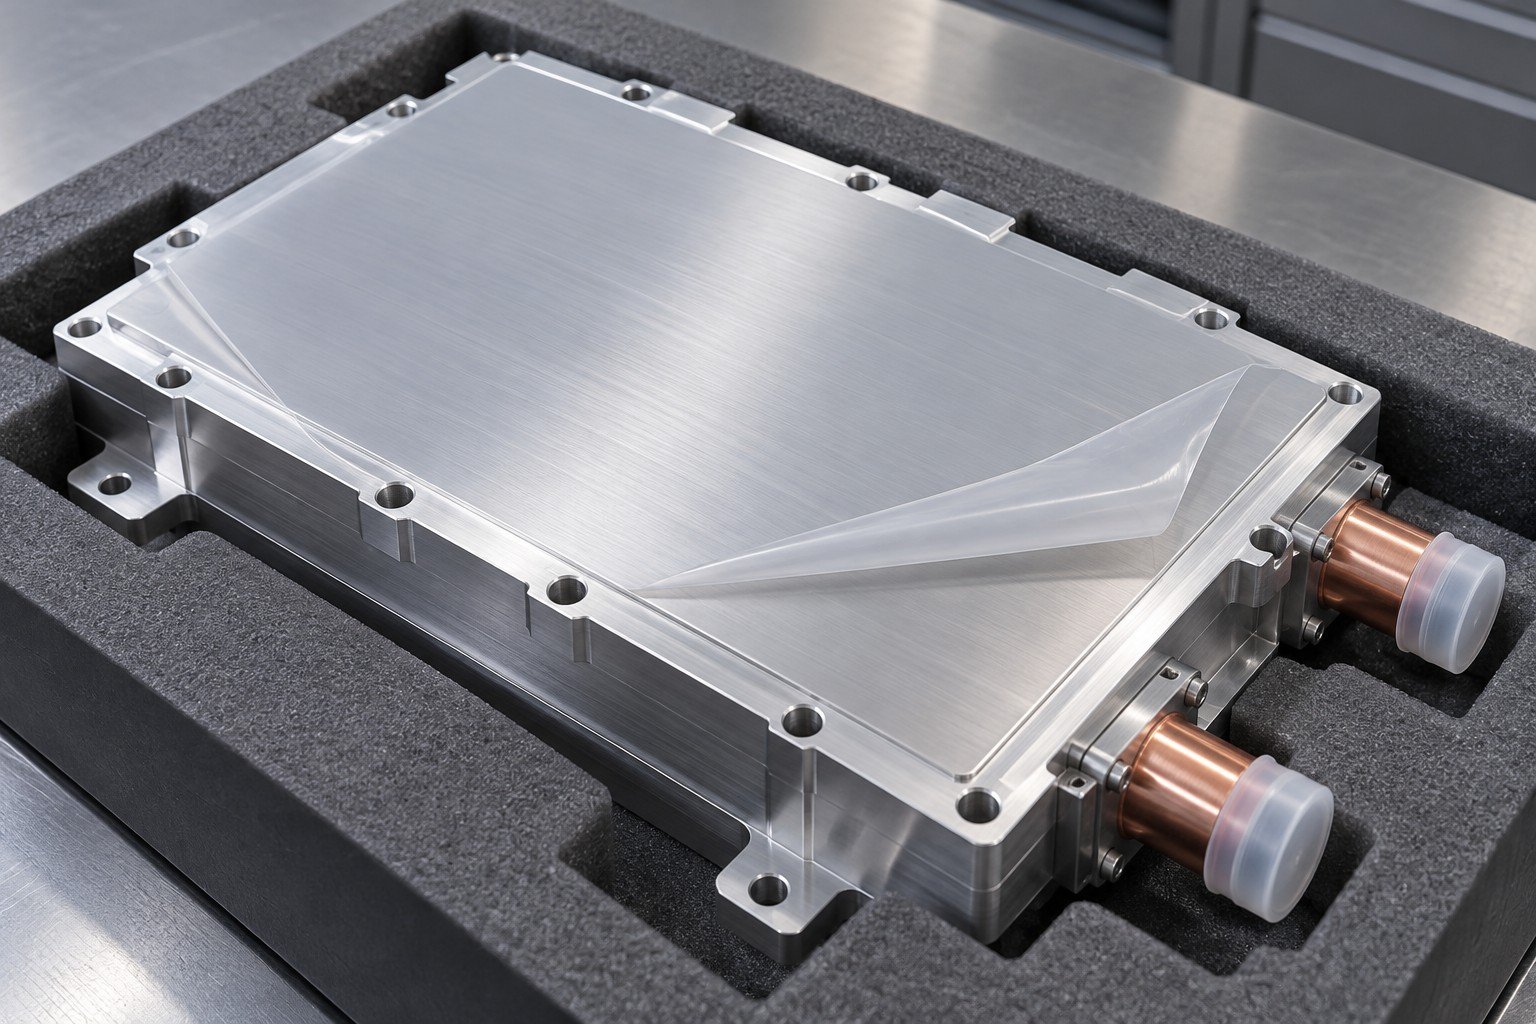
Protect fins, finished contact faces and ports; agree cleaning and shipment condition.
A finish is not a universal cooling improvement. Confirm its purpose, compatibility and inspection state. Review surface finishing options →
Illustrative engineering concepts
Put the dimensions that control sealing, assembly fit and heat transfer on your drawing.

Illustrative inverter cold plate section concept
Module loss map, selected TIM and approved clamping stack
Thread designation, seal land and fitting engagement
Hole pattern, datum scheme and tool access
Joining access, wall thickness and cleaning scope
Flatness, masking, protected interfaces and inspection state
Resolve contact flatness, TIM and isolation responsibility, connection checks, material, operating conditions and approval evidence.
Specify inverter cooling plate flatness and inspection area from the selected modules and released mounting documentation. Review the final joined and machined state, the shared mounting plane and the actual clamping stack; one package limit is not universal.
Controlled drawing and the relevant service conditions.
Agreed method, inspection state, limits and required records.
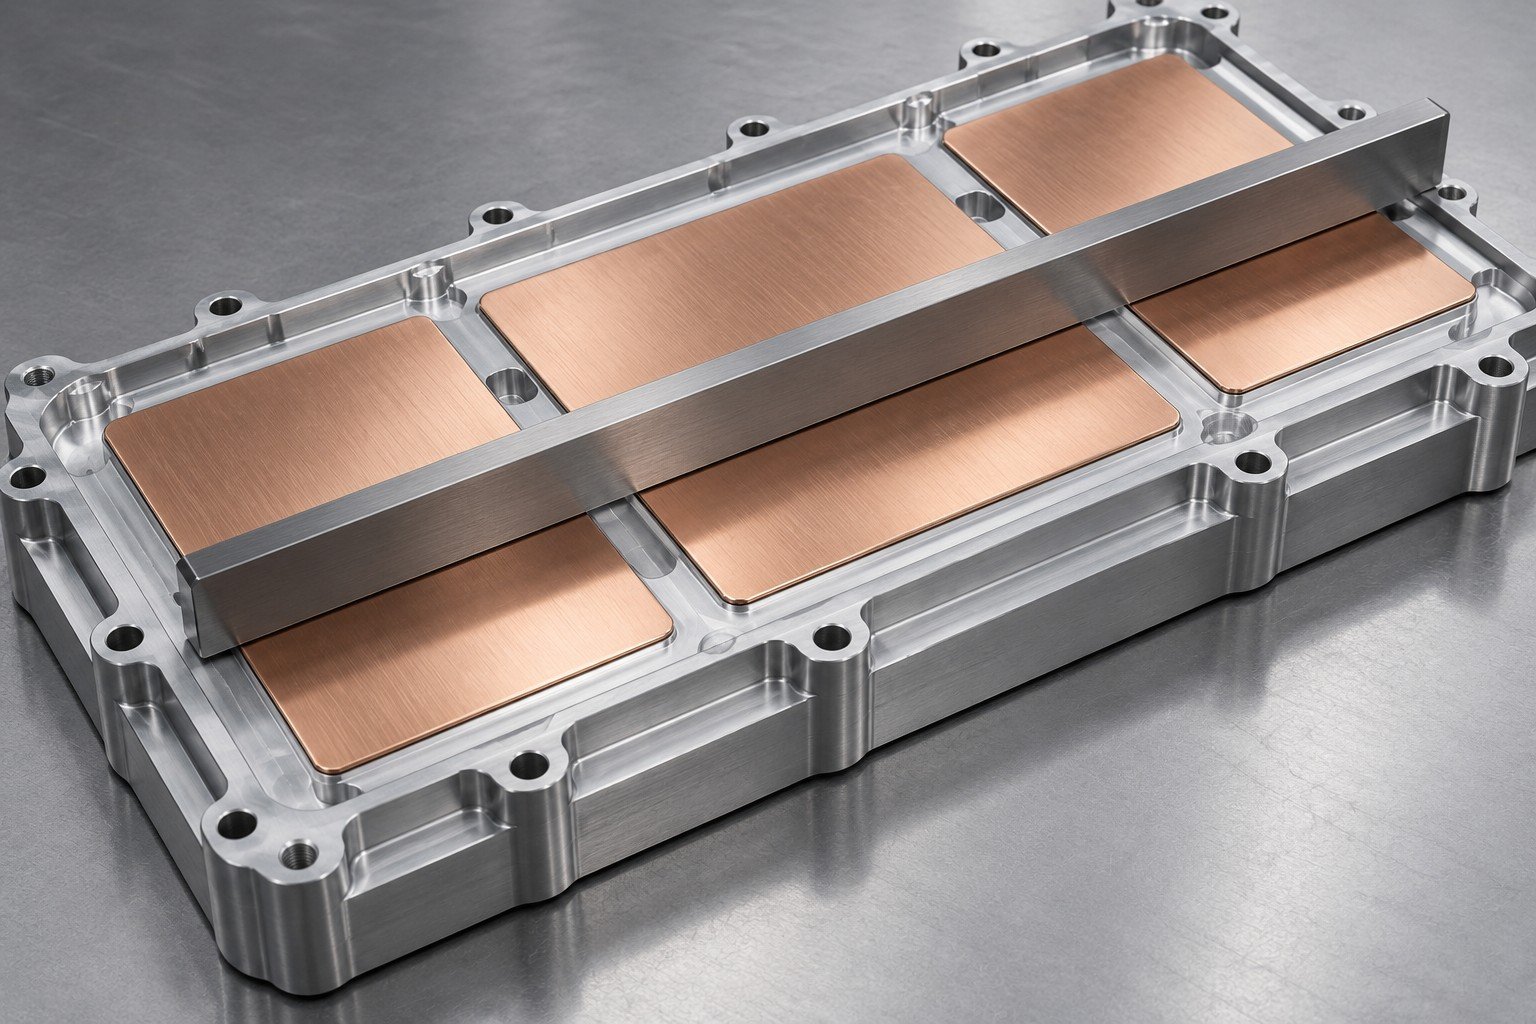
Illustrative engineering concept
Review inverter cooling electrical isolation separately from thermal contact. Identify the approved TIM and dielectric requirements from the selected module and system documentation. A conductive paste, coating or unverified interface illustration does not establish electrical insulation.
Controlled drawing and the relevant service conditions.
Agreed method, inspection state, limits and required records.
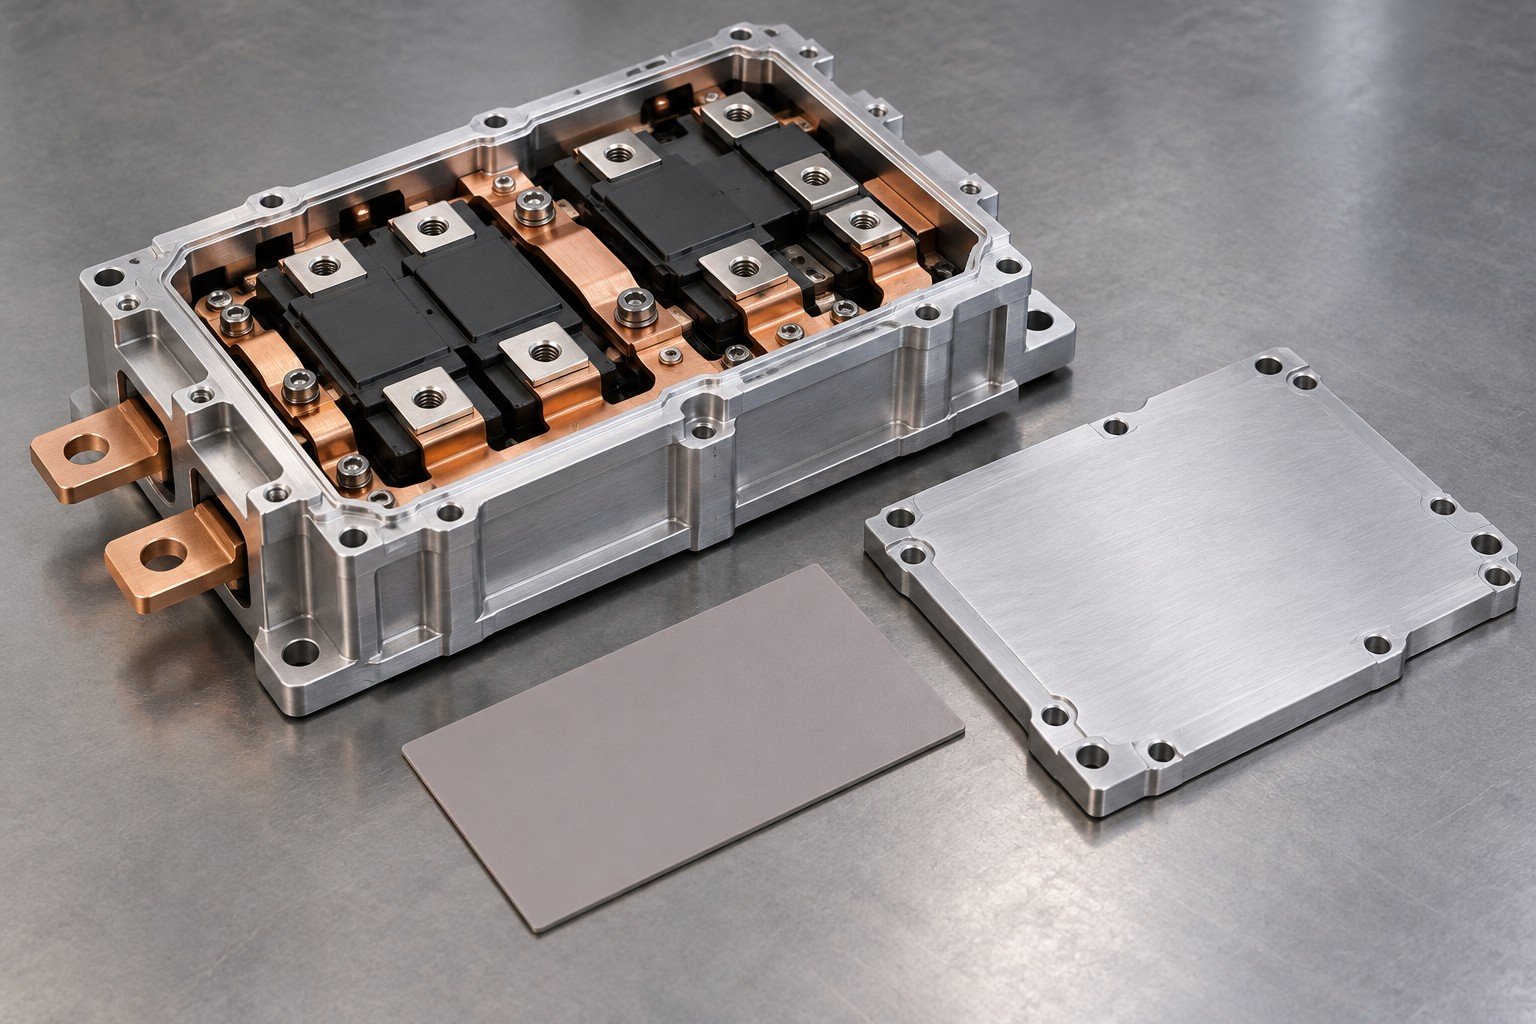
Illustrative engineering concept
Define inverter cooling plate leak testing for the supplied plate, joined cover, plugs, fittings and seals. State the medium, conditions, acceptance limit, duration and record. Pressure integrity, cleanliness and thermal performance remain separate approval scopes.
Controlled drawing and the relevant service conditions.
Agreed method, inspection state, limits and required records.
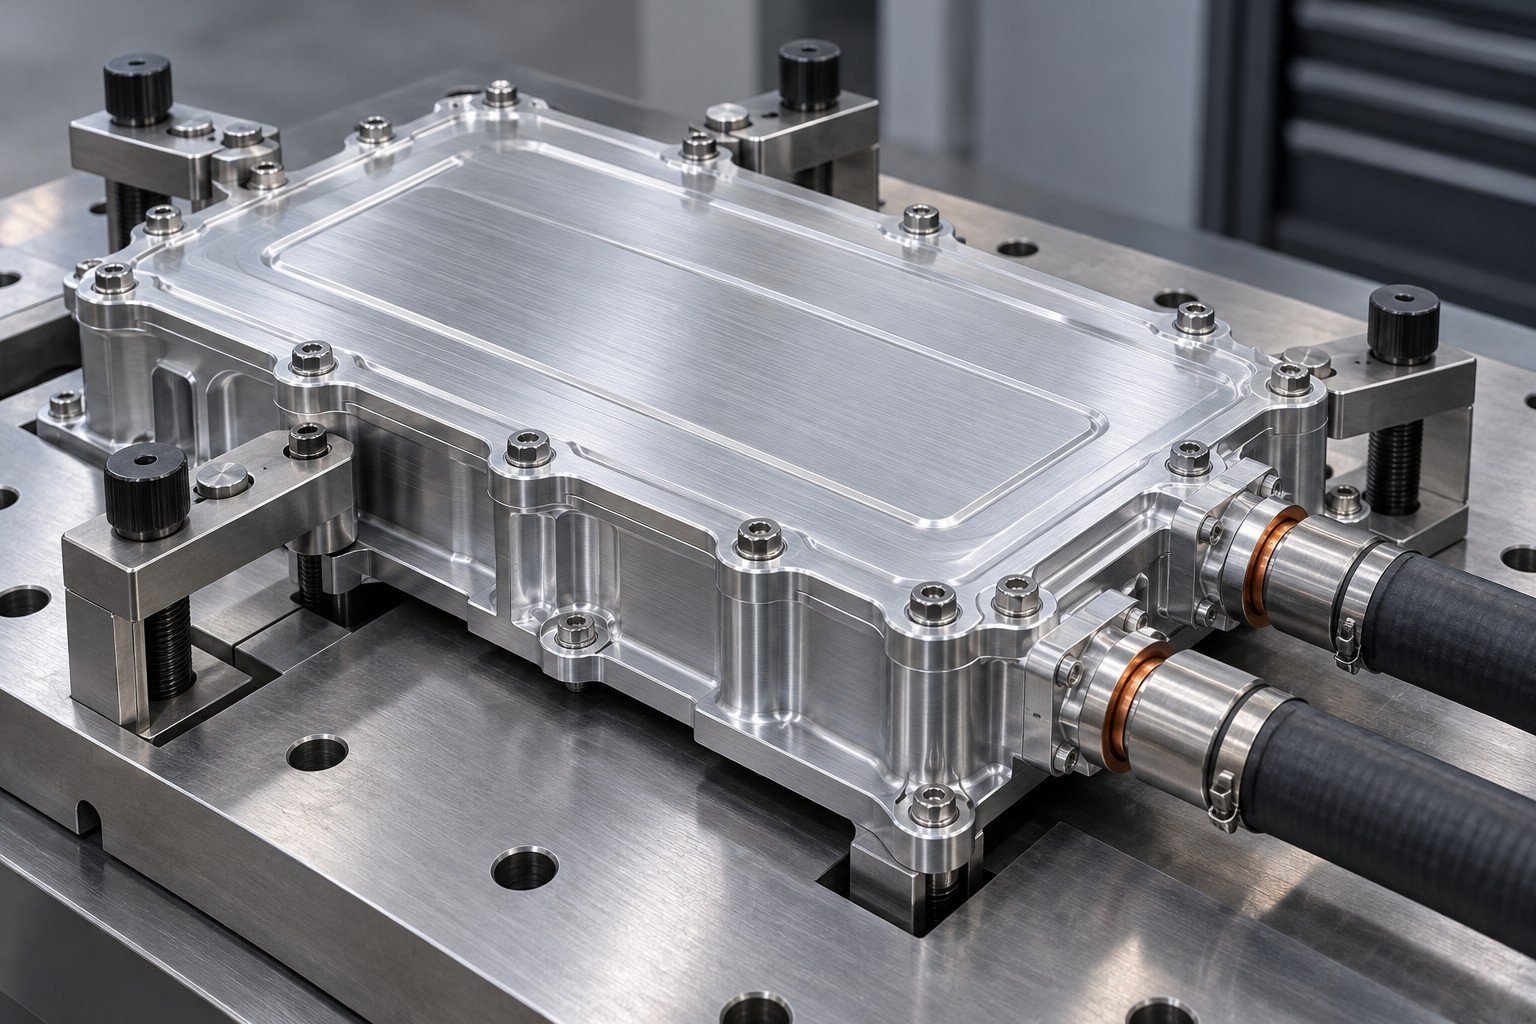
Illustrative engineering concept
Review inverter cooling material compatibility across all wetted metals, coatings, seals and the selected fluid. Confirm grade, temper, joining route and purchasing specification. Bulk conductivity alone does not approve coolant compatibility or predict module temperatures.
Controlled drawing and the relevant service conditions.
Agreed method, inspection state, limits and required records.
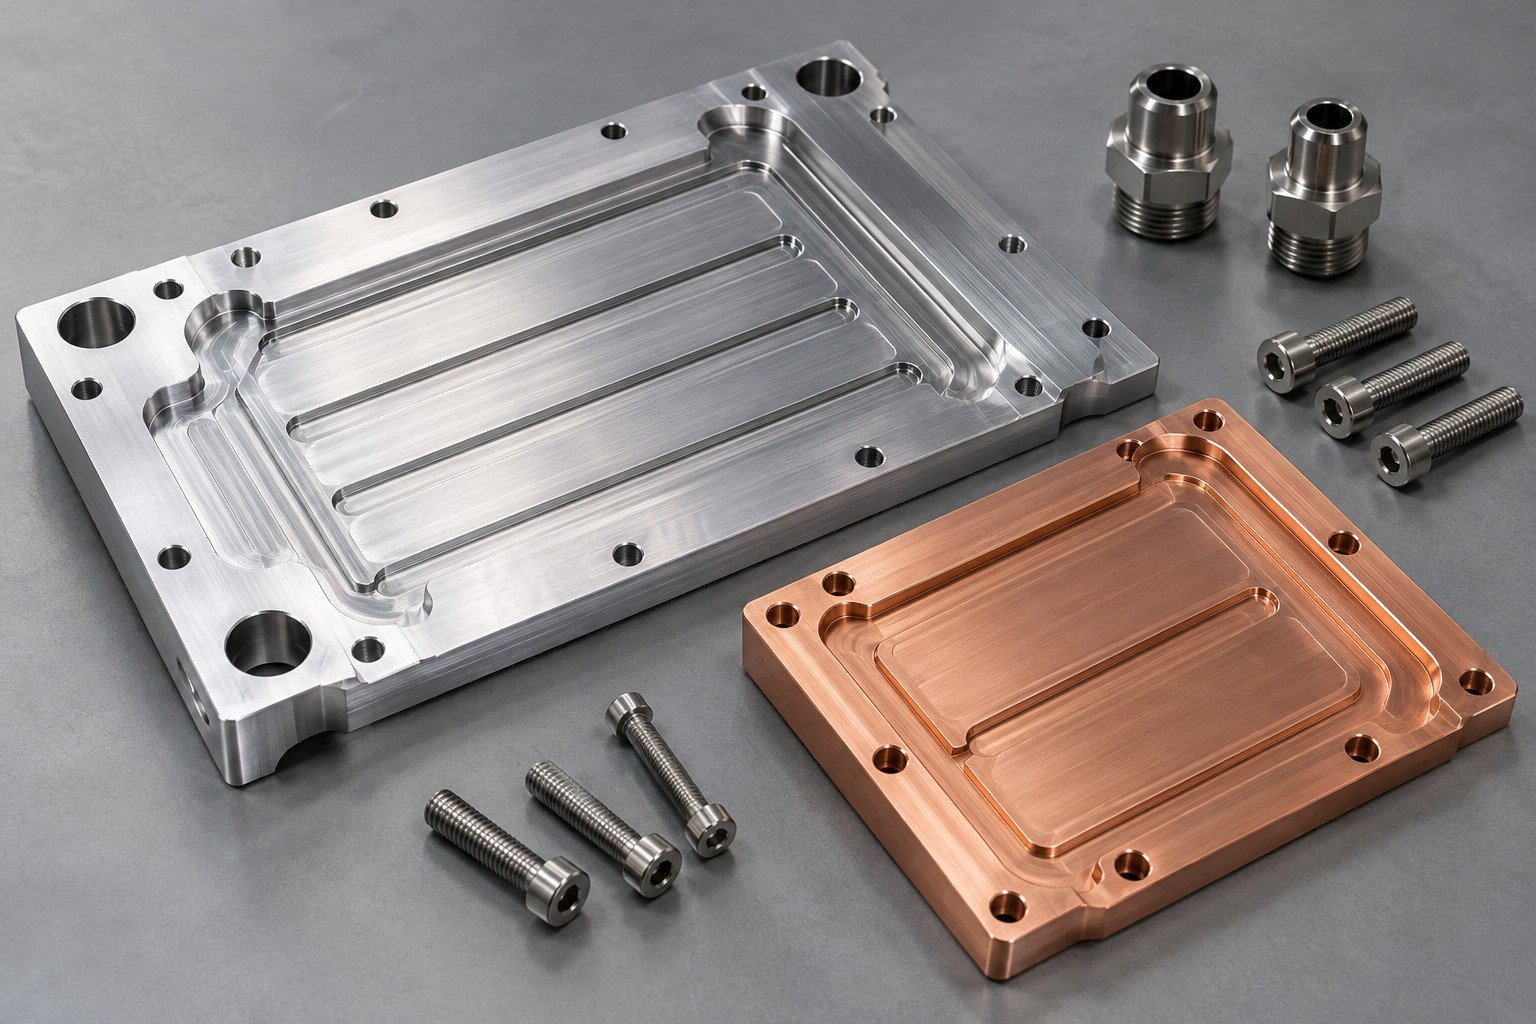
Illustrative engineering concept
Check flow routing and pressure loss against the actual system boundary. For air cooling, review obstruction, recirculation and fin orientation using the installed airflow. Do not assume a bench fan or a single cold-plate flow value reproduces the inverter installation.
Controlled drawing and the relevant service conditions.
Agreed method, inspection state, limits and required records.
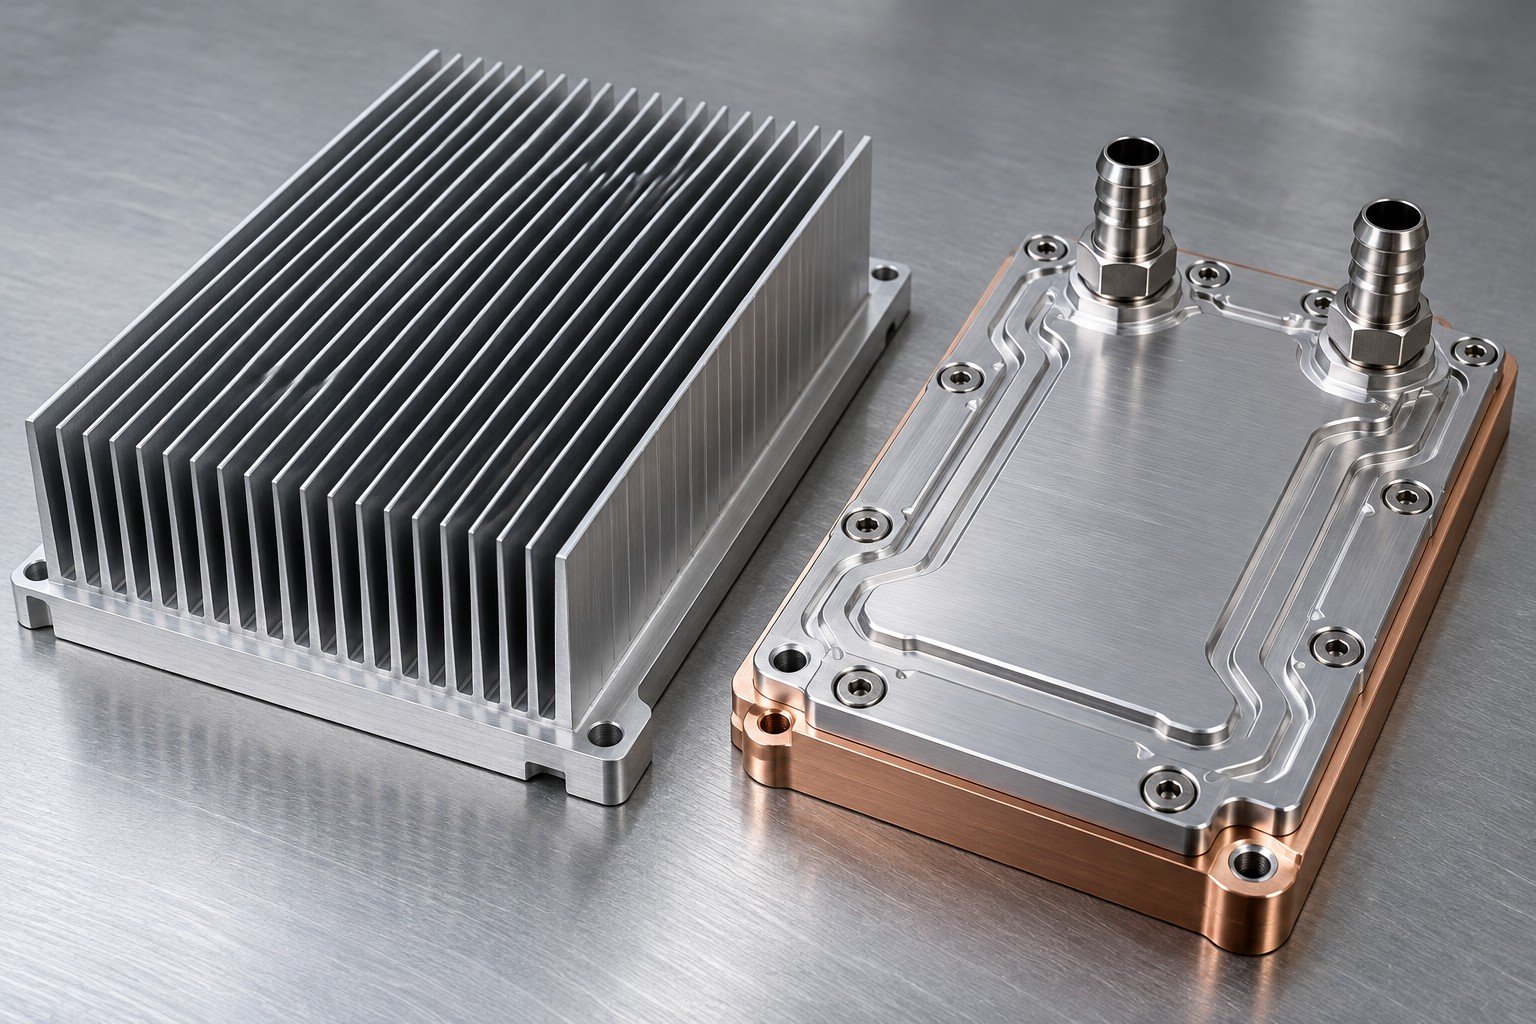
Illustrative engineering concept
Base inverter cooling sample approval on the controlled revision, contact dimensions, mounting fit, material and specified records. Validate the temperature distribution and hydraulic behavior with agreed losses, mounting, TIM and operating conditions before repeat release.
Controlled drawing and the relevant service conditions.
Agreed method, inspection state, limits and required records.
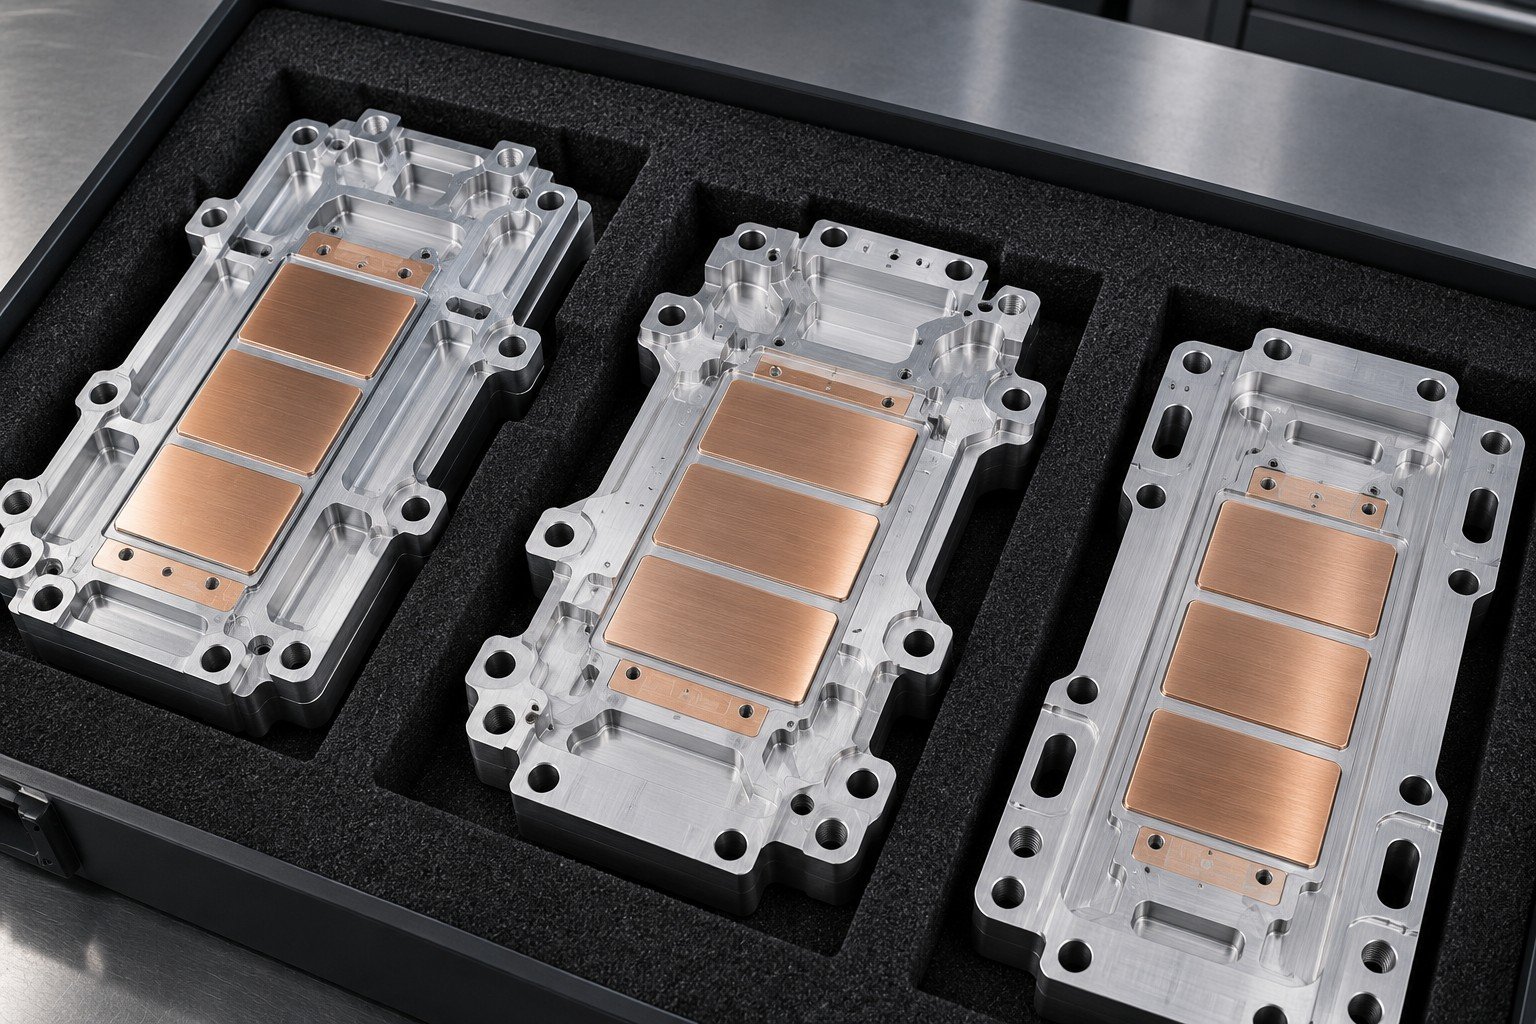
Illustrative engineering concept
Confirm revision, interfaces and operating inputs.
Agree materials, joining and final machining.
Review the finished component and assembly fit.
Assess specified dimensions, joints and test records.
Release the accepted revision, packaging and repeat-order scope.
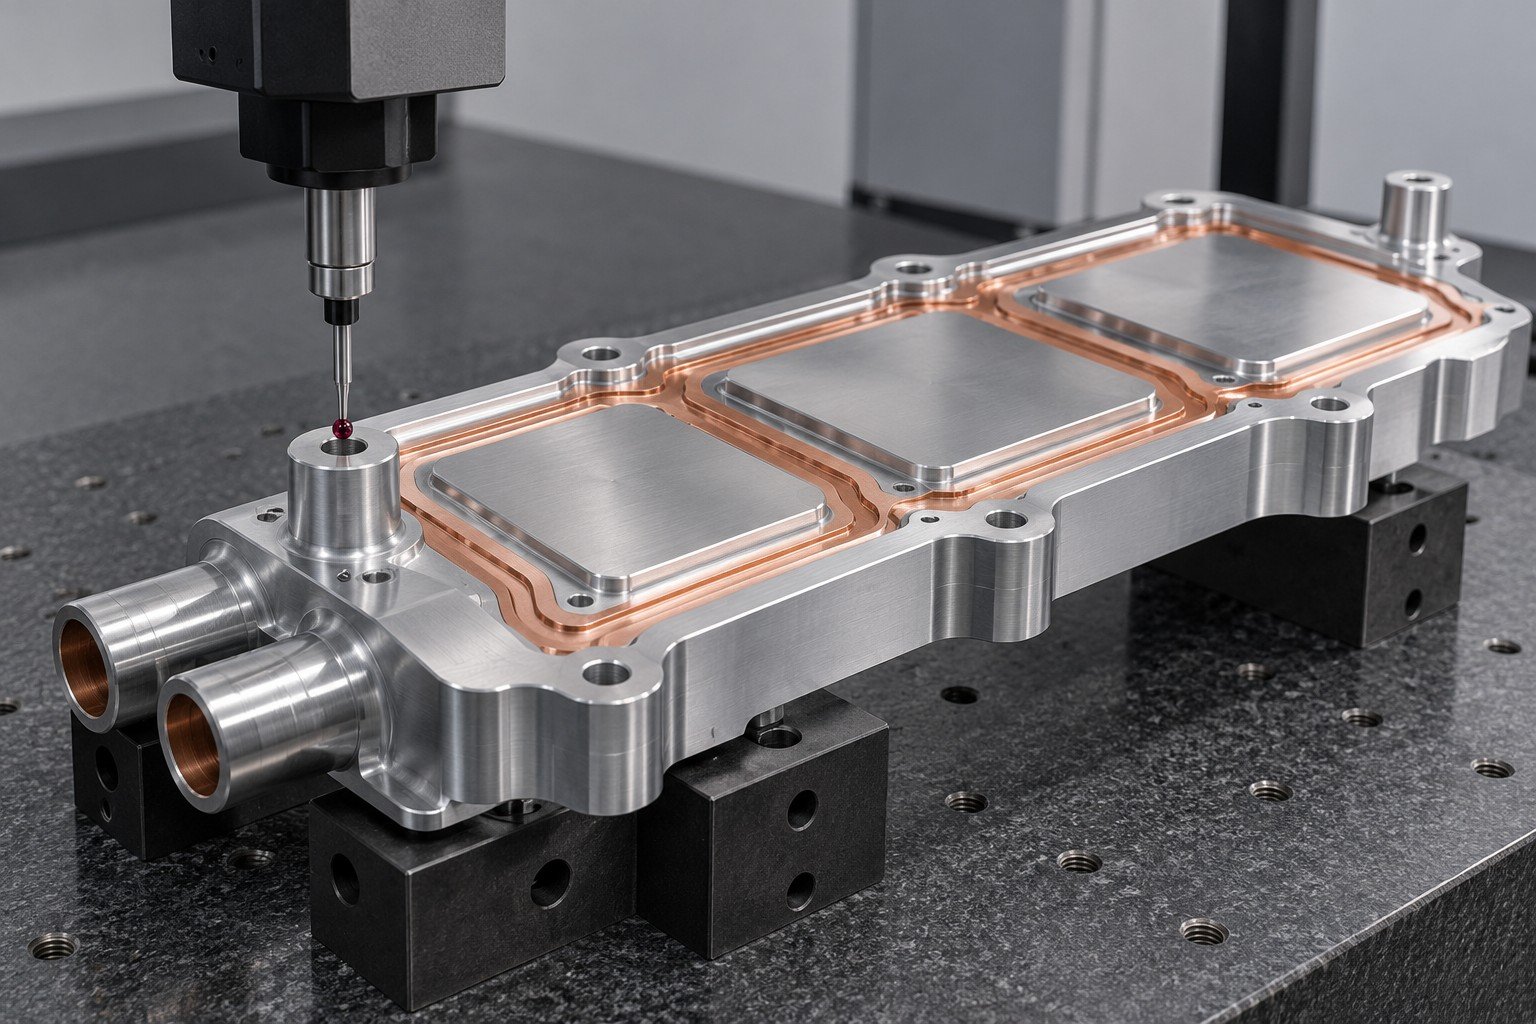
Illustrative component concept
Your sample records should connect the inverter loss map and module positions to the released plate drawing, material and final contact surfaces. Agree dimensions, joining records, cleanliness and specified leak checks. Module-temperature, hydraulic and electrical acceptance require their own conditions and approval owners.
These are component review contexts, not customer cases, automotive qualification, certified converters or endorsed package compatibility.
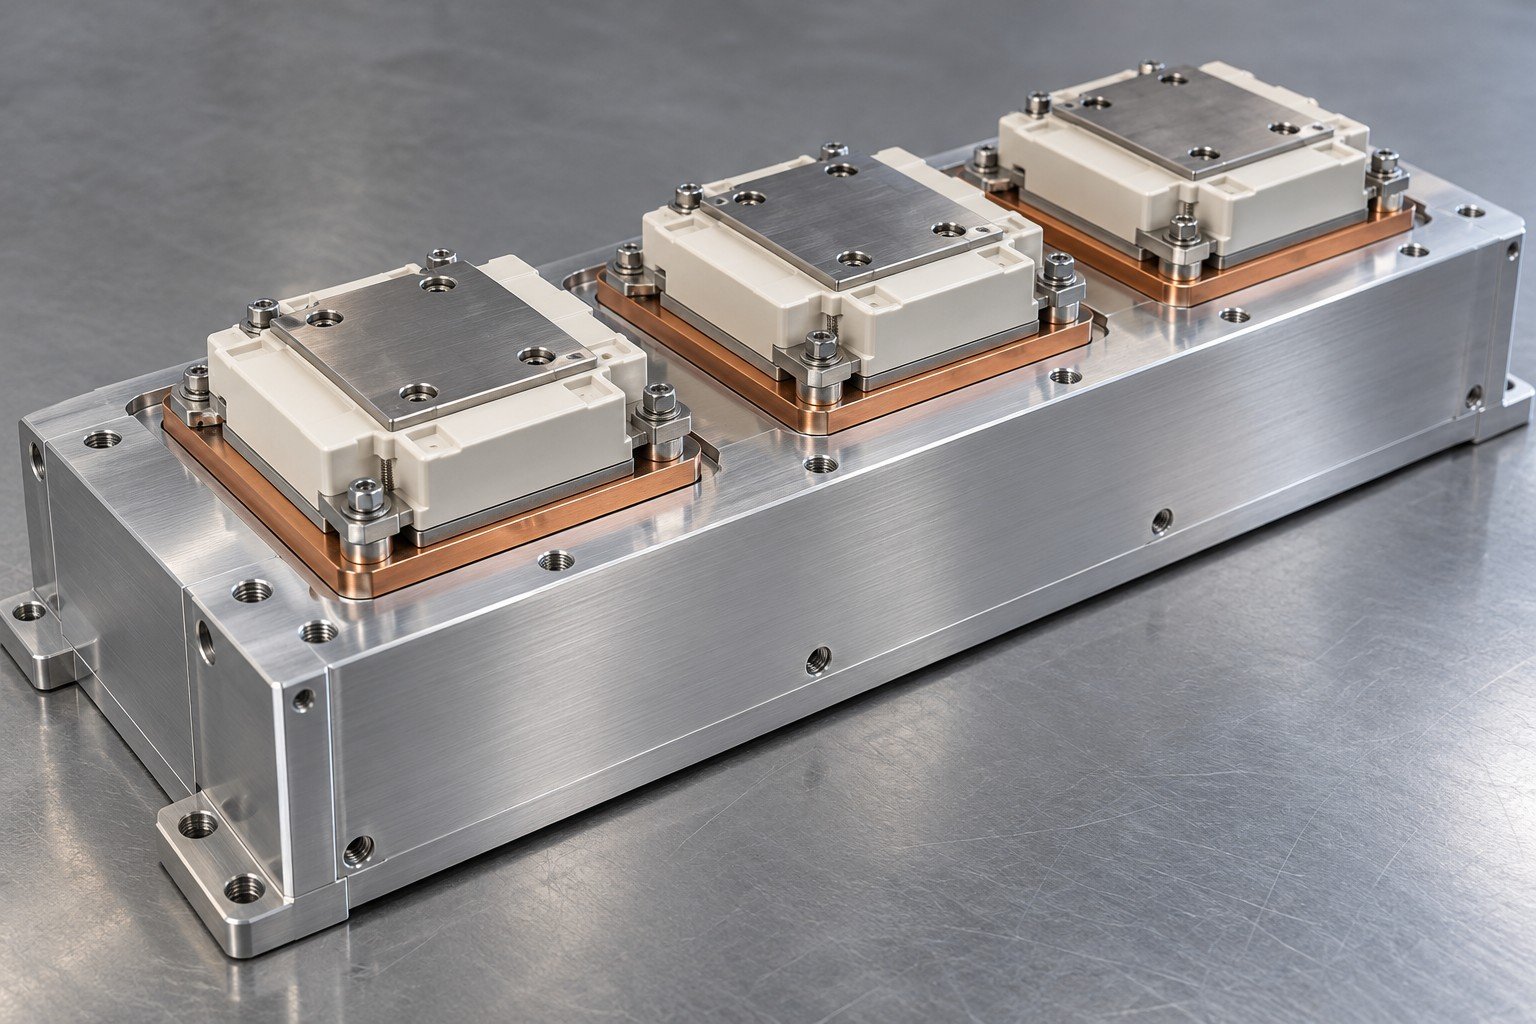
Review the selected module loss map and installed cooling route.
Control contact footprint, mounting and nearby keep-outs.
Define operating conditions and the approval owner.
Review coolant connections or available airflow.
Match the released module interfaces and supplied part scope.
State exact footprints and the dissipated losses.
Control TIM, mounting, sensor positions and operating inputs.
Match the exact module and installed revisions.
Ask your quote to separate component manufacturing, joining, finishing, inspection and any independently agreed validation. The drawing review confirms availability, quantities and delivery scope.
Provide the controlled plate and assembly drawings, exact module part numbers and mounting instructions, heat-source loss map, temperature limits, operating cycle, contact stack, installed air or coolant conditions, quantities and required sample evidence. Identify the supplied manufacturing boundary.
Release the accepted drawing revision after reviewing sample dimensions, mounting fit, material, joining and the specified records. Complete separately agreed thermal, hydraulic and electrical validation for the installed configuration. A visually acceptable sample alone is not production approval.
No universal shared design can be assumed. Review each selected package, loss map, switching conditions, mounting instructions and interface stack. A change of semiconductor technology may also change the module layout and installed cooling boundary; revalidate the affected interfaces.
Agree material identity, final contact geometry, mounting and port dimensions, fit, cleanliness and any specified leak or pressure checks. Define hydraulic, thermal and electrical validation separately, with operating inputs, sensor locations and approval responsibilities.
Use the relevant dissipated losses and heat-source distribution. Electrical output is not the same quantity as heat entering the cooling component. Share the operating cases and calculation or measurement basis, including the relevant duty cycle and switching conditions.
No. The complete heat path, contact stack, enclosure and installed flow determine the result. Review the approved equipment configuration and validate the actual module temperatures; an exterior surface temperature or photograph does not establish junction conditions.